The third and final step of completing a Zapier integration is to test and publish. Follow the steps below for completing this process.
Did you add a webhook URL to the endpoint field in PSAI? Learn how to do this in step 2 of integrating PSAI Site Tools with your CRM before continuing.
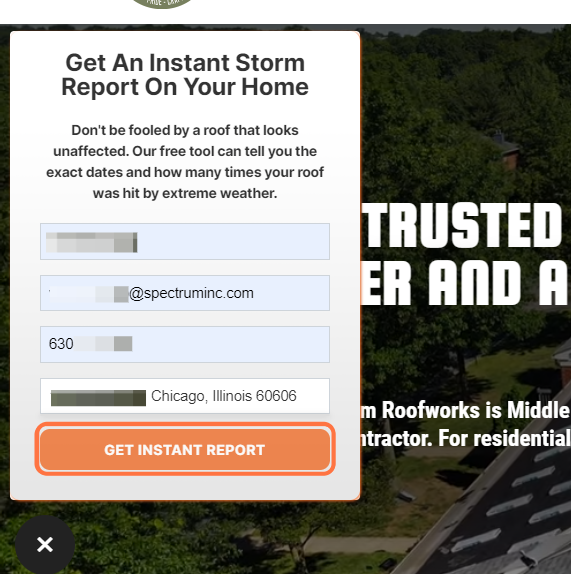
1. Navigate to Your Website
2. Submit Test Lead Information
Using the same site tool that you added integration for (i.e., chatbot, quote form, etc.), enter test information and submit it to the site.
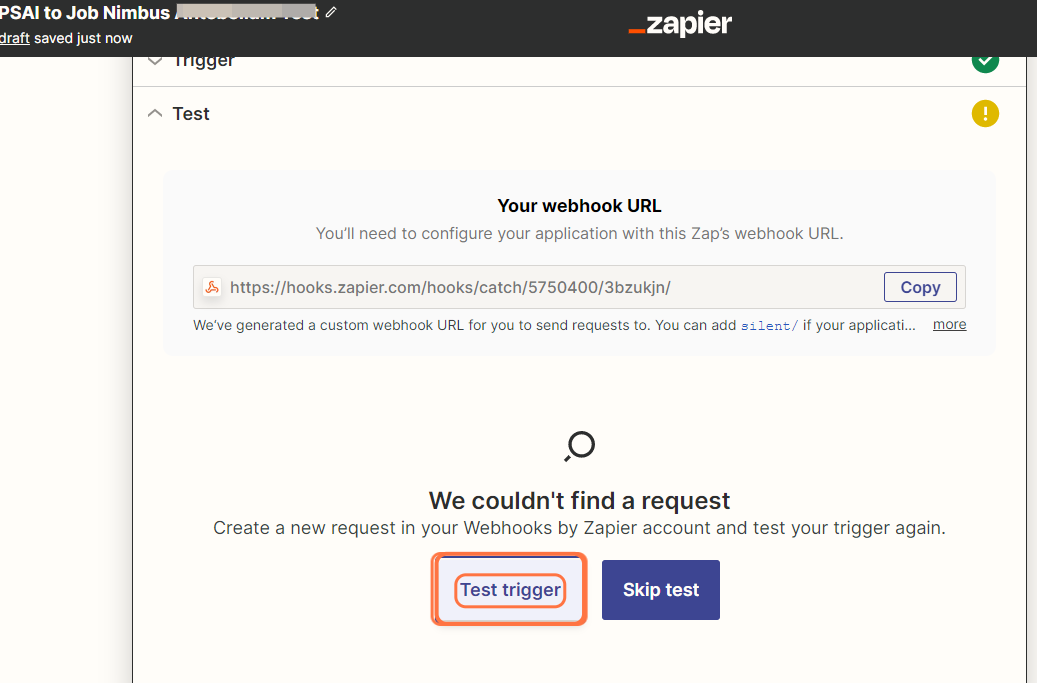
3. Navigate back to the Integration on www.zapier.com, then click 'Test Trigger'
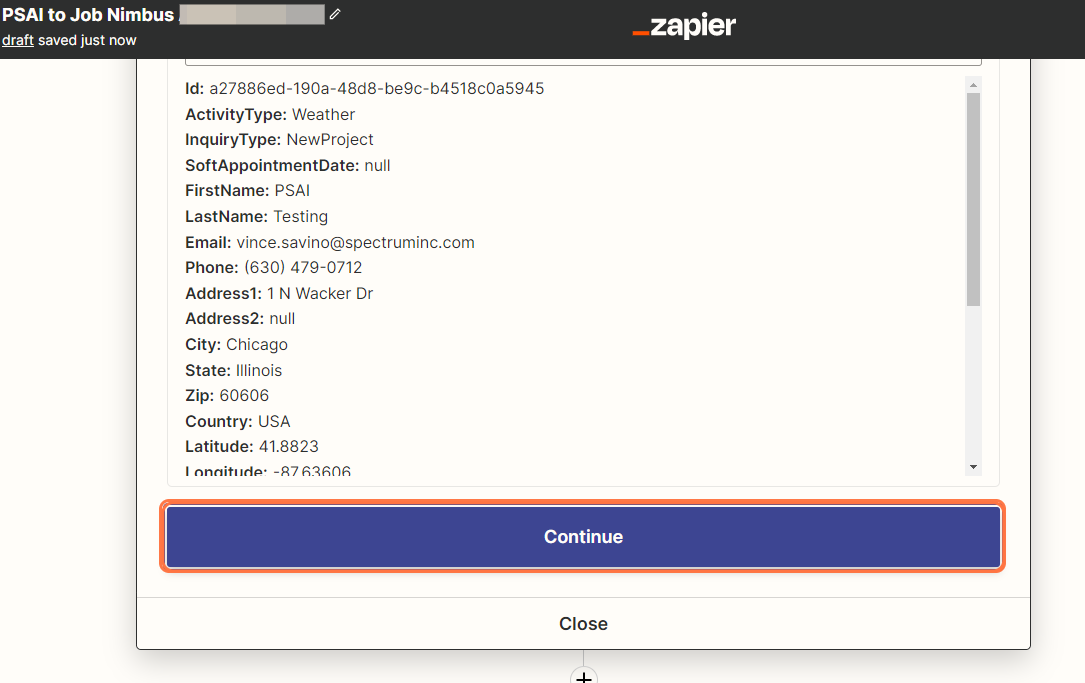
4. Click 'Continue'
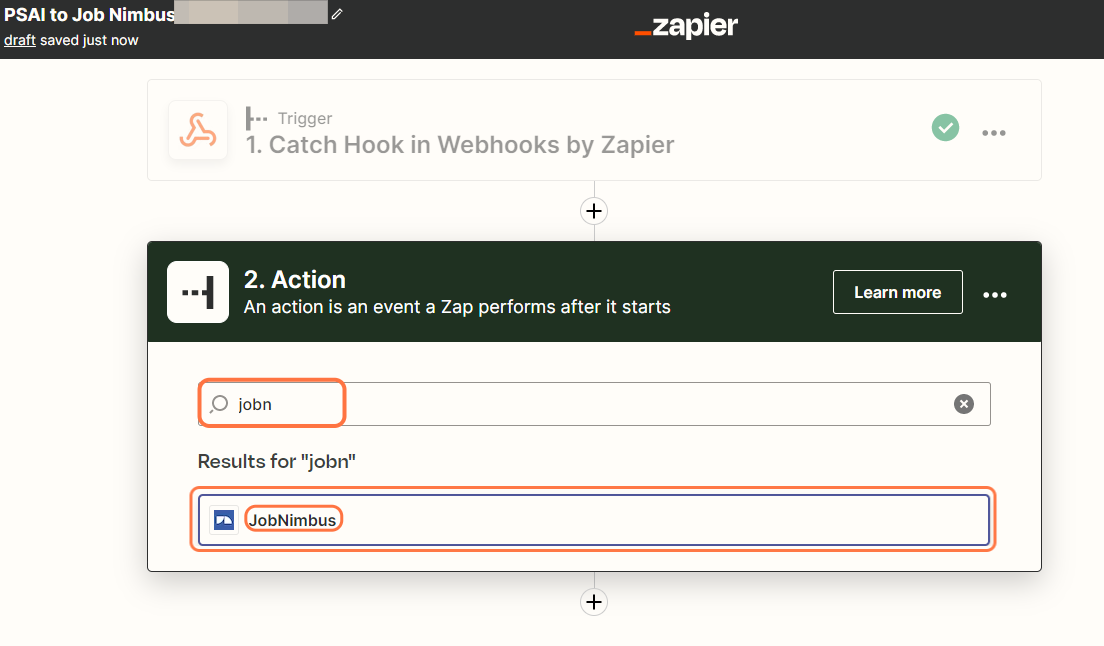
5. Search for and Select Your CRM
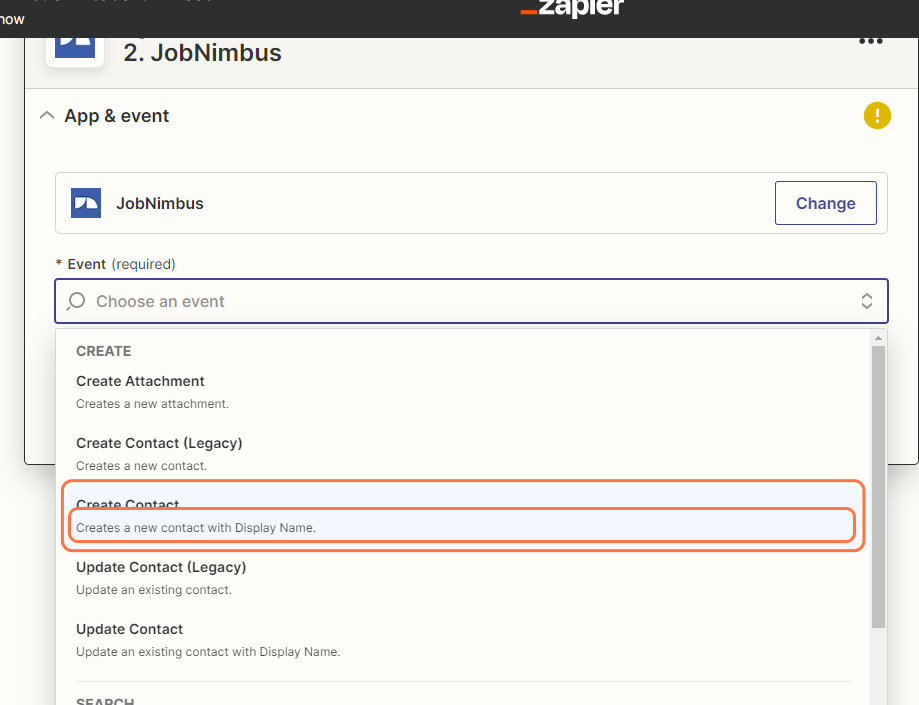
6. Click on the Event Search Bar and Choose 'Create Contact'
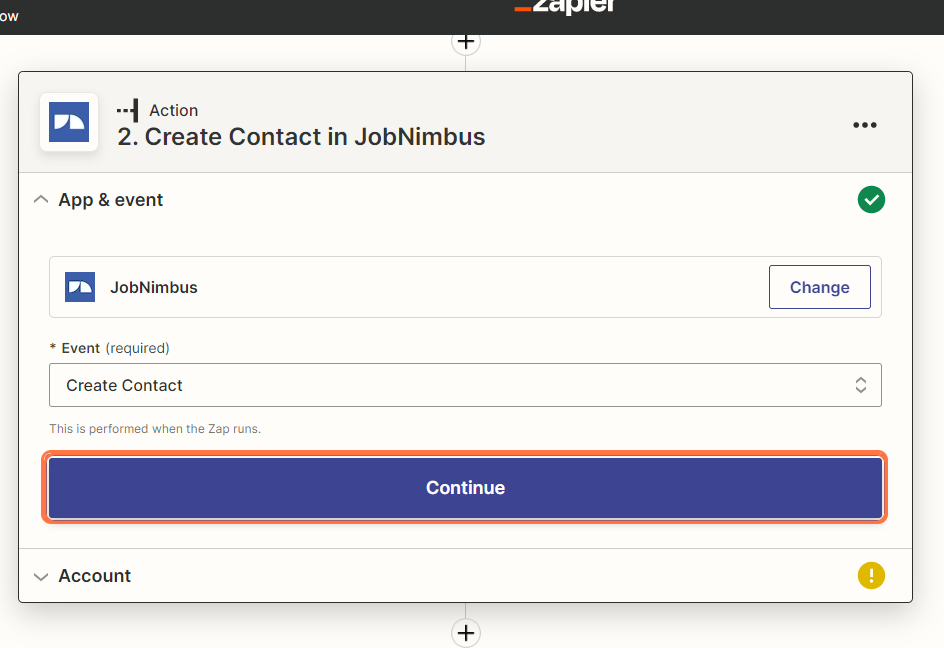
7. Click 'Continue'
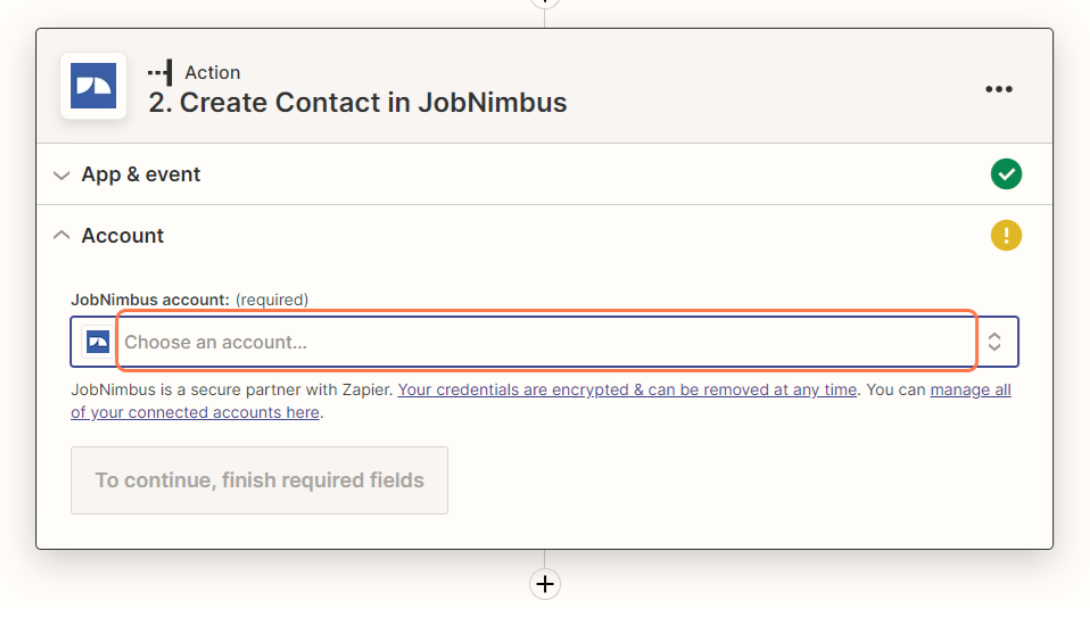
8. Search for Your Account
Under the Account section of creating a contact, click on the 'Choose an account' field and search for your account.
If you have not connected to Zapier prior to this, you will need to log into your CRM.
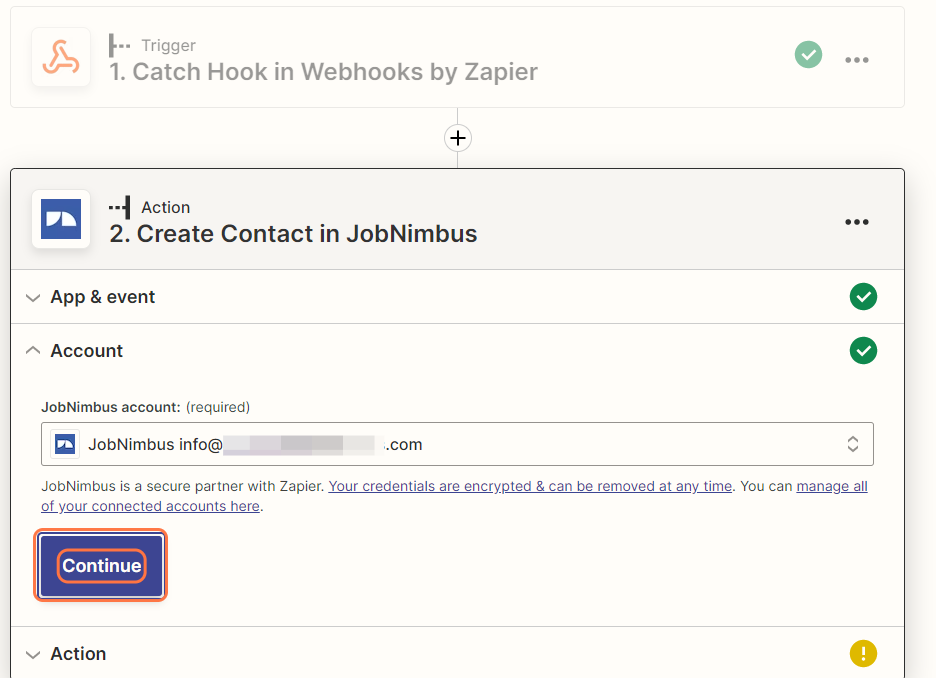
9. Select Your Account, then Click 'Continue'
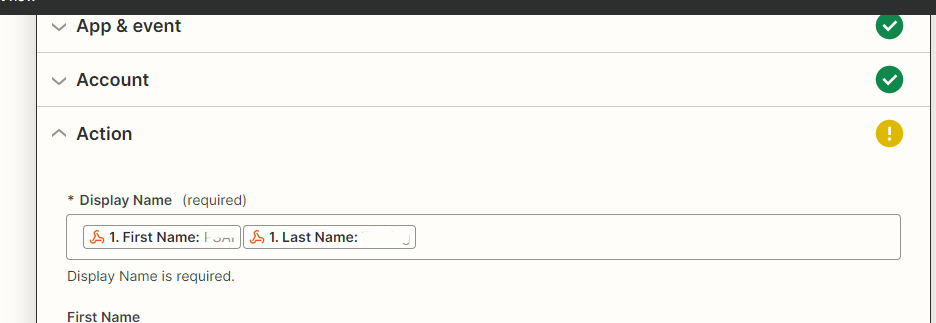
10. Select the Display Name
In the Action section of creating a contact, you will first select the first and last name for the Display Name.
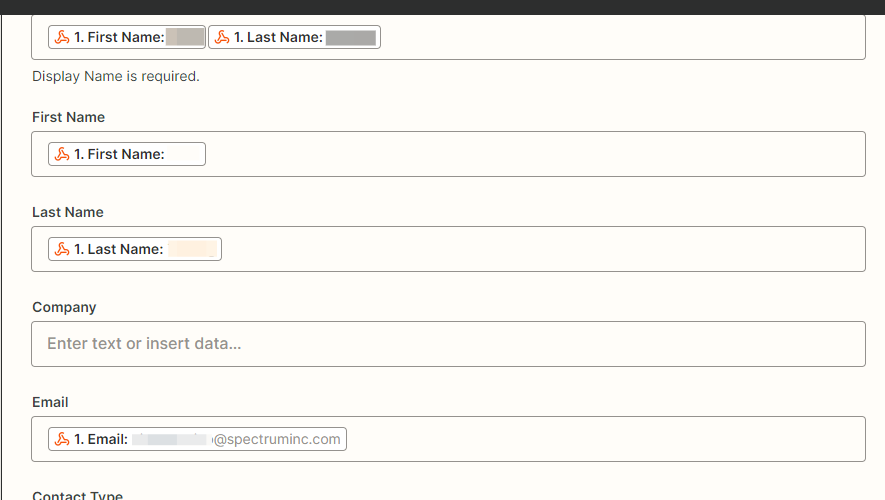
11. Select Remaining Fields in the Form
Select the correct information for the remaining fields of the form:
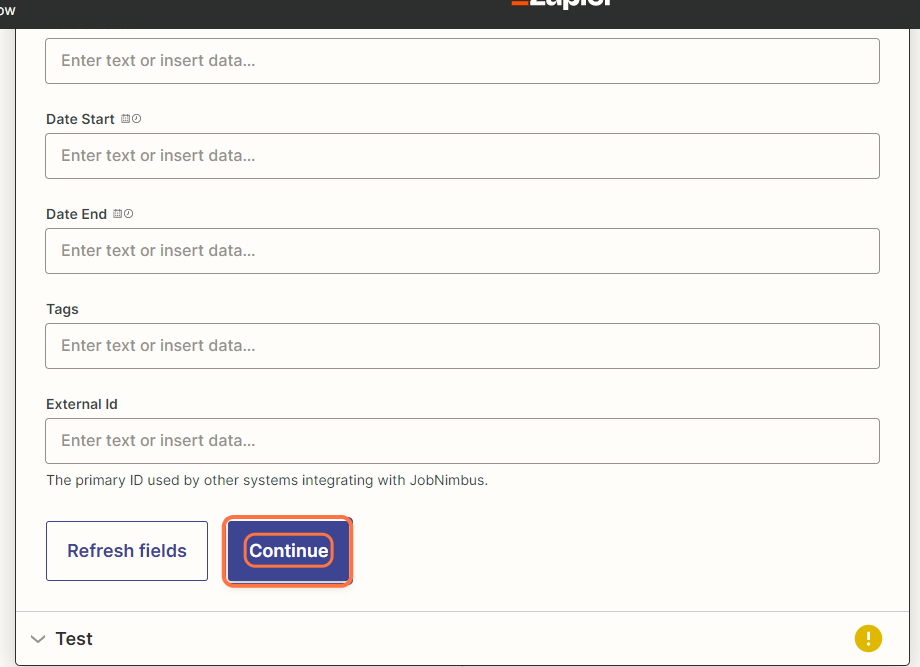
12. Click 'Continue'
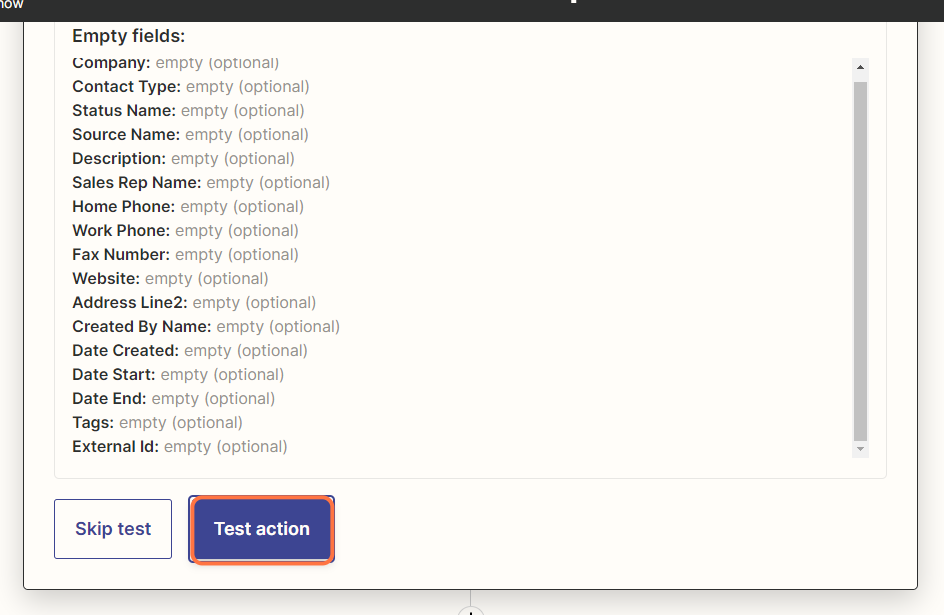
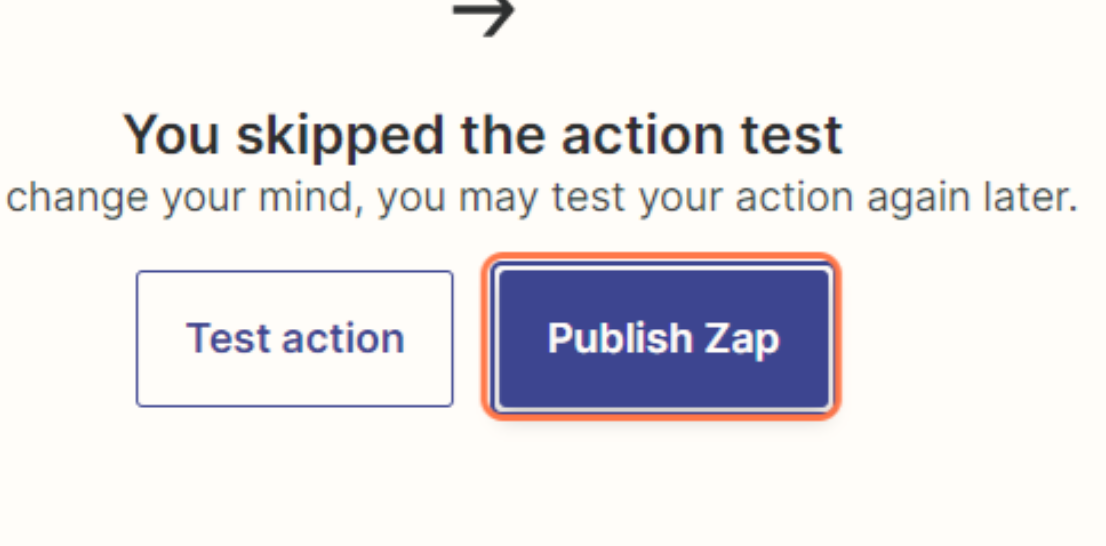
13. Click 'Test Action'
14. Navigate to Your CRM & Confirm
Upon log-in to your CRM, confirm that the test lead has entered the system.
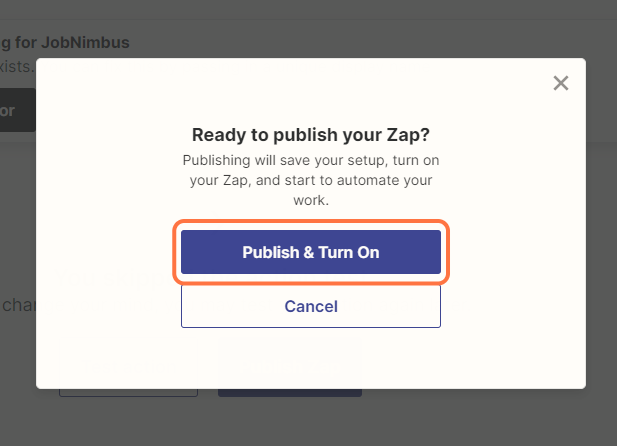
15. Click 'Publish Zap', then 'Publish & Turn On'
Even when you've set additional lead flow rules to an external CRM, your leads will continue to flow into your PSAI Com Portal. Learn how to use the Com Portal effectively—including our AI-powered Predictive Portraits—in these resources:
- Beginners' Guide to the Com Portal
- Communicating with Leads in the Com Portal
- Predictive Technology in the Com Portal