From the Site Tools dashboard, it's easy to change your chatbot's screen placement, color scheme, and more. You can make these edits at any time—both for a new chat app and an existing chat app that's already live on your site! Simply follow the steps below to customize your GIA chatbot.
In order to follow the instructions in this article, you'll need to first create and save your chatbot app.
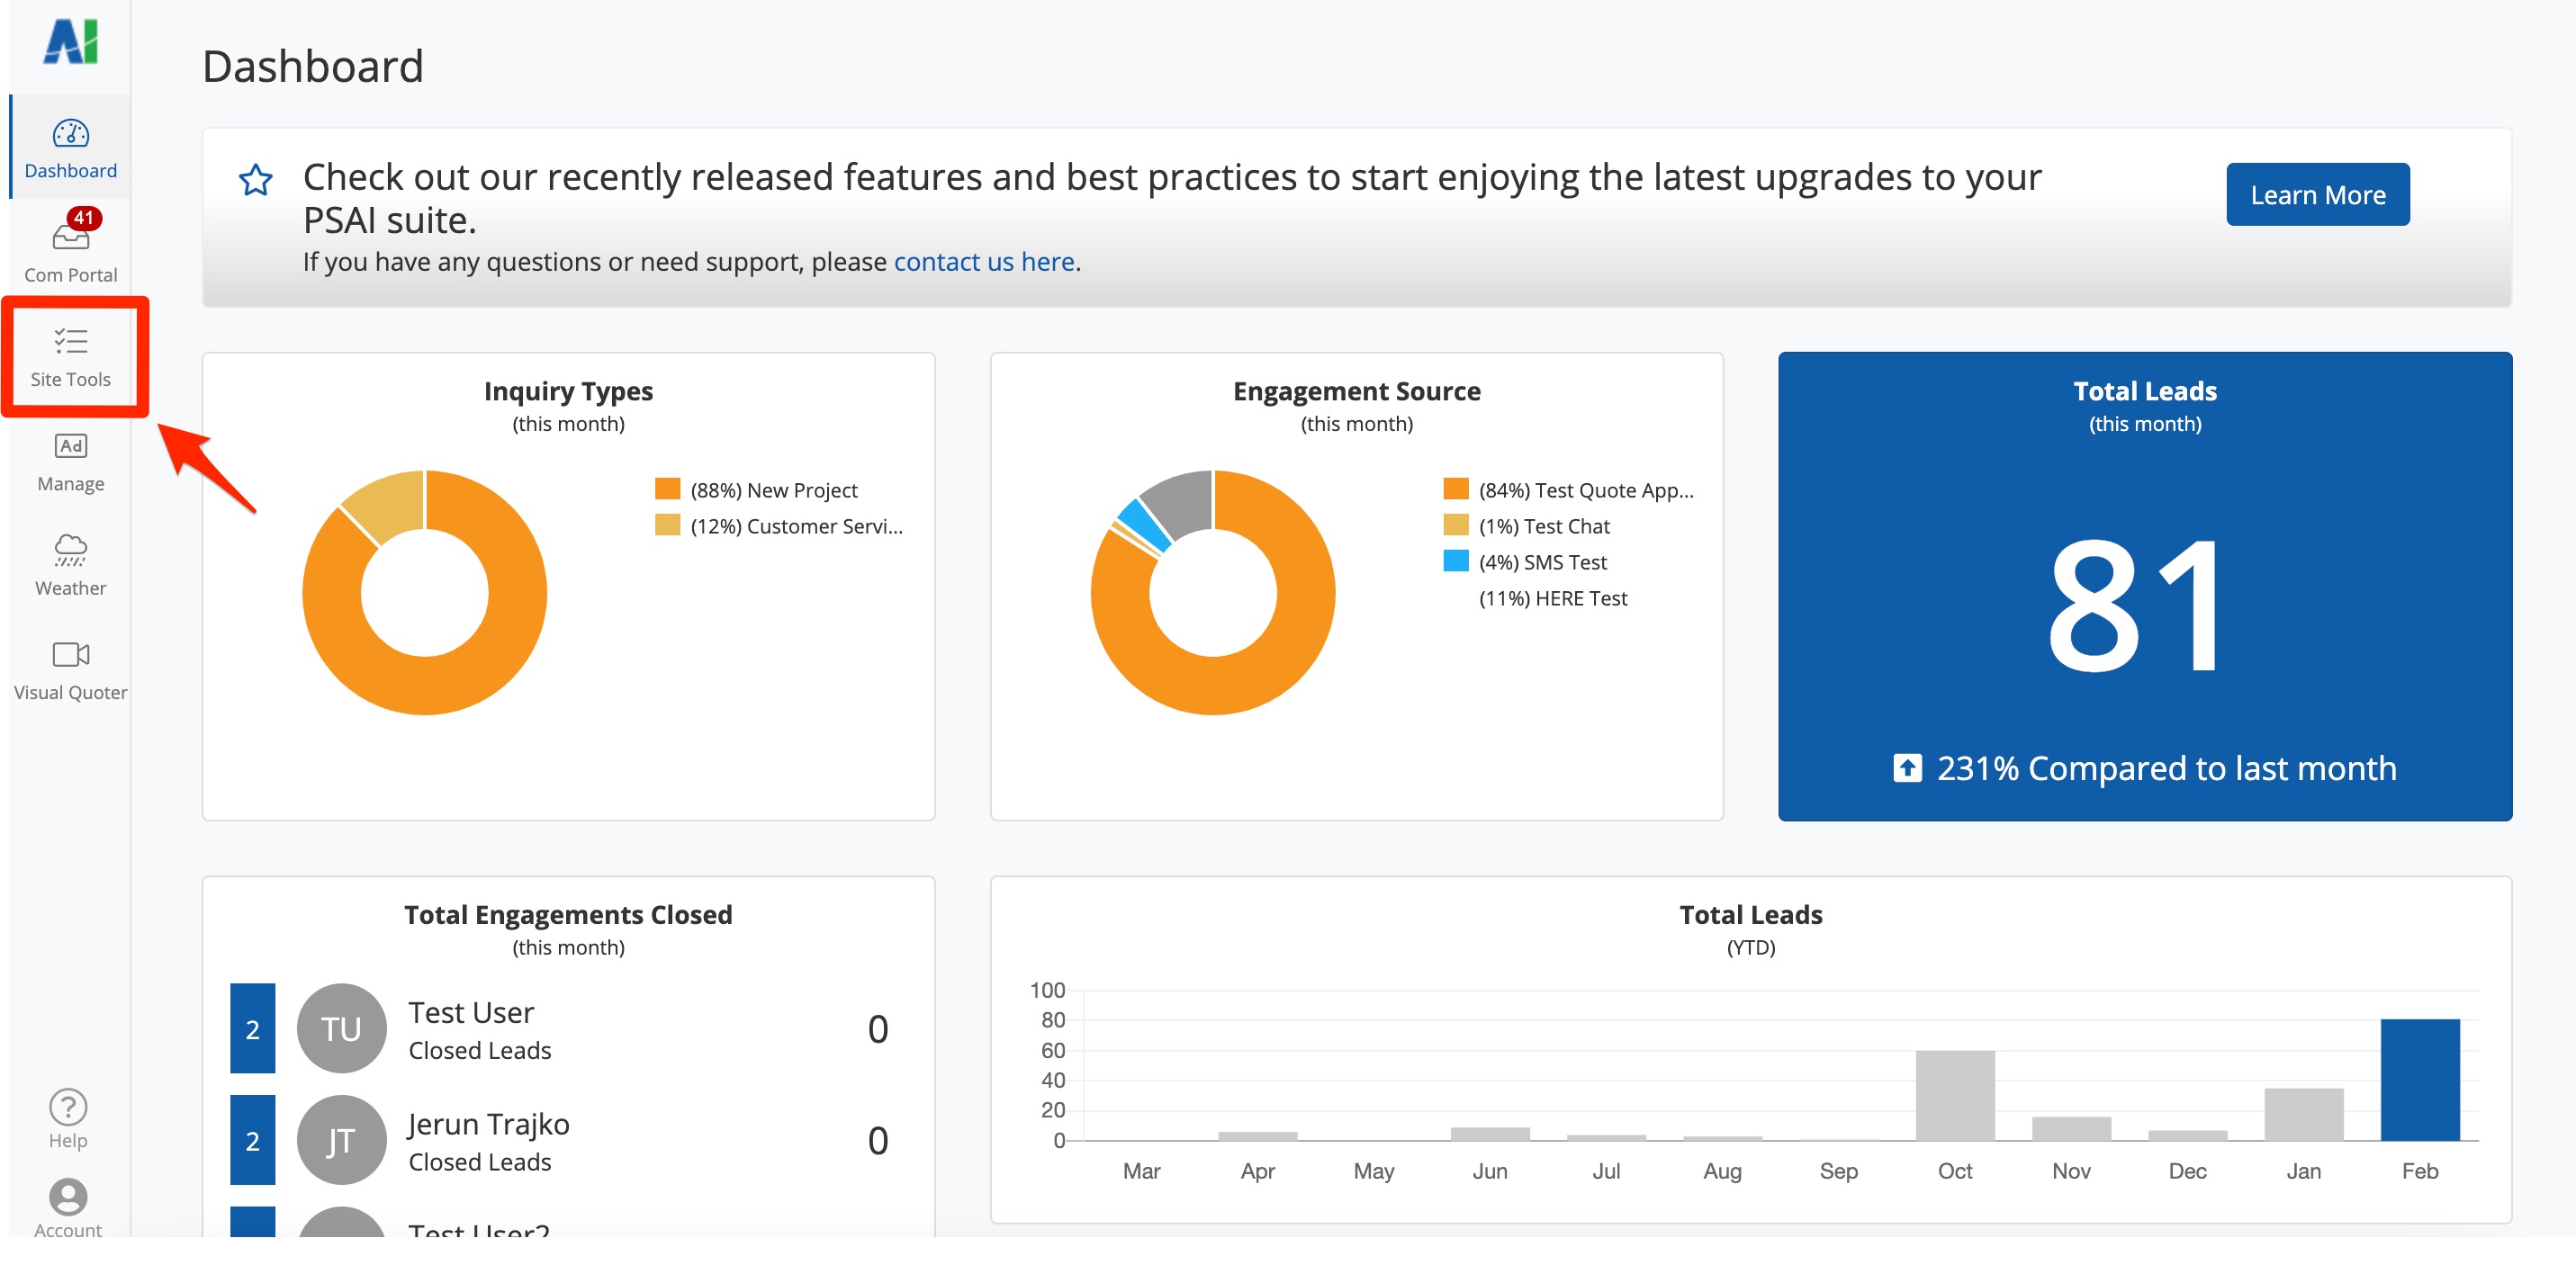
1. Go to Site Tools
Open the Site Conversion Tools page by clicking Site Tools from the left-hand toolbar.
2. Find the Chat App
Scroll through the site tools on the Site Conversion Tools page to find the one you're looking for. For faster searching, click the Chat filter or type into the search bar at the top of the page.
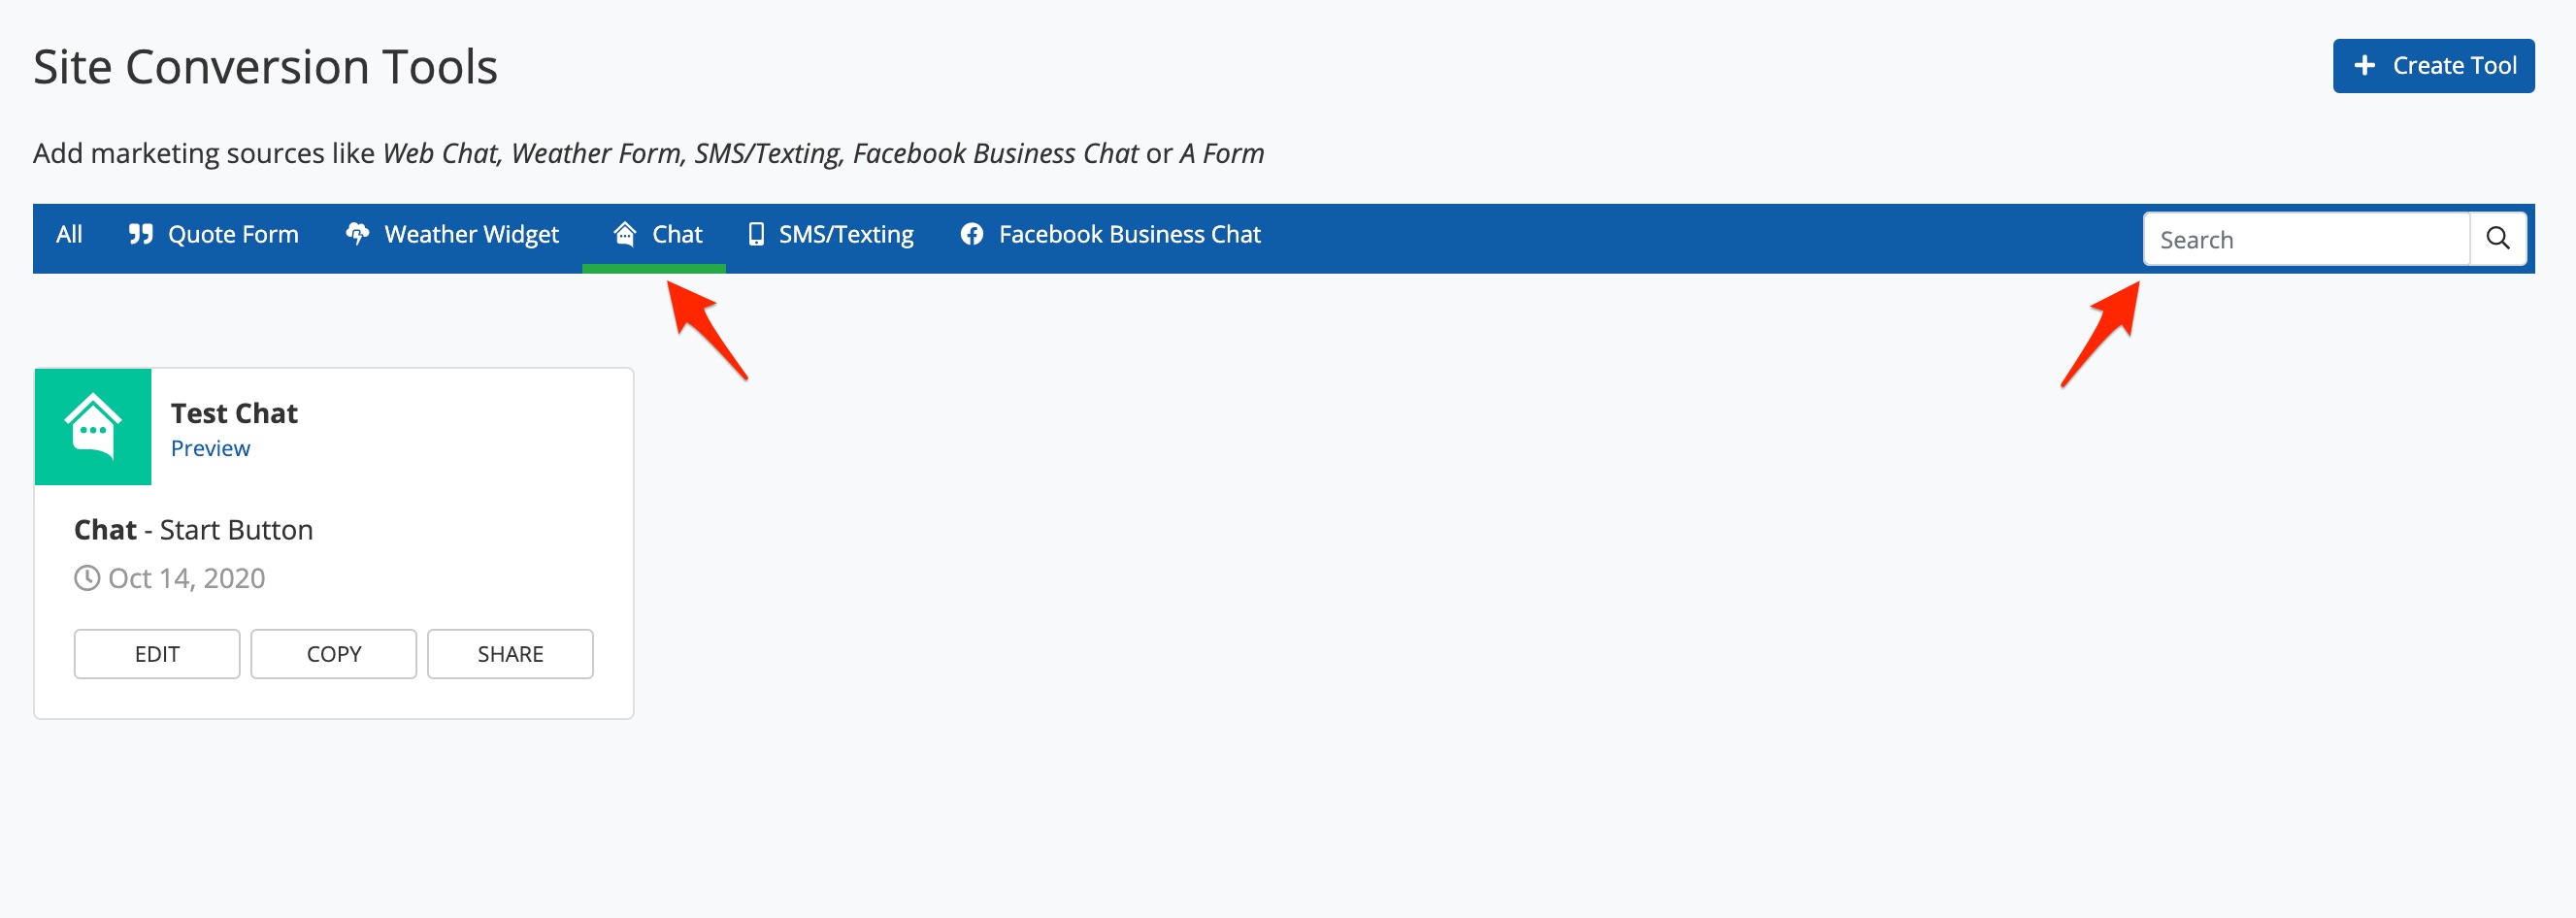
If you prefer to scroll through your list of site tools, you can easily identify chat apps at a glance by looking for the green square with a white speech bubble icon inside.
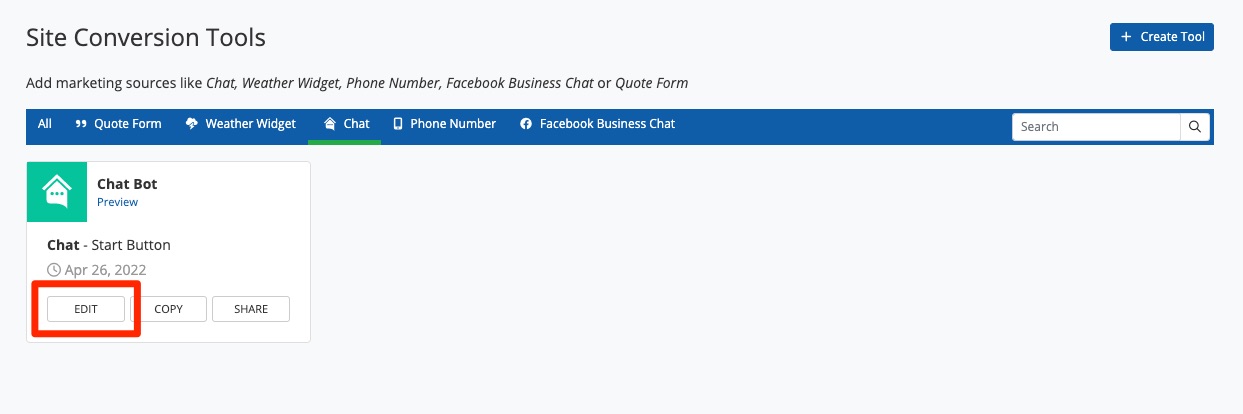
3. Click Edit
Once you've found the chat app, click Edit.
Then click into the Customize tab.
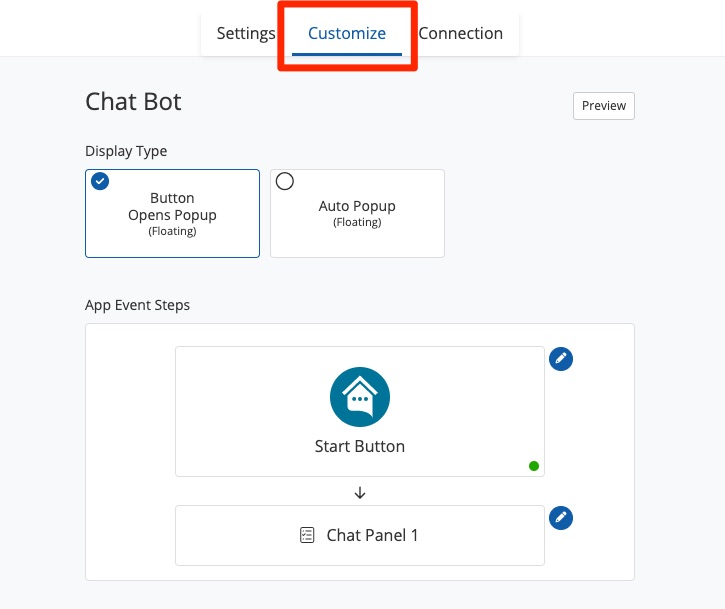
4. Choose the Display Type
From the Customize tab, you'll be able to make all the changes that you want. The first section that you can customize is the section for Display Type.
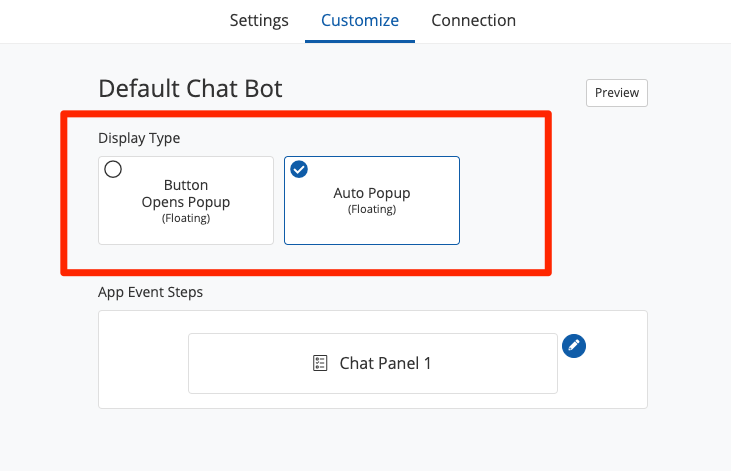
This setting controls how your chat app will display on your website. It can either float above your website all the time, or it can pop up automatically whenever a website visitor goes to leave the page.
Need help choosing a display type? See some examples of the three site tool display types.
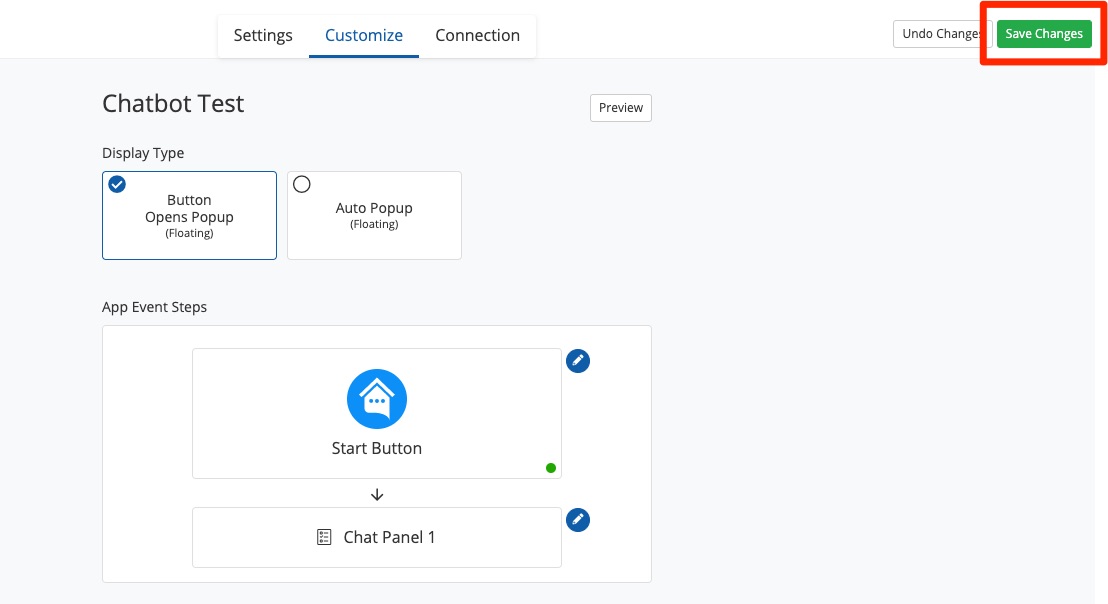
5. Customize App Event Steps
The next section that you can customize is App Event Steps.

This section is used to customize everything about your chat app, including the background color, the button color, and more.
For more guidance on editing app event steps, take a much deeper look into the different options for customizing your chat app.
6. Save Your Changes
When you are satisfied with your chat customizations, click the "Save Changes" button in the upper right-hand corner.
That's it! Your changes will be reflected on your live chatbot immediately, and you can return to edit the app at any time in the future by following the instructions above.
Next: Add It to Your Website
If you're customizing a brand-new chat app, then your next step will likely be to add it to your website. Head over to our instructions on adding site conversion tools to your website to learn how.
If you're customizing a live chatbot, you do not need to take any additional steps. Your changes will be reflected on the live chatbot as soon as you save them in PSAI.