GAF Warranty Notifications are an important tool for your business, and ensuring that these notifications are flowing directly into your GAF WeatherHub Portal is essential. By activating GAF Warranty Notifications in WeatherHub, you can feel confident you'll never miss an opportunity when severe weather strikes.
Setting Up Your GAF Warranty Notifications
Follow the simple steps below to manually set up a GAF integration with your PSAI account.
1. Log Into Your GAF WeatherHub Account
2. Navigate to Settings
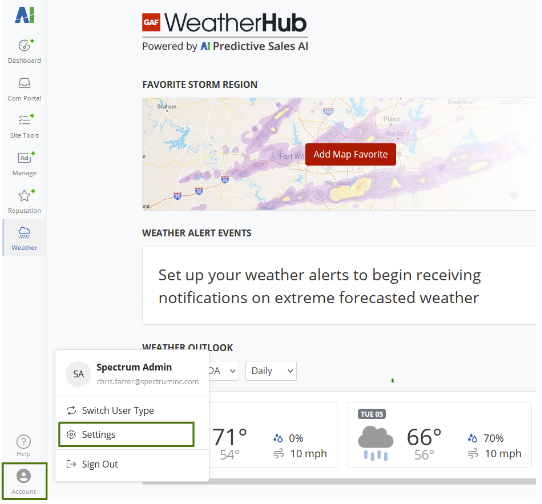
From your GAF WeatherHub Dashboard, click on the Account icon located in the bottom left of the screen. Then click the Settings option.
3. Select the Integrations Tab in the Company Section
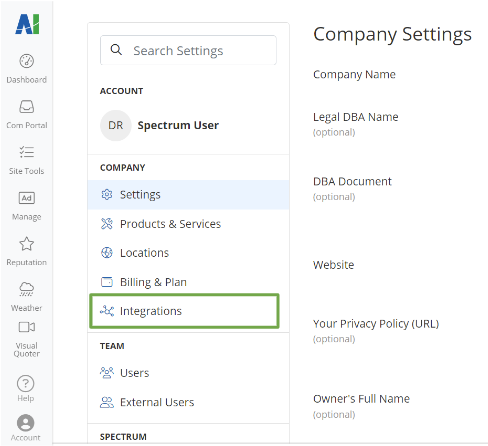
From the Company Settings display, choose Integrations from the left-side menu.
4. Add a New Connection
Click on the + Add Connection button in the top right of the Integrations display.

5. Select GAF
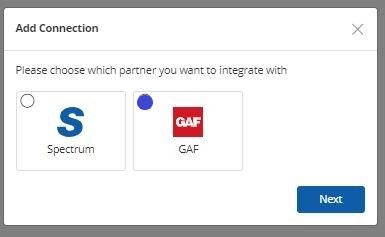
In the Add Connection screen, select GAF, and click Next.
6. Add Your Contractor ID
Add your Contractor ID in the appropriate field under General Account Details.
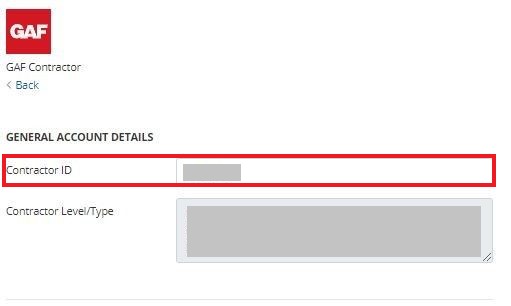
Only one Contractor ID can be added per PSAI account.
7. Add Emails for Notifications
Within the Notifications section, add email addresses to the Email Notifications field for everyone who should be notified of incoming GAF Warranty Notifications.

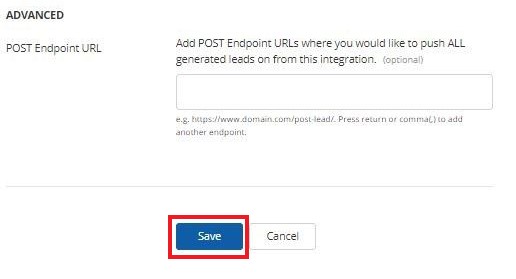
8. Click the Save Button
To save the settings for the GAF integration, click the Save button at the bottom of the display.
Next Steps—GAF Warranty Notifications
Once the above process of GAF integration with PSAI is complete, you're ready to start receiving GAF Warranty Notifications! These notifications will flow directly into the WeatherHub, where you can manage all new notifications.
Learn More About GAF Warranty Notifications:
- Overview: GAF Warranty Notifications
- Why Can't I Use Every Feature in PSAI as a WeatherHub User?
- How Do I See the Storm that Triggered the GAF Warranty Notification?
- Why Am I Not Getting Any GAF Warranty Notifications?
Not enrolled in WeatherHub? Start getting GAF Warranty Notifications by signing up today!