In the Customize tab of every site conversion tool, you'll be able to fine-tune that app's design and appearance. (This tab is also where you can set the display type for your site tool.)
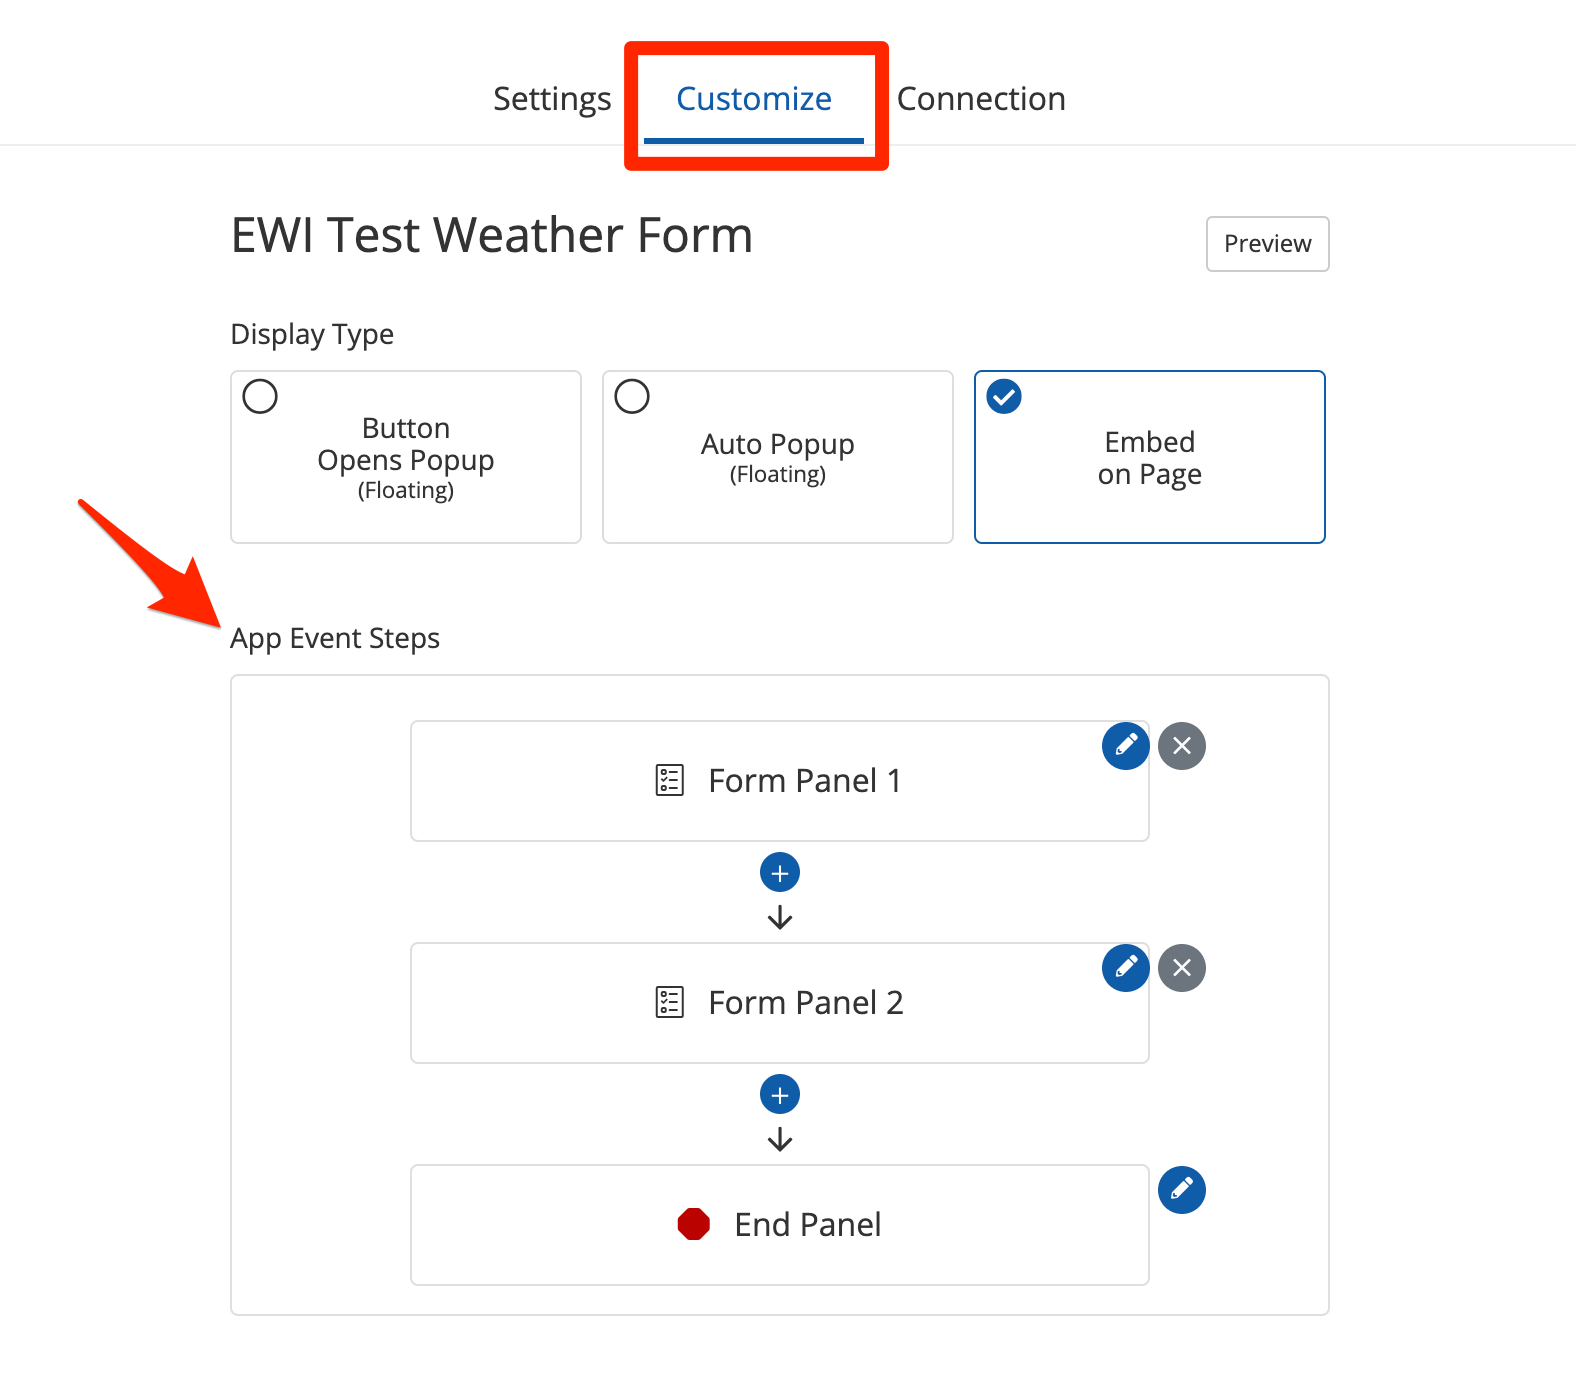
You'll use the App Event Steps section to customize how each individual app looks, what it says, and how website users can interact with it.
Beginner Tips for Customizing PSAI Site Tools
Before we dive into the specific ways you can customize each PSAI app, let's review some basic tips for understanding how app customization works. If you want to skip straight to the customization instructions for each type of PSAI app, jump down to that section now.
1. Different Apps Have Different Customization Options
The App Event Steps panel will offer slightly different options based on the type of app you are customizing. A Quote Form, for example, has different customizations available than Chat or a Phone Number (which doesn't have any).
Don't worry, though. The tool will only show you the customizations available for that particular app type.
Want a refresher of Site Tools and how they work? Then start with our Site Conversion Tool overview.
2. A Single App Can Have Multiple Panels
Under App Event Steps, you'll see that some types of apps can have more than one panel. (You can think of a "panel" as a single step in the process of that app.)
For instance, the Quote Form shown below has four separate panels. This means that the user would progress through four different steps in the process of completing the form.

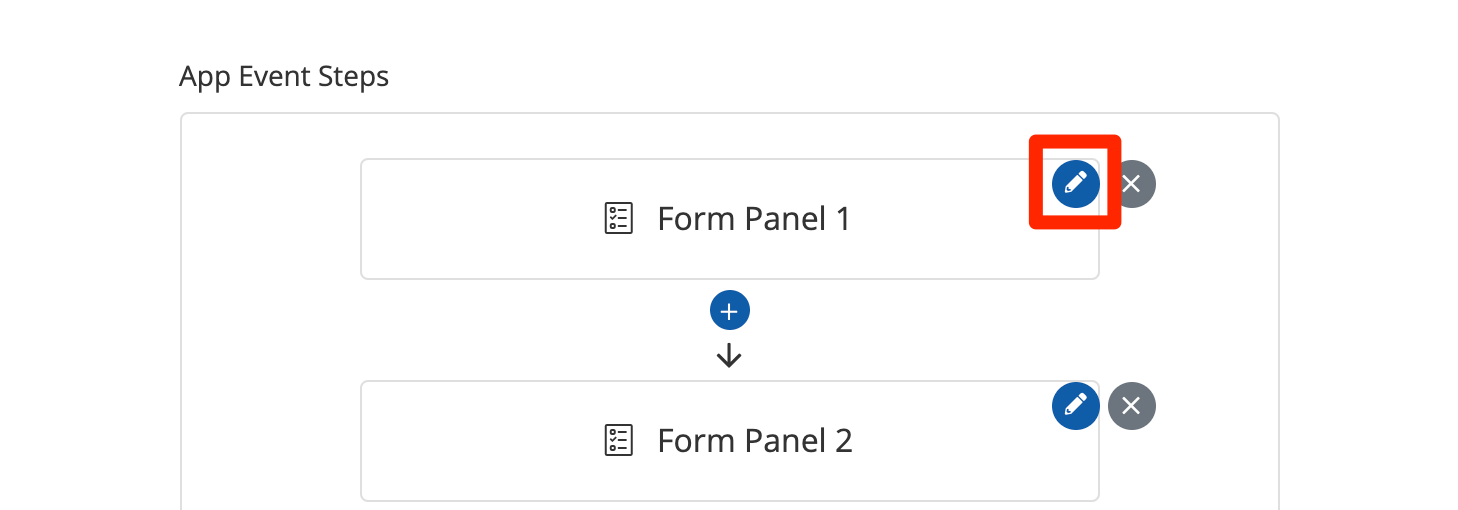
3. All Panels Can Be Customized
No matter which app you are working with, each panel can be customized. Just click the pencil to see all of the customizations available for that specific panel in that specific type of app.
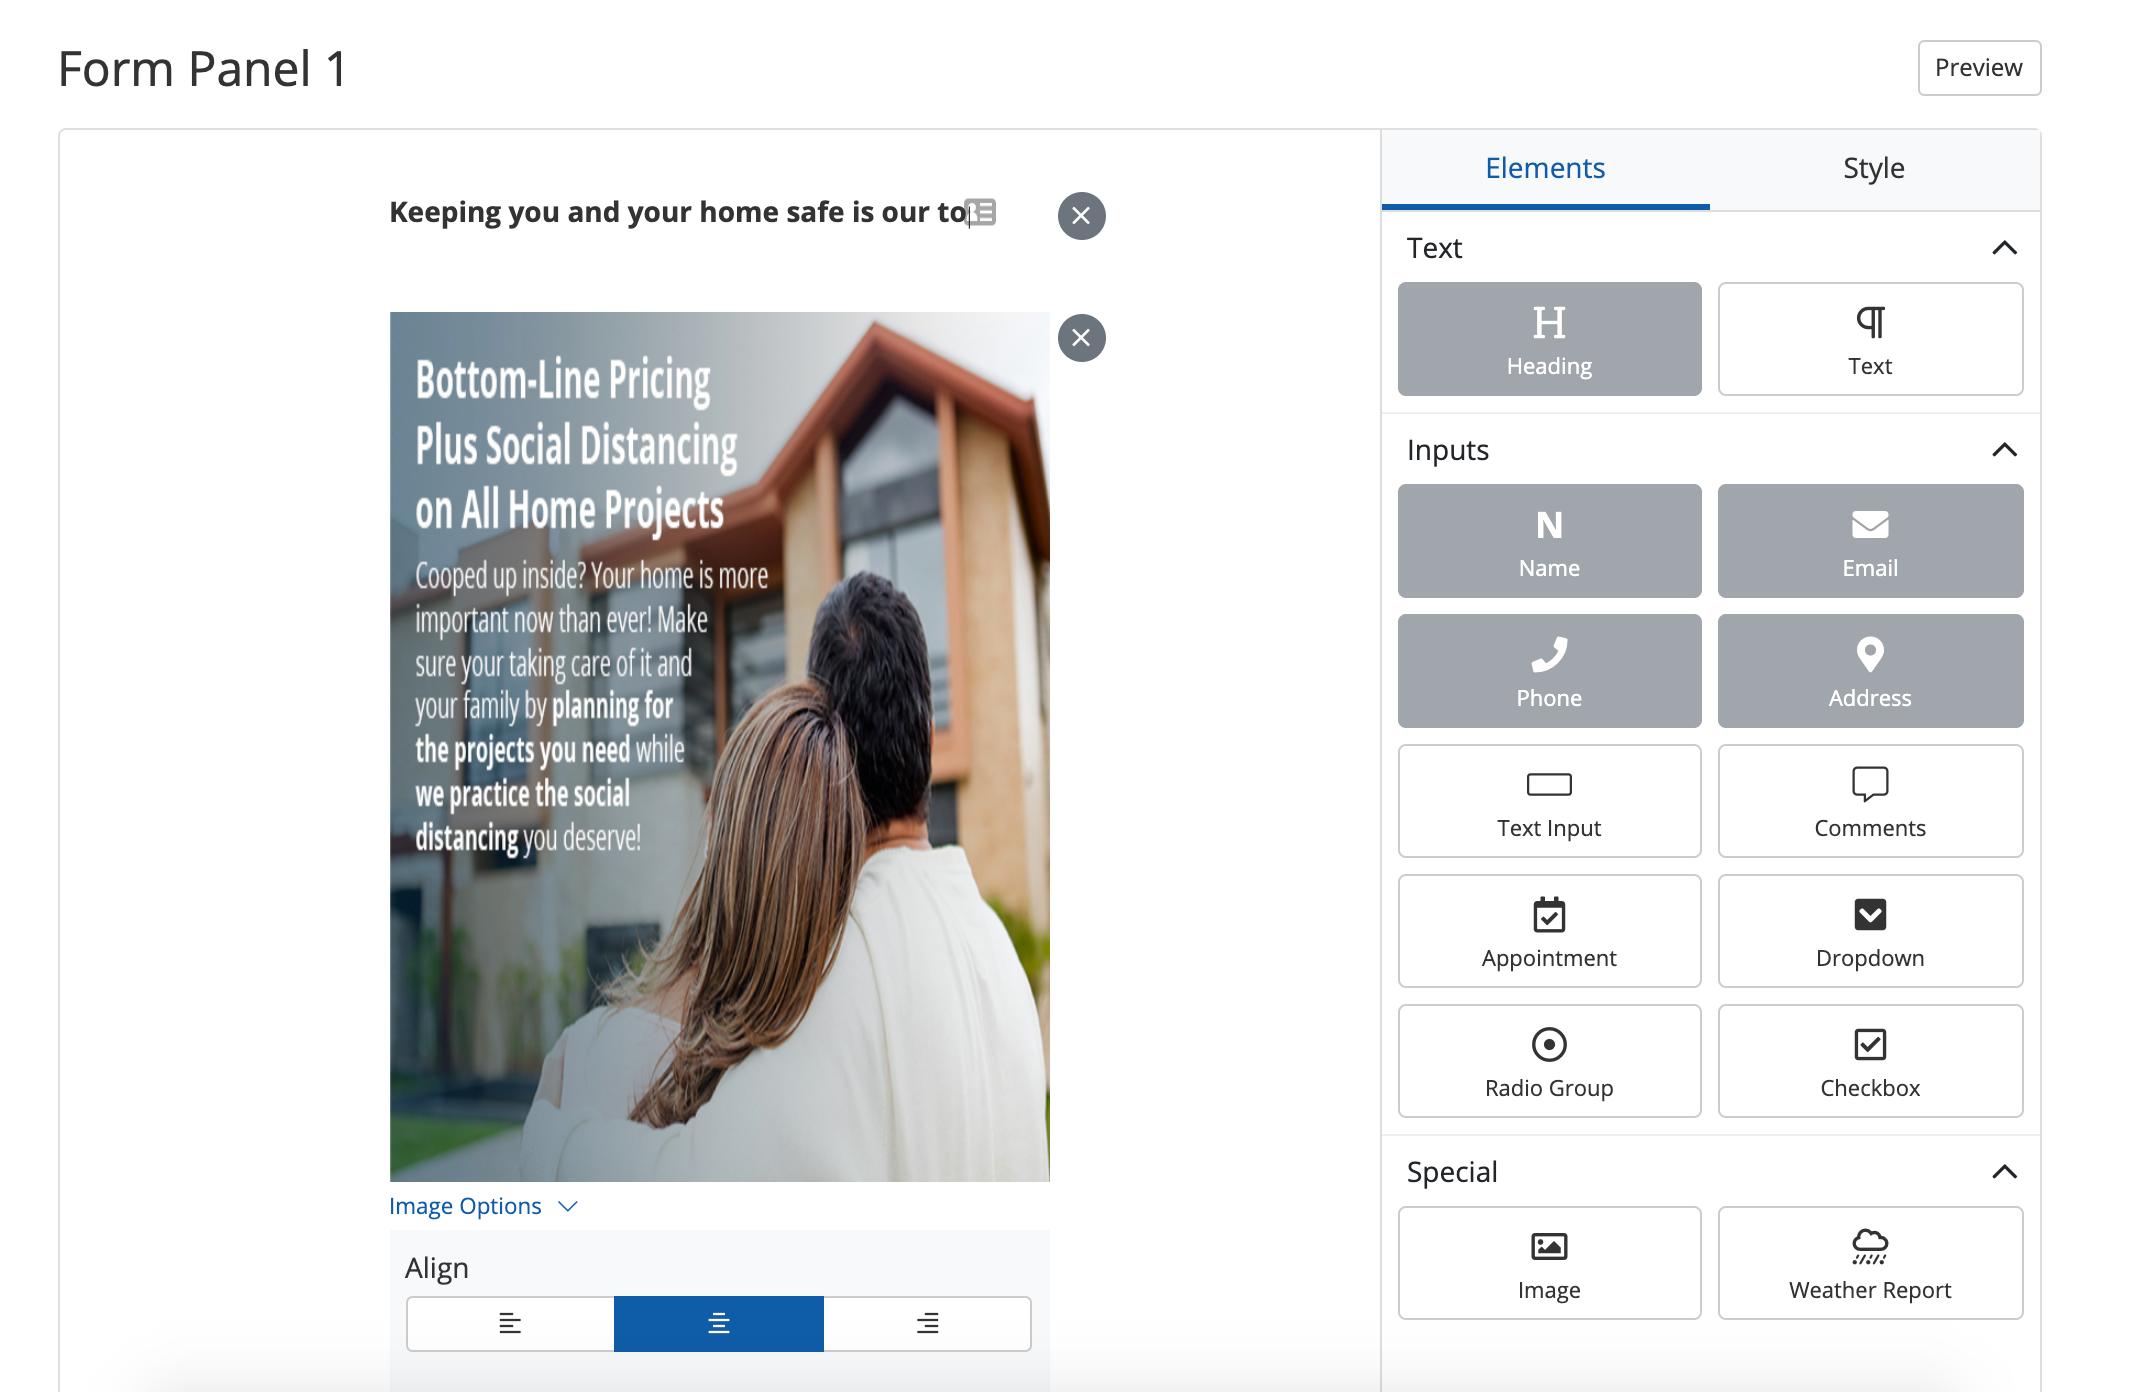
For example, clicking the blue pencil icon in this specific form panel brings up the advanced customization screen shown below. Here you can edit existing elements, like headers and buttons, or you can add new elements, like a comment box or an appointment scheduling box.
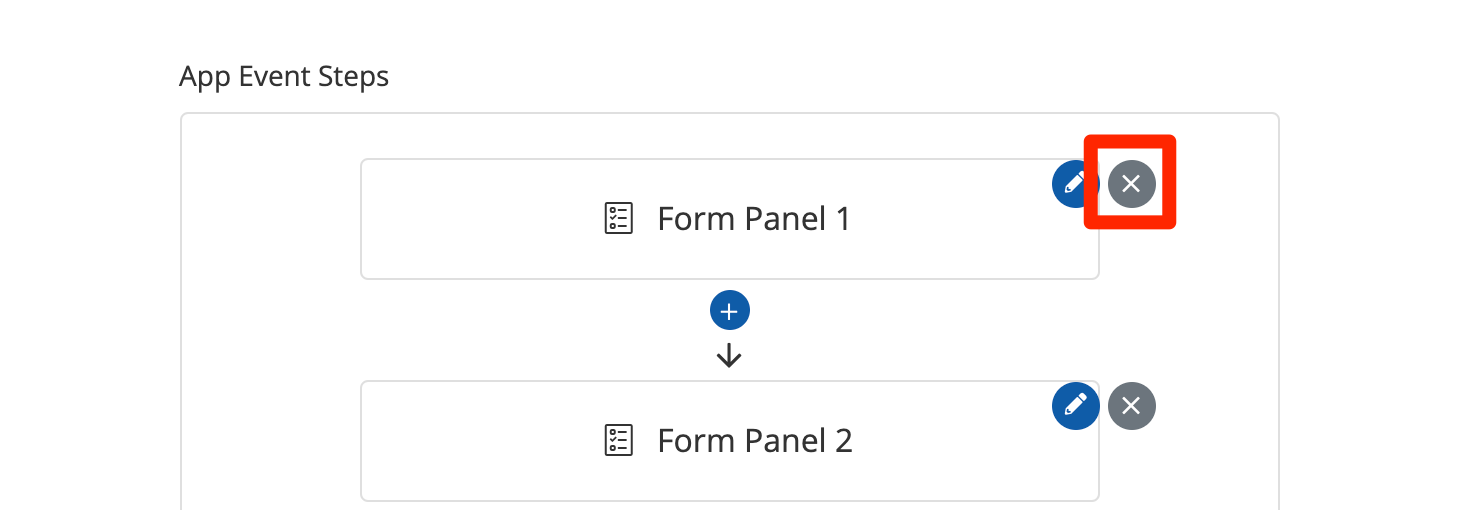
4. Click the Gray X to Delete a Panel
To completely remove a panel, click the gray X.
5. Drag Panels Around and Insert New Ones
As you customize your app, you may decide that you don't like the order. Simply drag panels to rearrange them and click the blue plus sign (+) to insert a new panel between existing panels.

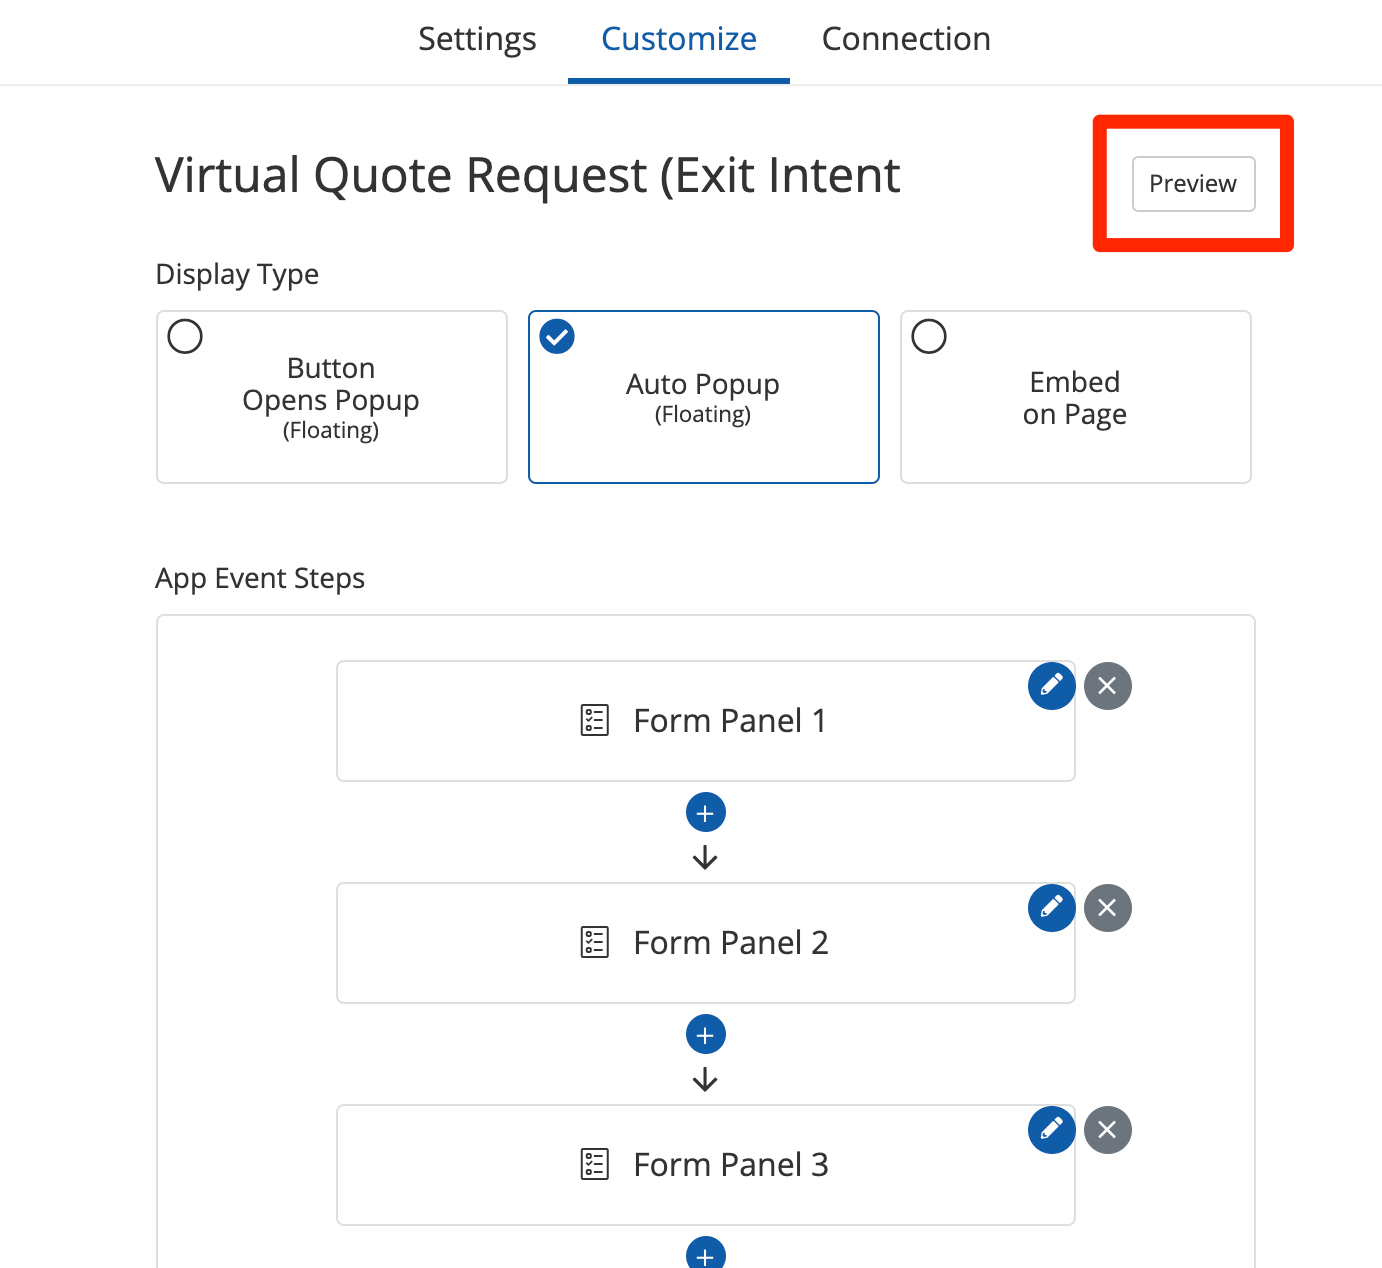
6. Preview Your Changes Frequently
To check your progress as you go, don't forget to click the "Preview" button in the upper right corner. This will open a new tab in your browser where you can see exactly how your app will appear to users.
The GIF below illustrates just how useful the Preview feature can be. (It shows the Preview version of the exact same quote form that we've been editing in the screenshots above.)
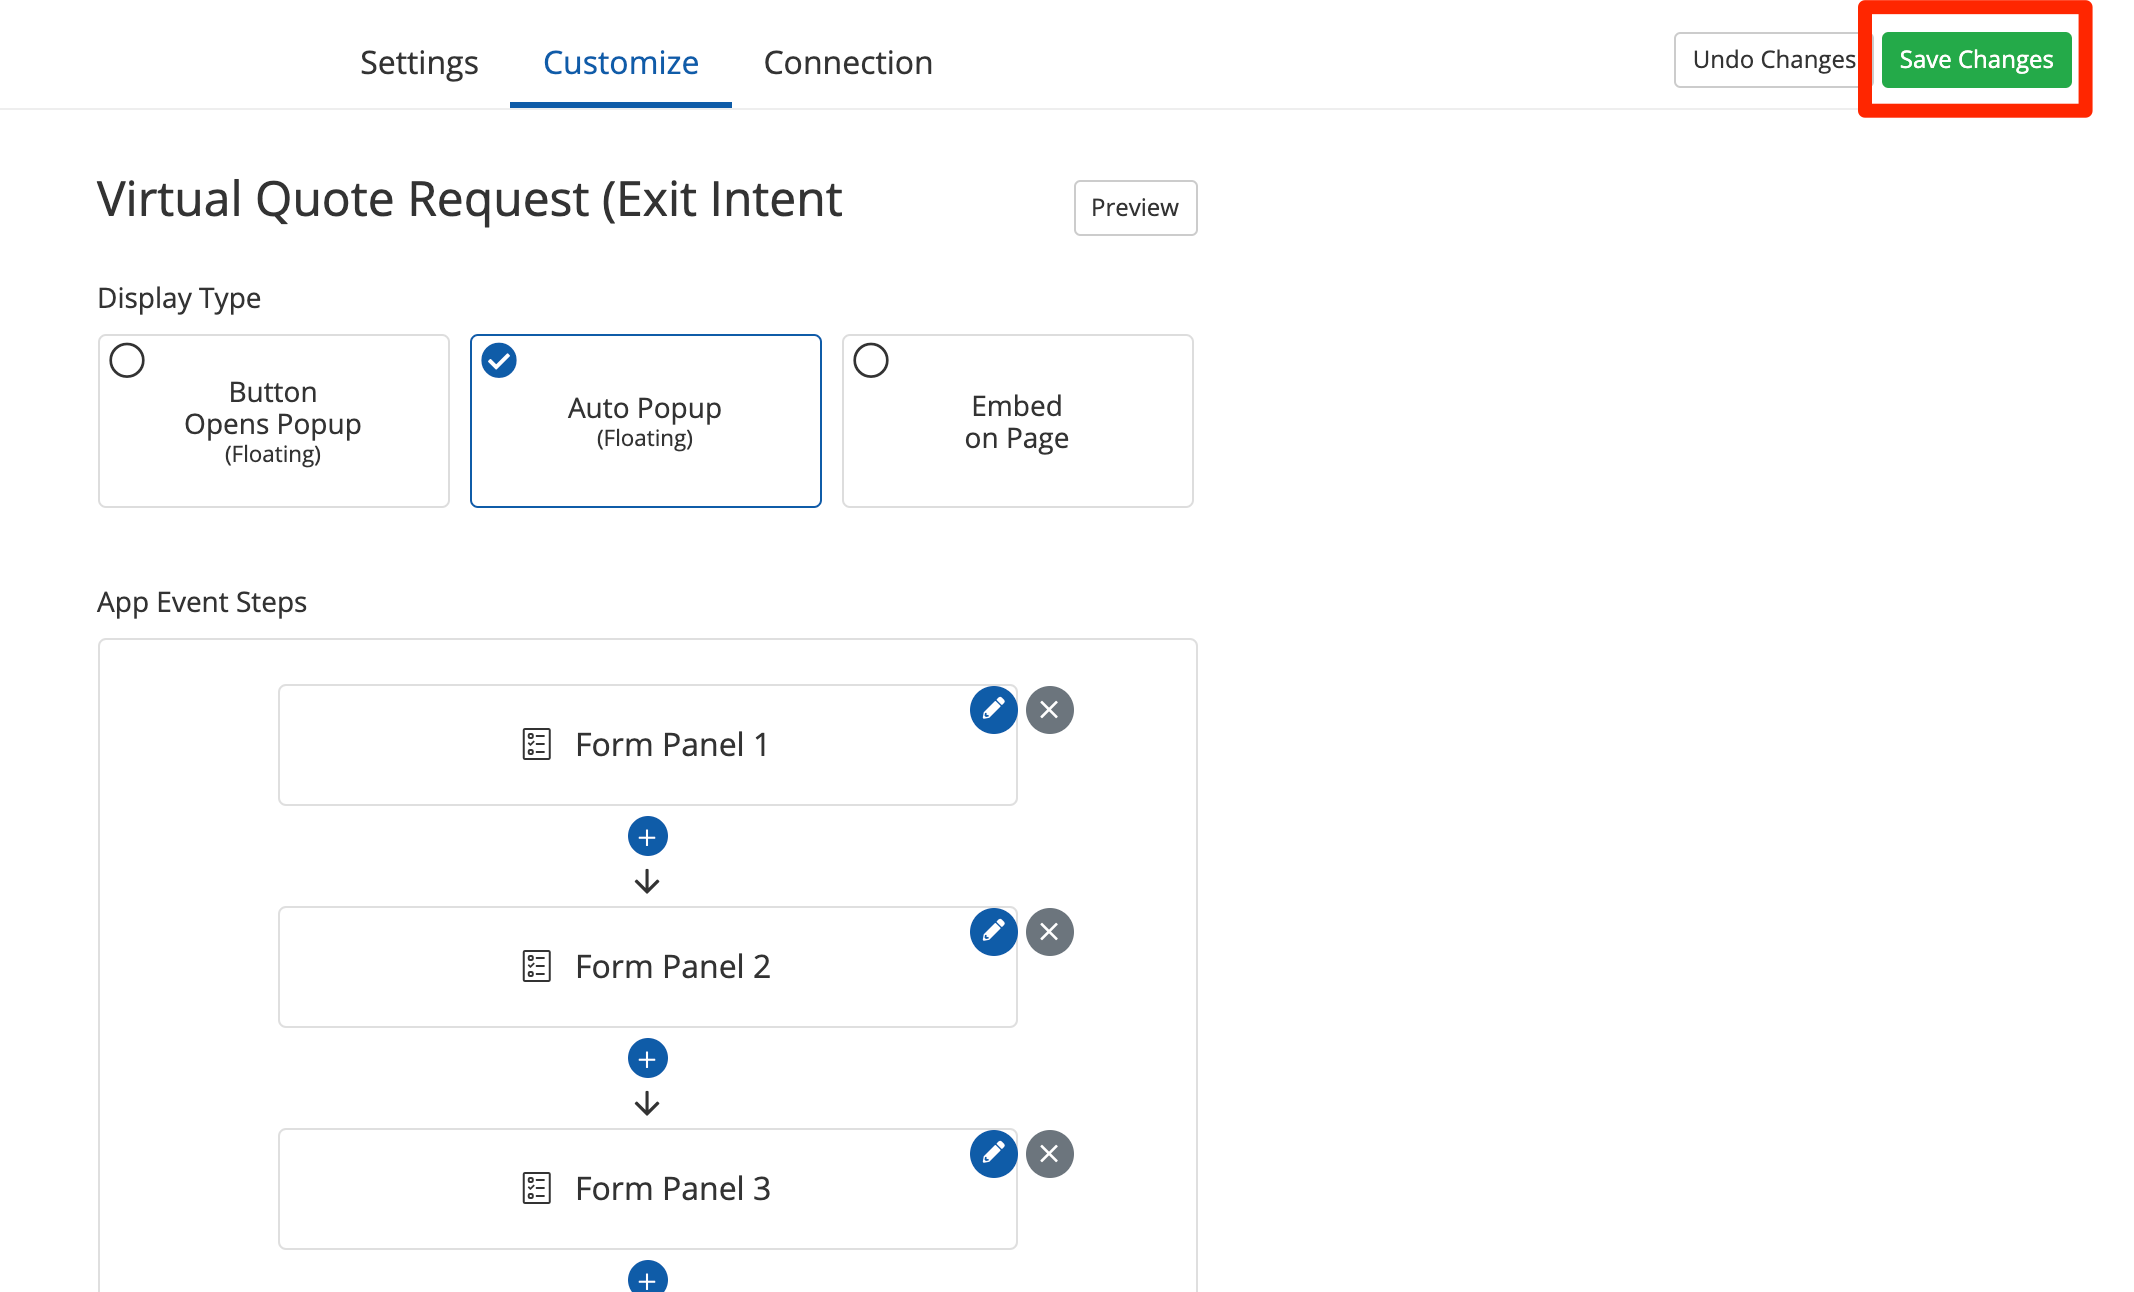
7. Don't Forget to Save Your Changes
As soon as you've made changes to your app, the system will prompt you to either undo your changes or save them. Click "Save Changes" if you're happy with your edits.
To get familiar with site tools, we recommend playing around with them yourself! Create one new site tools and experiment with their settings and designs. Until you add the site tool to your website, nobody will see your experiments except you and your company's PSAI users.
How to Customize Different Site Tools
For more detailed explanations of how to customize the different site conversion tools, check out the articles below:
Please note that the other two PSAI site tools, Phone Number and Facebook Business Chat, cannot be customized further.