To give your employees access to the Com Portal, Ads Manager, and other PSAI tools, you'll need to add them as PSAI users. For each new user you'd like to add, follow the instructions below.
Please note that there is a difference between internal users and external users in PSAI. If you would like to share lead information without providing PSAI login access, then you should add a new external user instead.
1. Go to Users
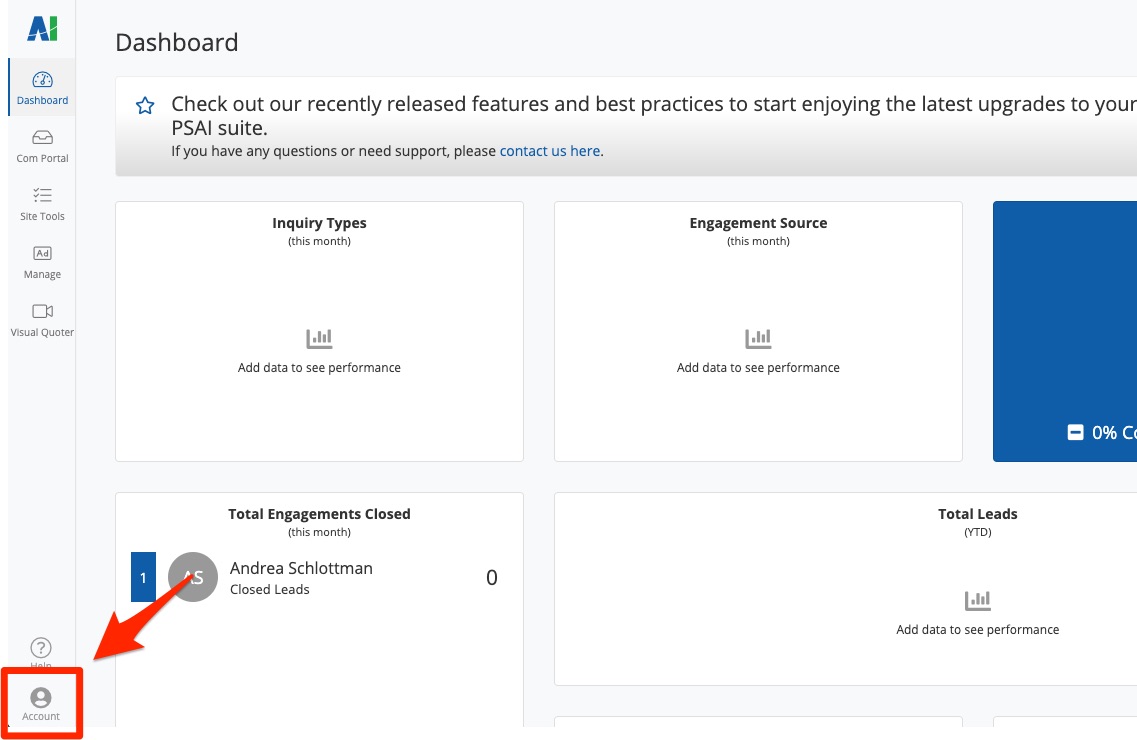
To add a new user, first click Account from the bottom left corner of your PSAI admin portal.
Then click Users from the left-hand menu to open the Users page.
2. Add a User
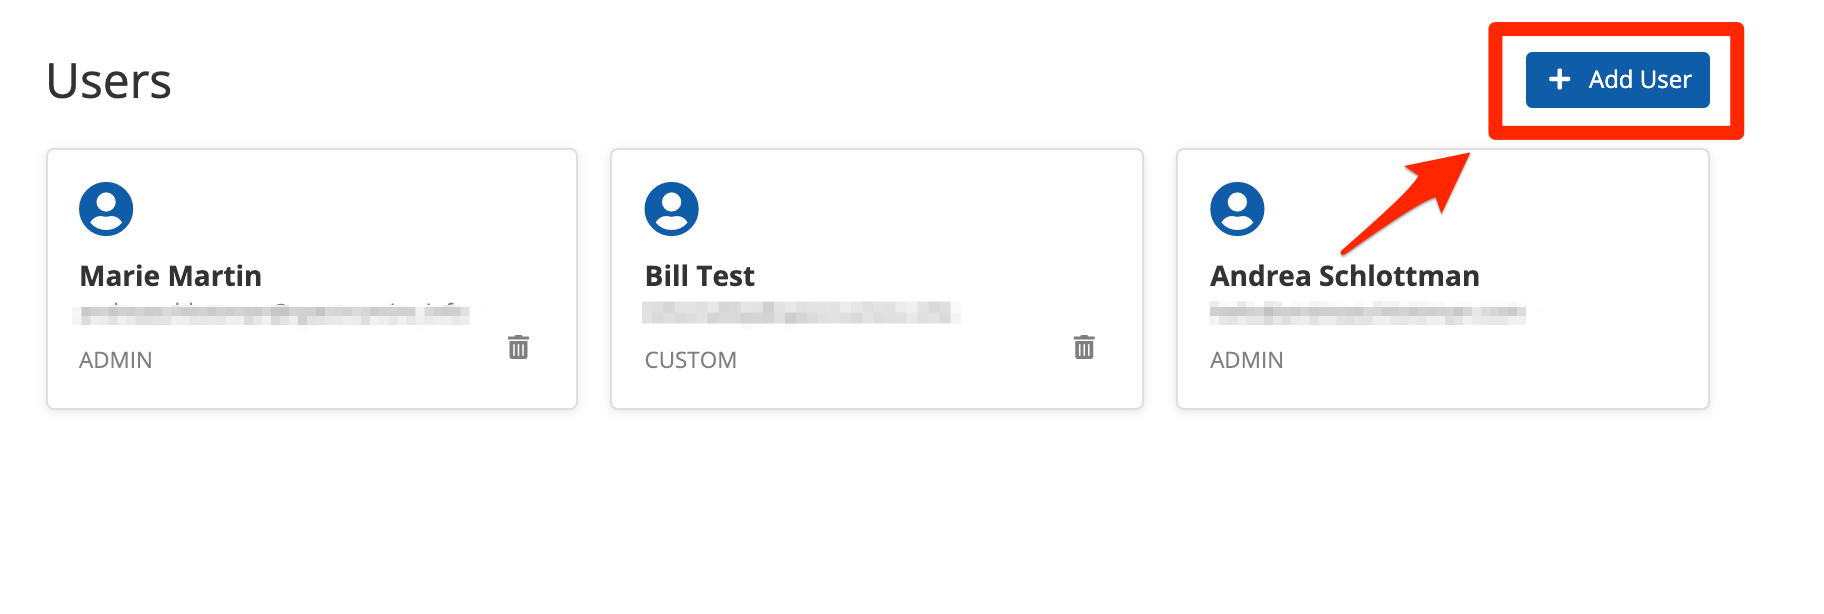
On the Users page, click the blue button for + Add User.
3. Complete the User Details
On the individual User page, fill in the information for the user following the guidelines below.
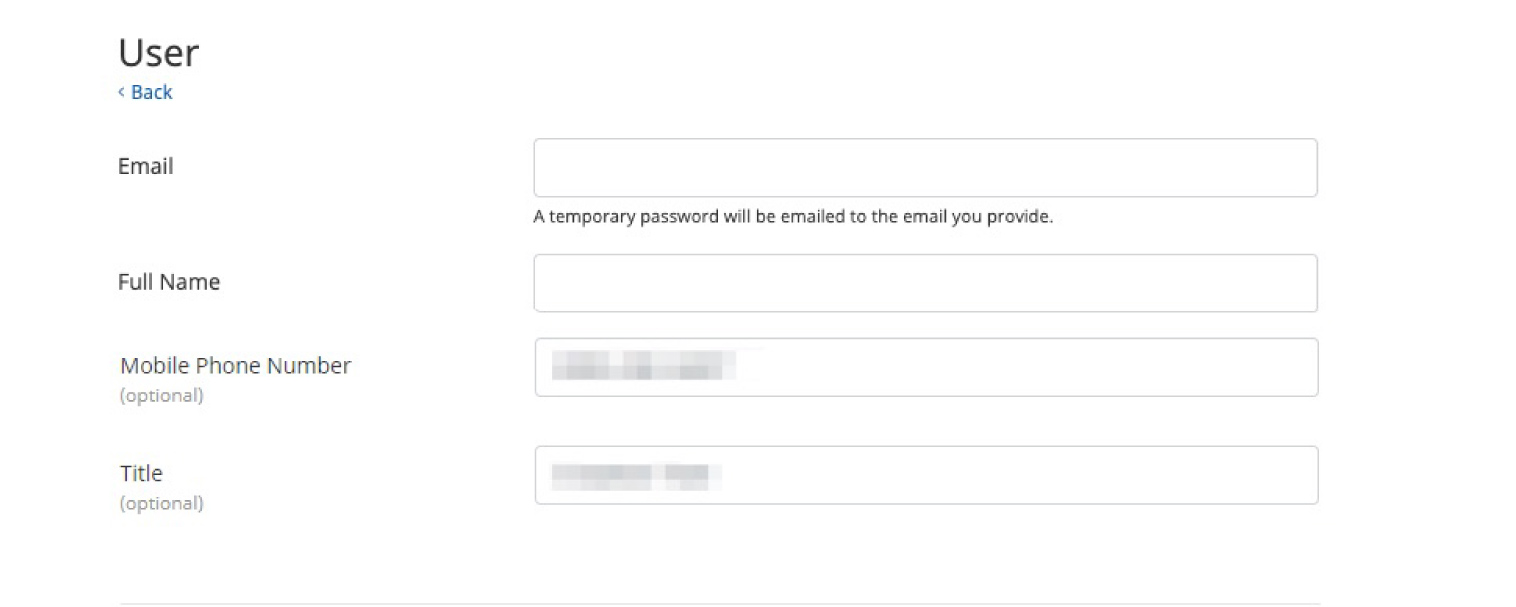
User
The top section includes the following fields:
- Email: Enter the user's email address, which will be the email address used to log into PSAI at this address: https://apps.predictivesalesai.com/admin/login/.
- Full Name: Enter the user's full name, which will be visible to all PSAI users.
- Mobile Phone Number: This field is optional. By adding a mobile number here, PSAI will save the number to its database and provide it as a suggested number for any phone number entry field (such as SMS notifications for Site Tools).
- Title: This field is optional and allows you to add a job title.
Access
The Access section allows you to set that user's access level within PSAI. As shown below, you can get very granular with the features that you'd like to grant or restrict access to.
Learn more about these different PSAI user permissions here.
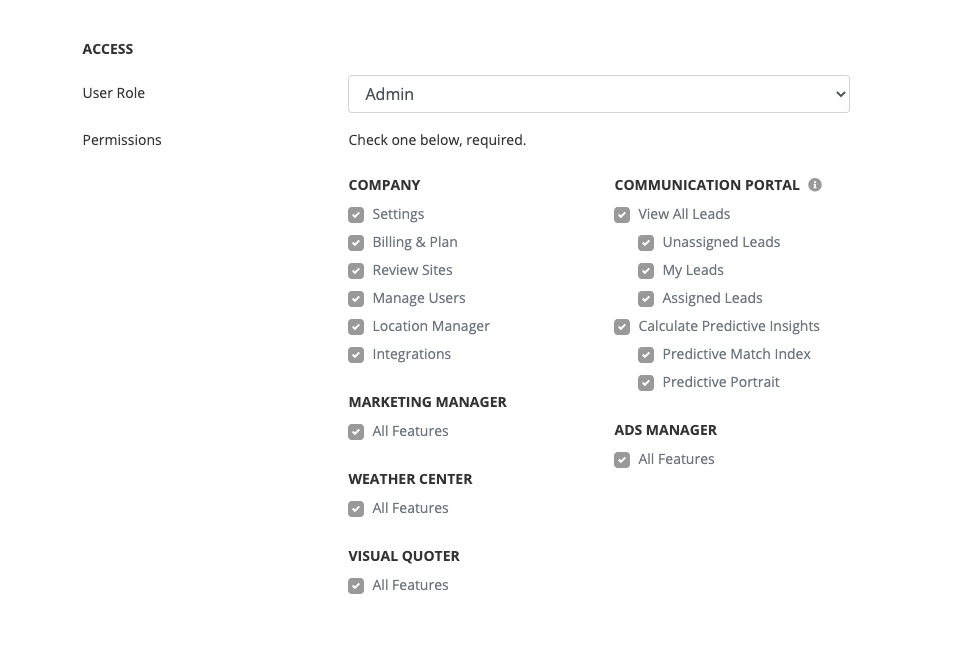
When setting a user's access level, you can even create and save custom roles based on how your staff needs to use PSAI. Learn more about creating custom user roles here.
PSAI has one default user role called Admin, which has access to all features and cannot be deleted. To ensure that your staff maintains proper access at all times, at least one PSAI user must be an Admin.
Profile Image
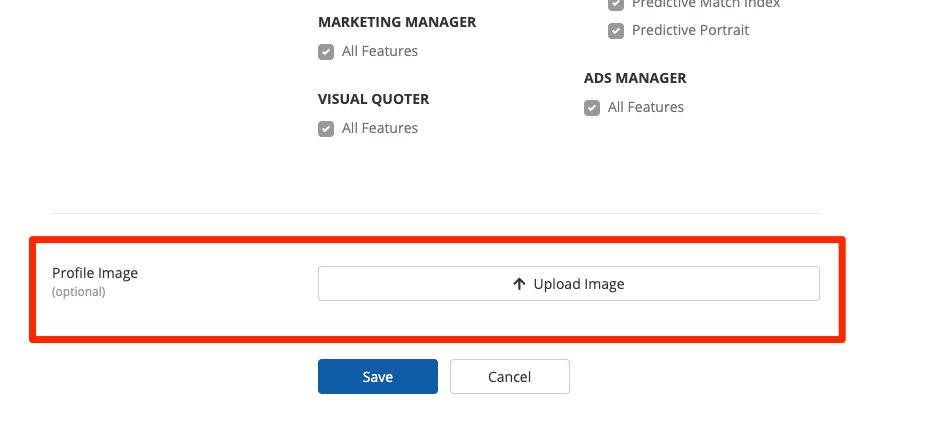
While the profile image is optional, we do recommend uploading one if this PSAI user will ever interact with leads via chat. A profile picture serves two benefits:
- It will help homeowners understand when the chat has switched away from Gia and to a real live person.
- It will make your representatives (and your company!) feel more relatable and personable.
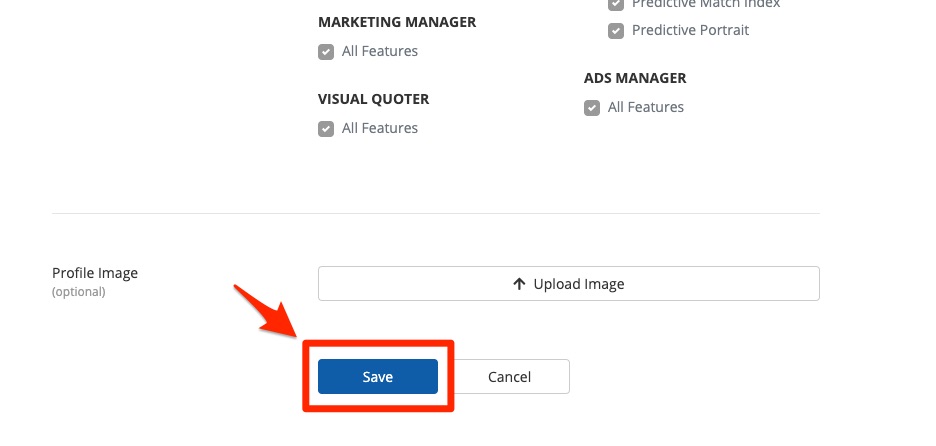
4. Save Your Changes
Once you're done, click Save to complete the process.
If you have more users to add, simply follow the same instructions above for each one. Don't worry—you can always change your users' settings later.
The first four steps are all you have to do from the admin side, but please note that there is one more step for your PSAI users to complete.
5. Have Users Check Their Email
Whenever you create a new user, PSAI will send them an automated email with a link to set up their account. Make sure that your users check their email and follow the instructions to complete the PSAI account set-up process.
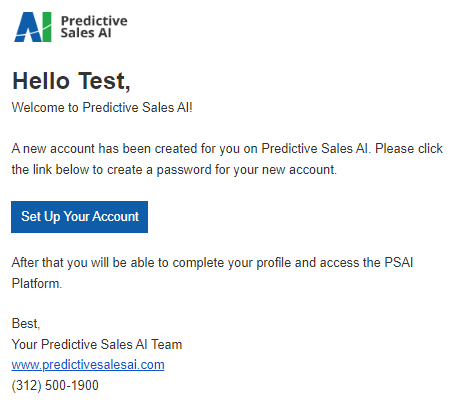
If the team member can't find their login invitation, you can always resend it.
The Users page allows you add new users and set their PSAI access level, but it does not allow you to change that user's lead notification settings. If you want to change who gets notified about lead interactions, see our instructions on updating email lead notifications.