By setting up the Facebook Business Chat site tool in PSAI, you can take advantage of our AI chatbot GIA. GIA will respond to your company's Facebook messenger (during the exact hours you choose), will provide helpful information to leads, and will flow contacts directly into your Com Portal.
Learn how to set up Facebook Business Chat in the instructions below.
If you're new to this tool, learn more about PSAI site tools or get insights into key Facebook terms.
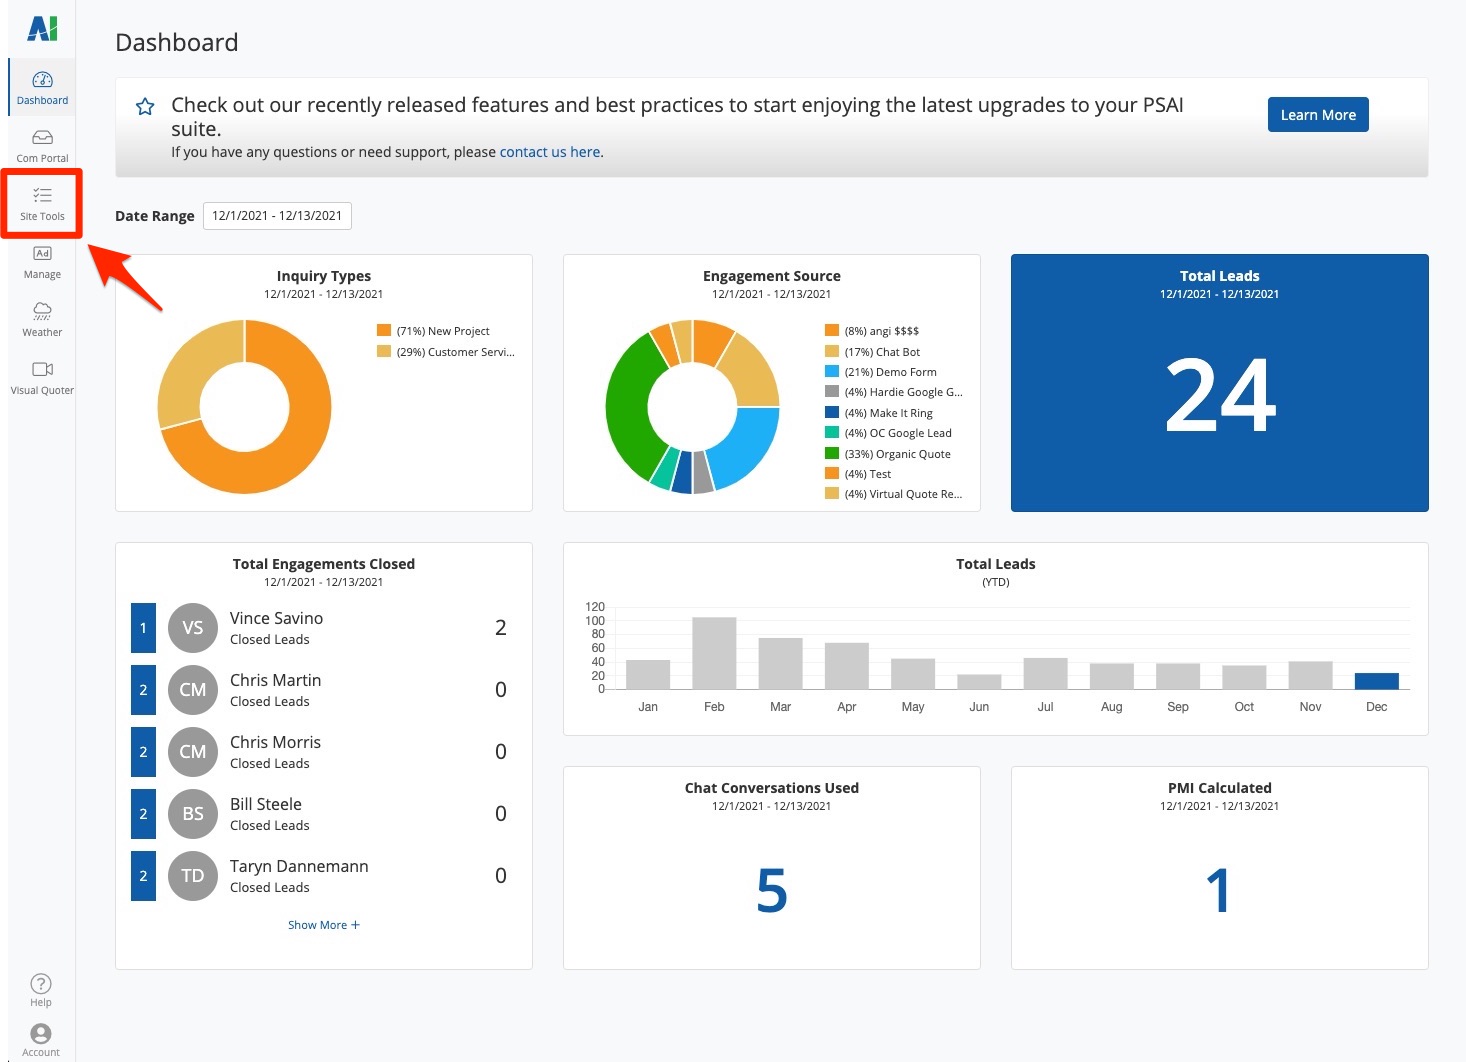
1. Go to Site Tools
After logging into your PSAI platform, click Site Tools from the left-hand navigation bar.
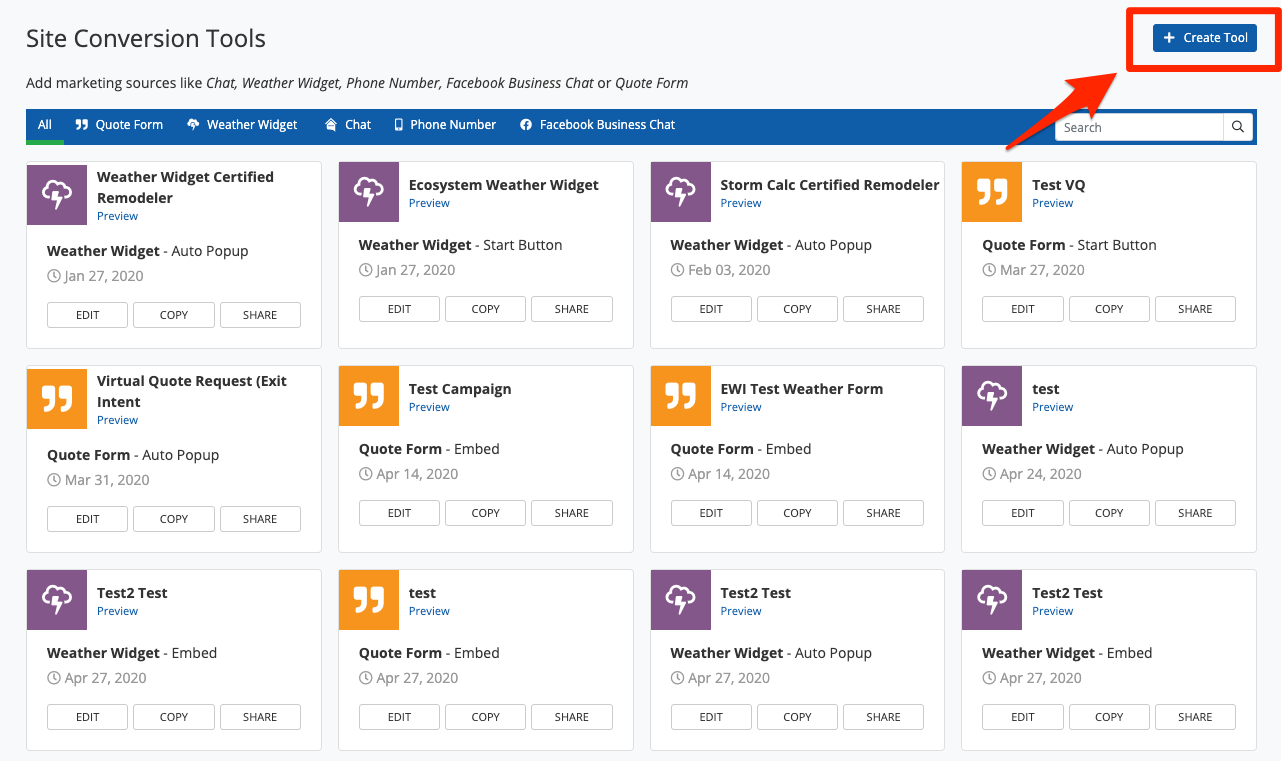
2. Create a New Tool
From the upper right corner, click + Create Tool.
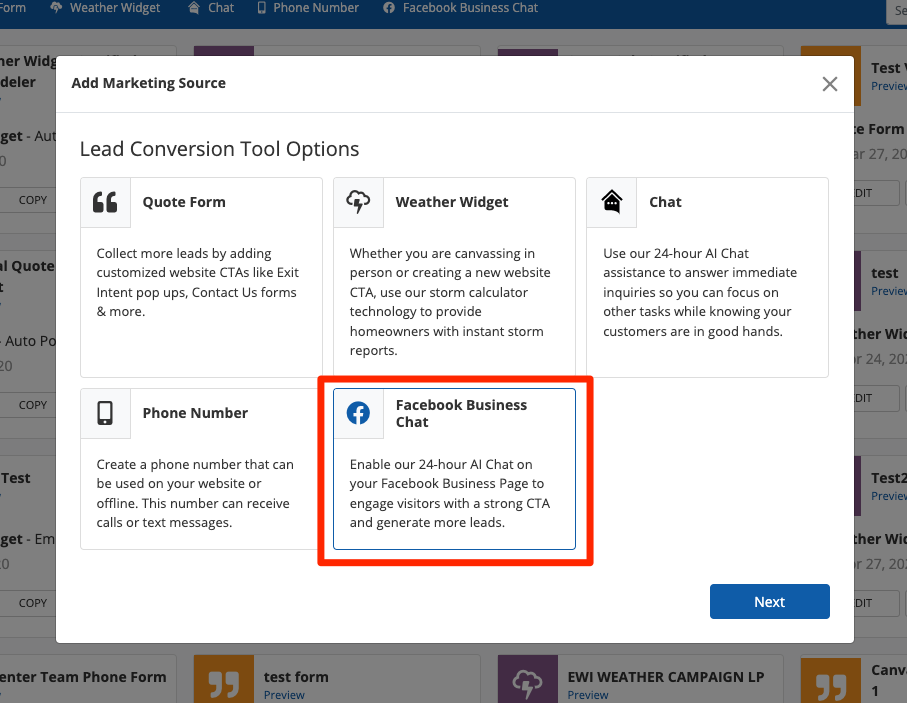
3. Choose Facebook Business Chat
From the pop-up, choose Facebook Business Chat. Then click Next.
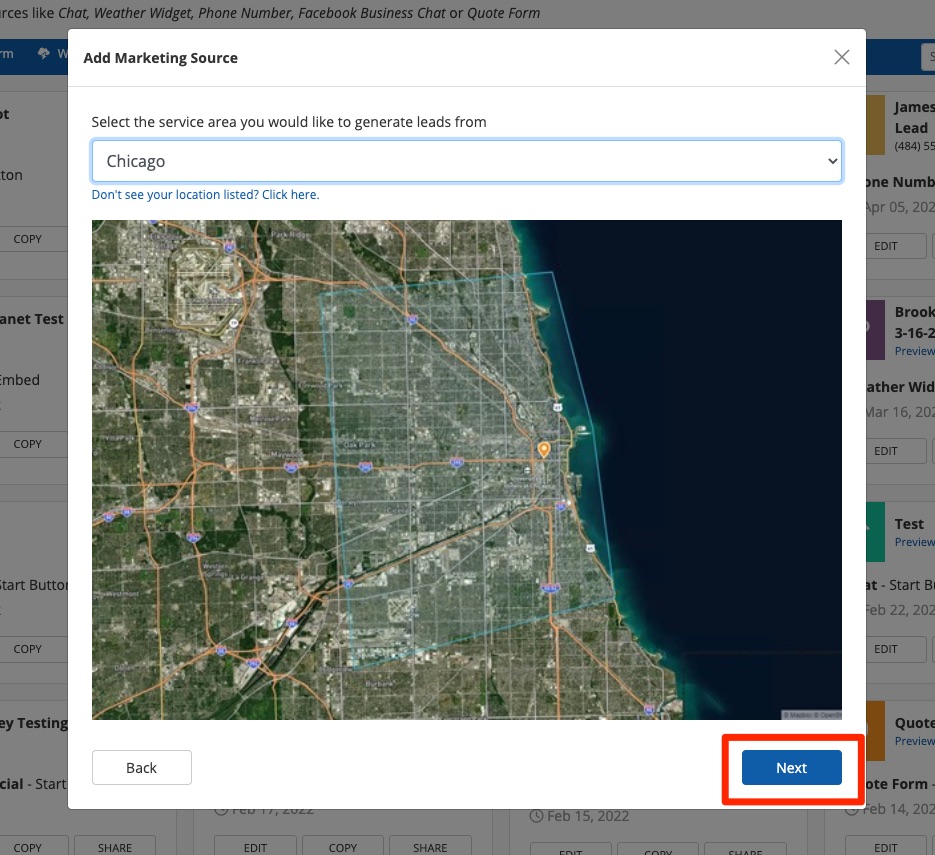
4. Select a Location
Next, select the location associated with this Facebook Business Chat. You can select a single location, Nationwide, or All Locations. (Nationwide will consider all leads to be within your service area; All Locations will instead check that a lead falls within one of your locations.)
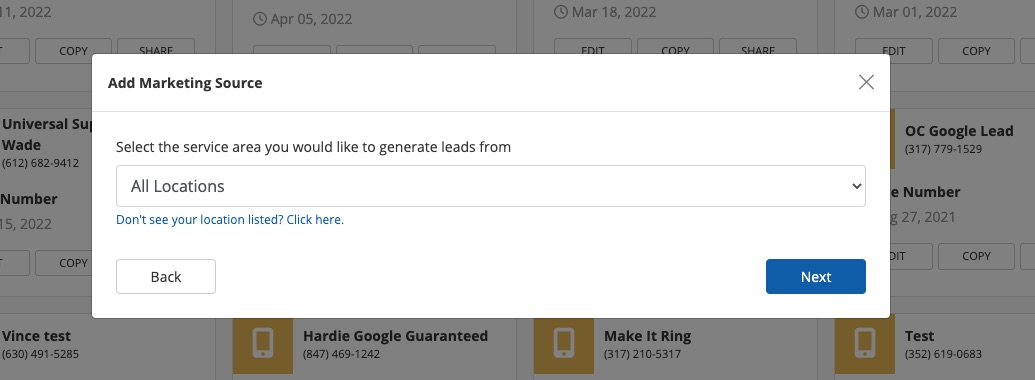
Once you've selected the location, click Next.
5. Choose Your AI Assistance
On the next screen, select your preferred level of AI assistance from our chatbot GIA. You can turn GIA on all the time, activate her only outside of business hours, or turn her off all the time.
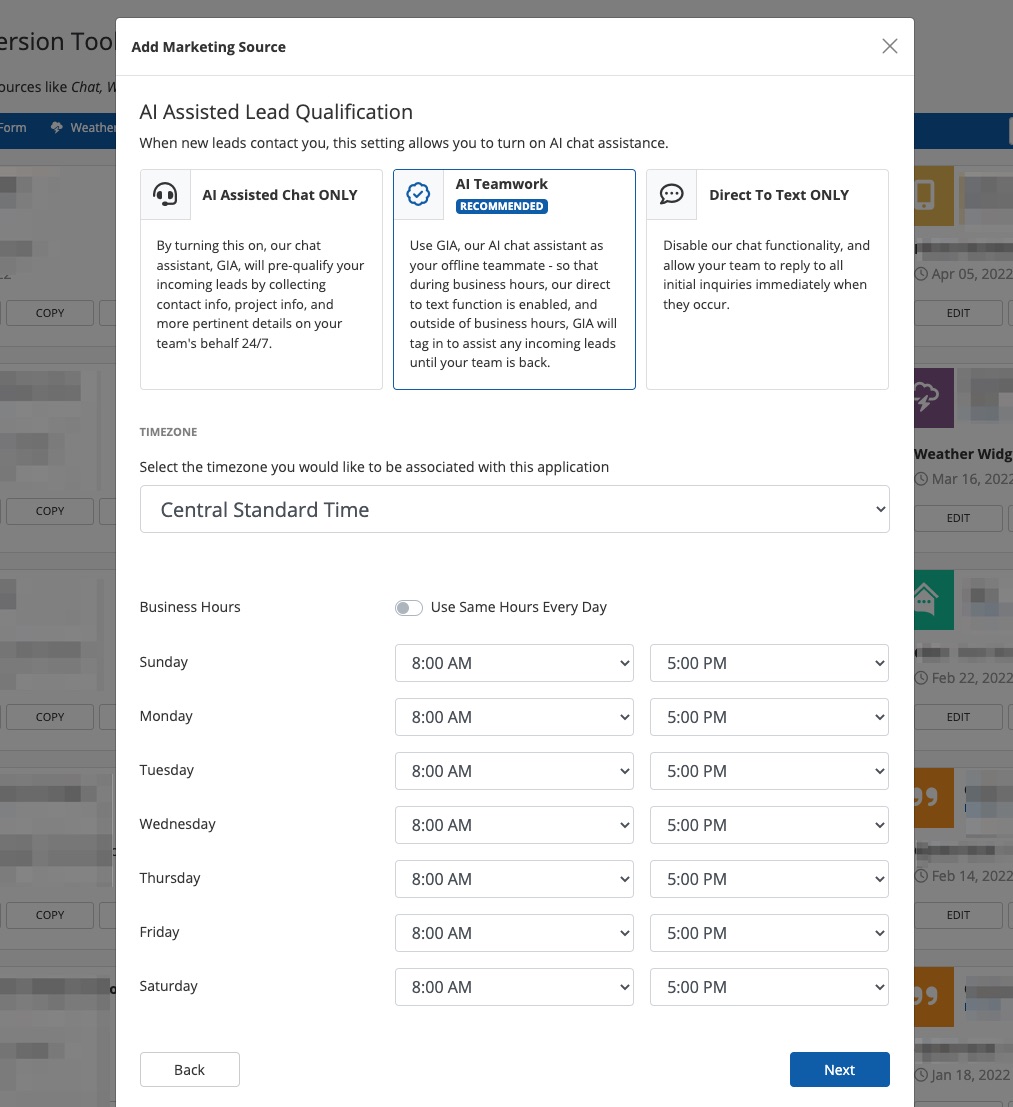
If you choose the AI Teamwork option where GIA is activated outside of business hours only, then you'll be able to specify those hours here, too.
Note that changing your business hours here will only affect this specific Facebook Business chat app. If you'd like to change your location's hours across the board, you can do so within your PSAI company settings.
6. Log in with Facebook
PSAI will automatically detect the Facebook account that you are currently logged into from the same internet browser. If this is the correct account, then simply click "Continue as..."
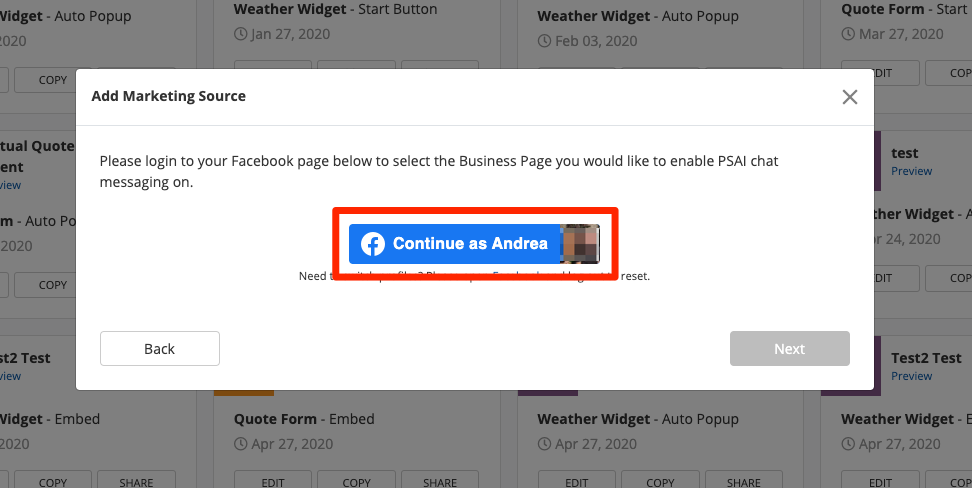
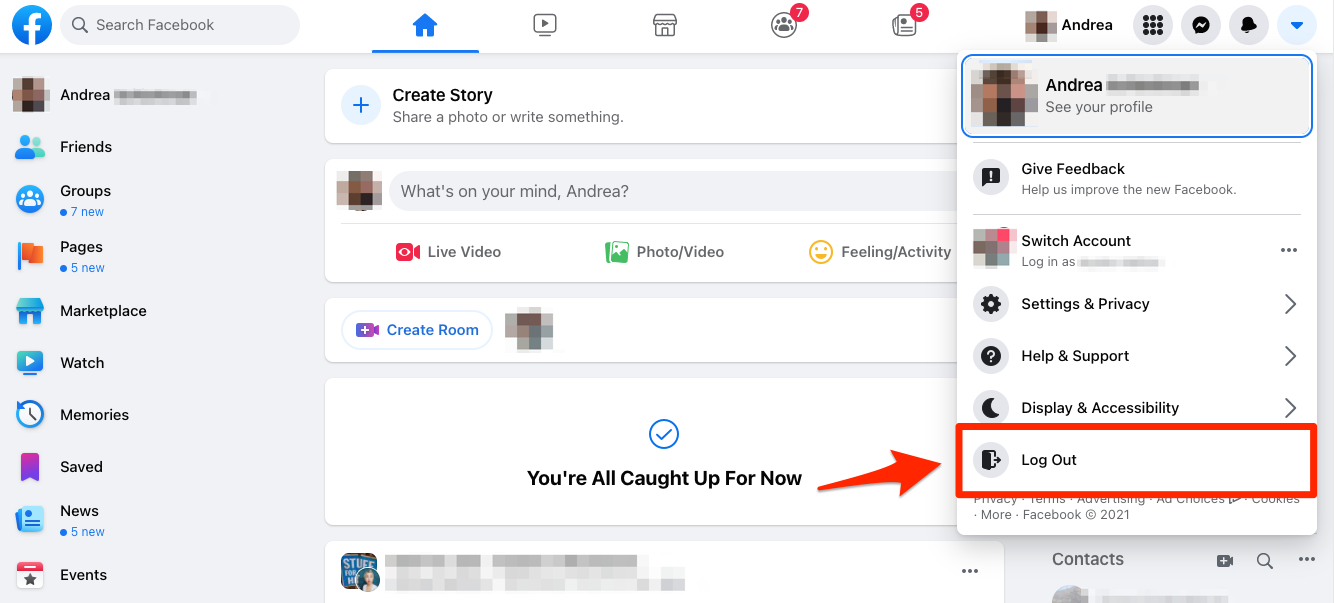
If this is not the correct account, then click the link to open Facebook in a new tab of your browser.
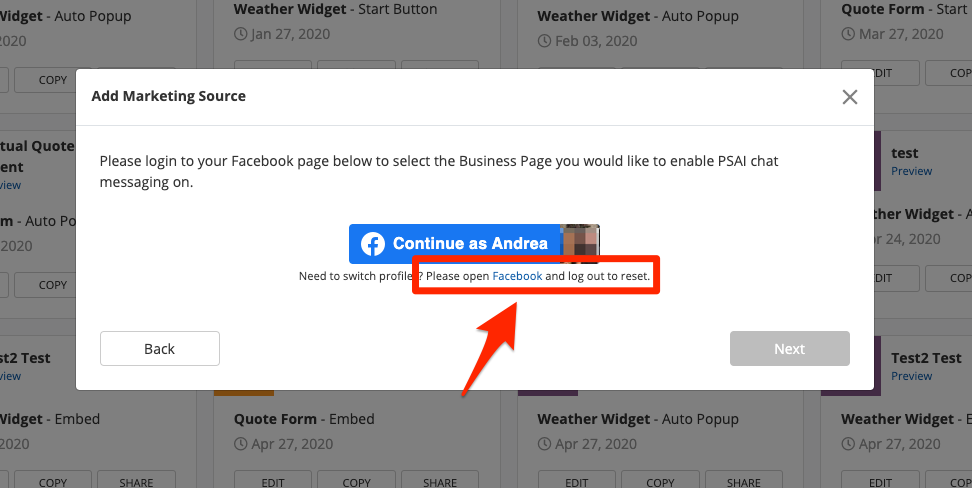
Manually log out from the menu and then log back in with the correct account. (The correct account will be the personal Facebook page that has admin access to your Facebook Business Page.)
Then go back to PSAI and continue the Facebook chat set-up process.
7. Grant Permissions to Facebook
Next and if needed, you will be walked through a series of screens to grant permissions to Predictive Sales AI. (These permissions are required by Facebook in order for GIA to respond to leads and forward them to the Com Portal.)
Complete each step by confirming the information on the screen and clicking Continue.

8. Choose Your Facebook Business Page
Once you've granted all of the permissions, you'll be able to choose the Facebook Business Page you'd like to connect. (The menu will display all Facebook Business Pages for which you have administrator access.)
Open the dropdown menu, select the correct page, and then click Continue.
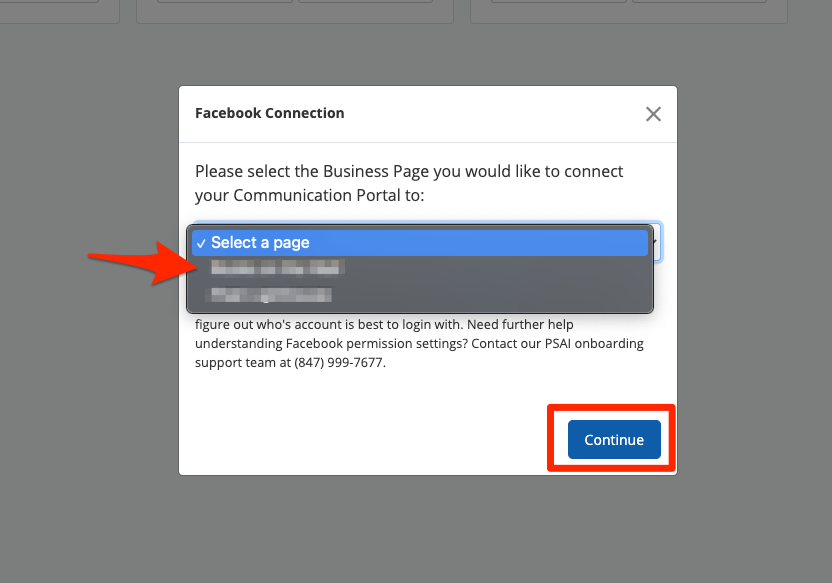
If you do not see your company page, then you are either not logged in with the correct personal account or your personal account does not have admin access to your Facebook Business Page.
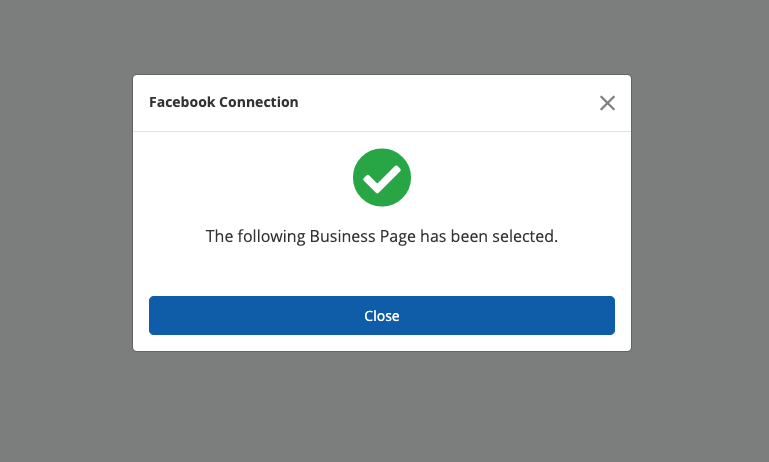
When the connection is successful, you'll see the following confirmation message.
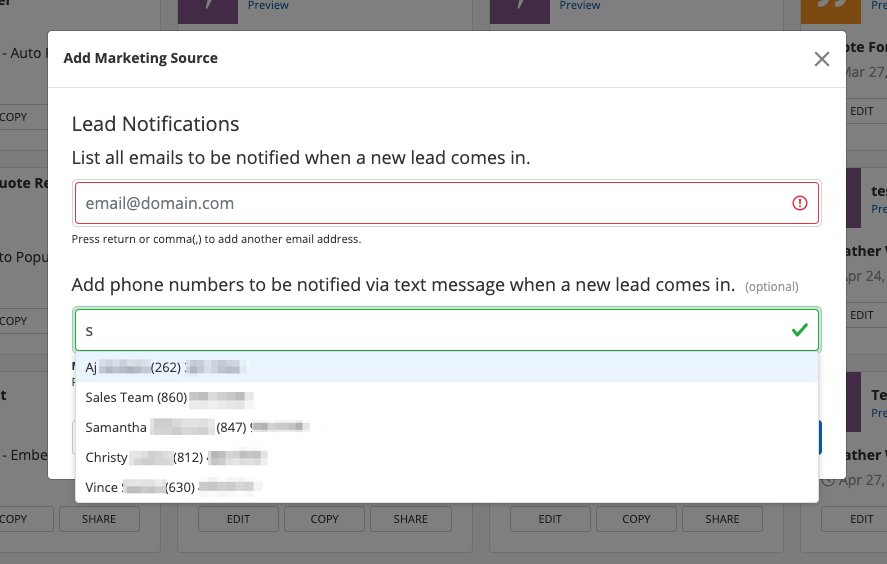
9. Add Lead Notifications
Next, enter the email addresses and/or phone numbers for anyone who should get notified when a lead interacts with your Facebook Business messenger. This might be an office manager, a scheduler, a sales rep, etc.
Please note that at least one email address is required, and you can always edit these settings later.
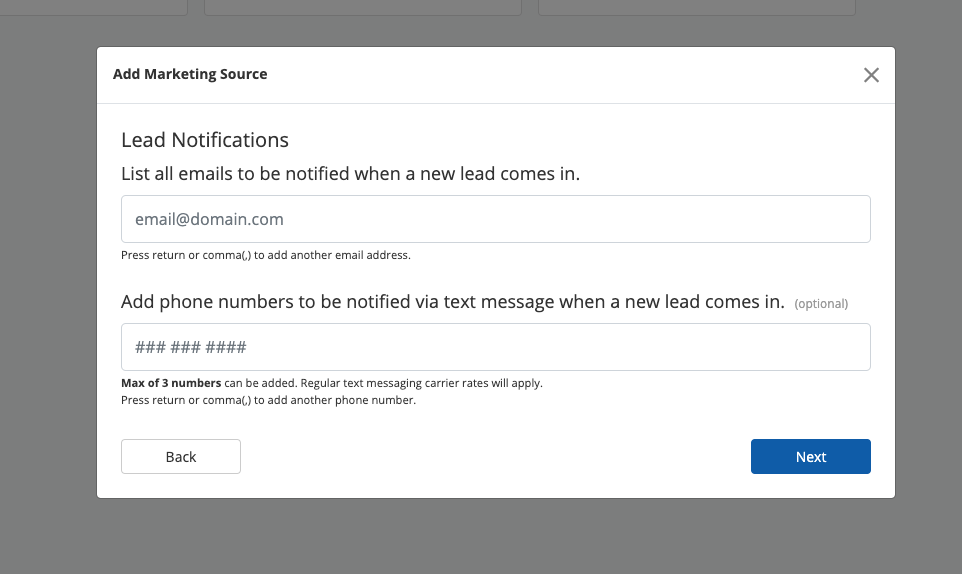
As you type, PSAI will suggest entries based on what is saved in your PSAI user list.
Want to add a phone number or email address for autocomplete? Learn how to edit a user's contact information or permissions.
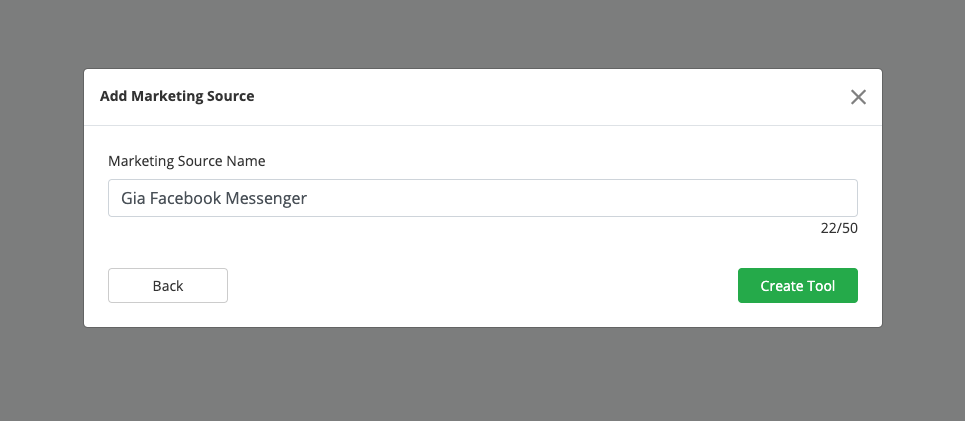
10. Name the Source
On the next screen, give a name for your new site tool. This label will be used to identify leads in the Com Portal.
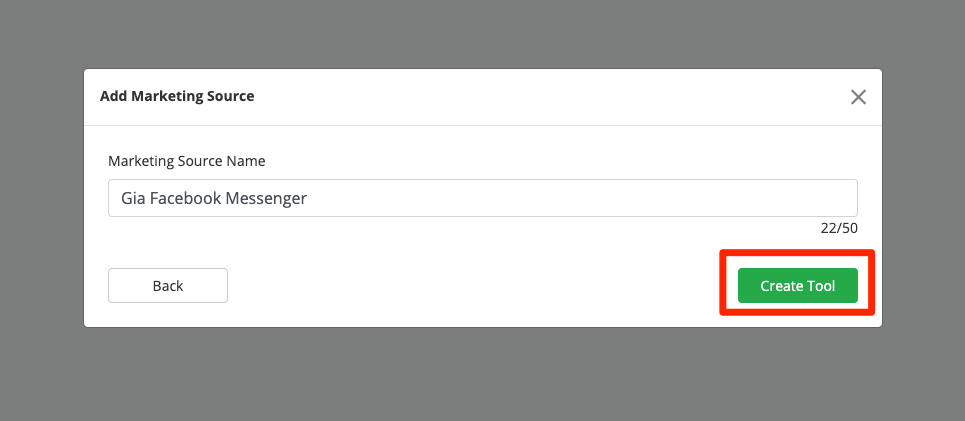
11. Create Tool
Finally, click create tool to finish the Facebook Business Chat set-up process.
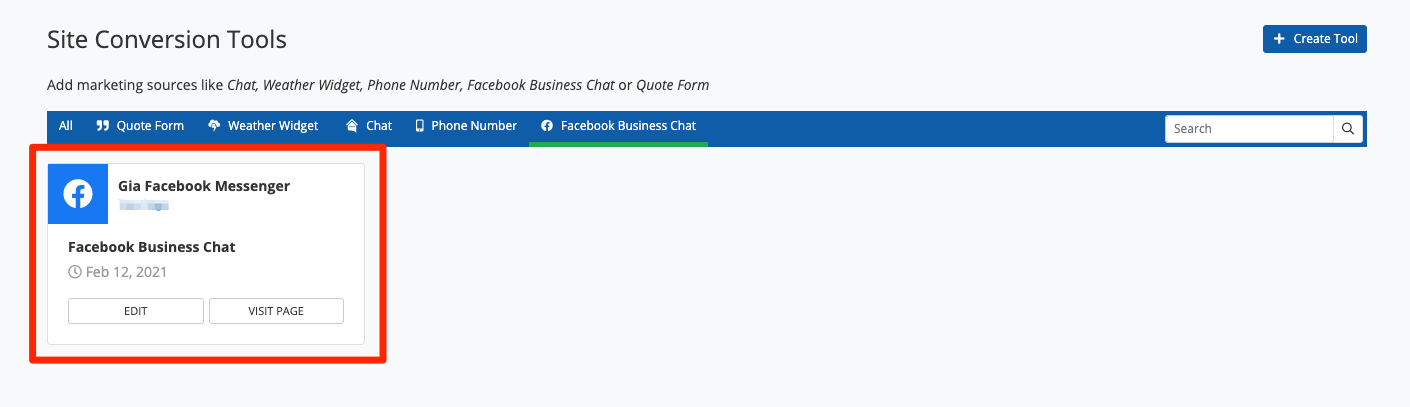
What Happens Next?
As soon as you've created the Facebook messenger app, it'll appear on your Site Conversion Tools dashboard. You can always return here to edit your app's settings or for a quick link to your Facebook Business Page.
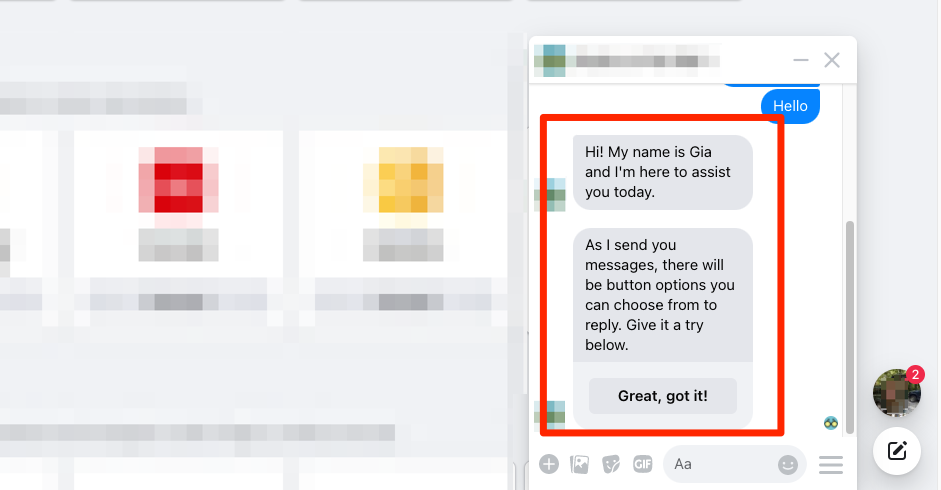
Whenever a customer sends a message to your Facebook chat, they'll receive an immediate response from GIA—just like the GIA chatbot on your website. An example of GIA's greeting is shown below.
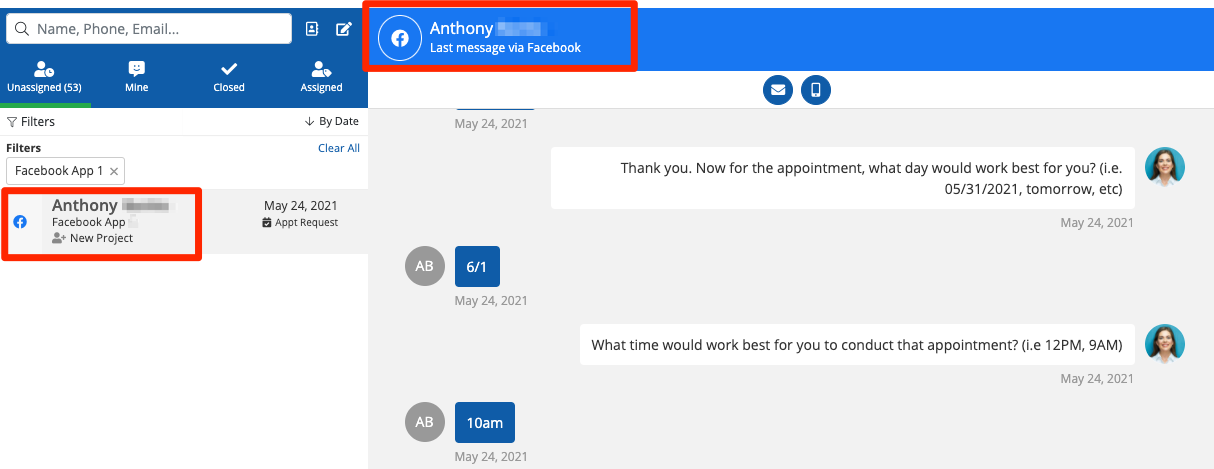
All leads will flow into your Com Portal, clearly marked as being from Facebook.
Learn more about using the Com Portal to communicate with leads.