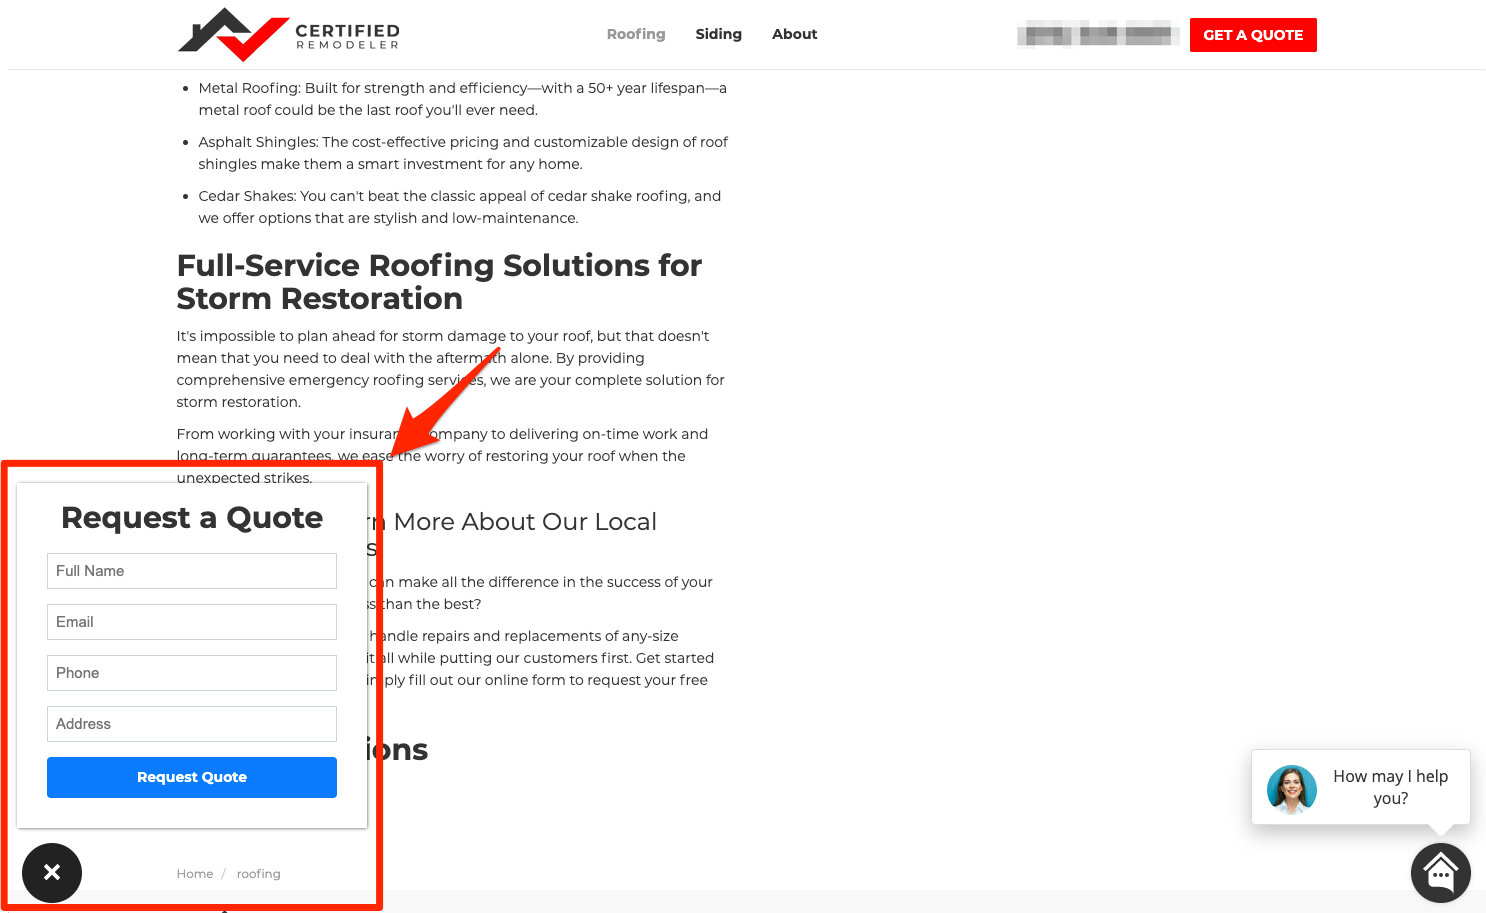
Quote forms are one of the site tools you can create in PSAI and easily add to your website. Although we call them "quote forms," you can use these forms for any kind of call-to-action! (Get some recommendations on ways to use PSAI quote forms here.)
Follow the instructions below to create your quote form in PSAI.
This article explains how to create a quote form. Once it's created in PSAI, you'll need to add it to your site. More instructions are provided at the end of the article.
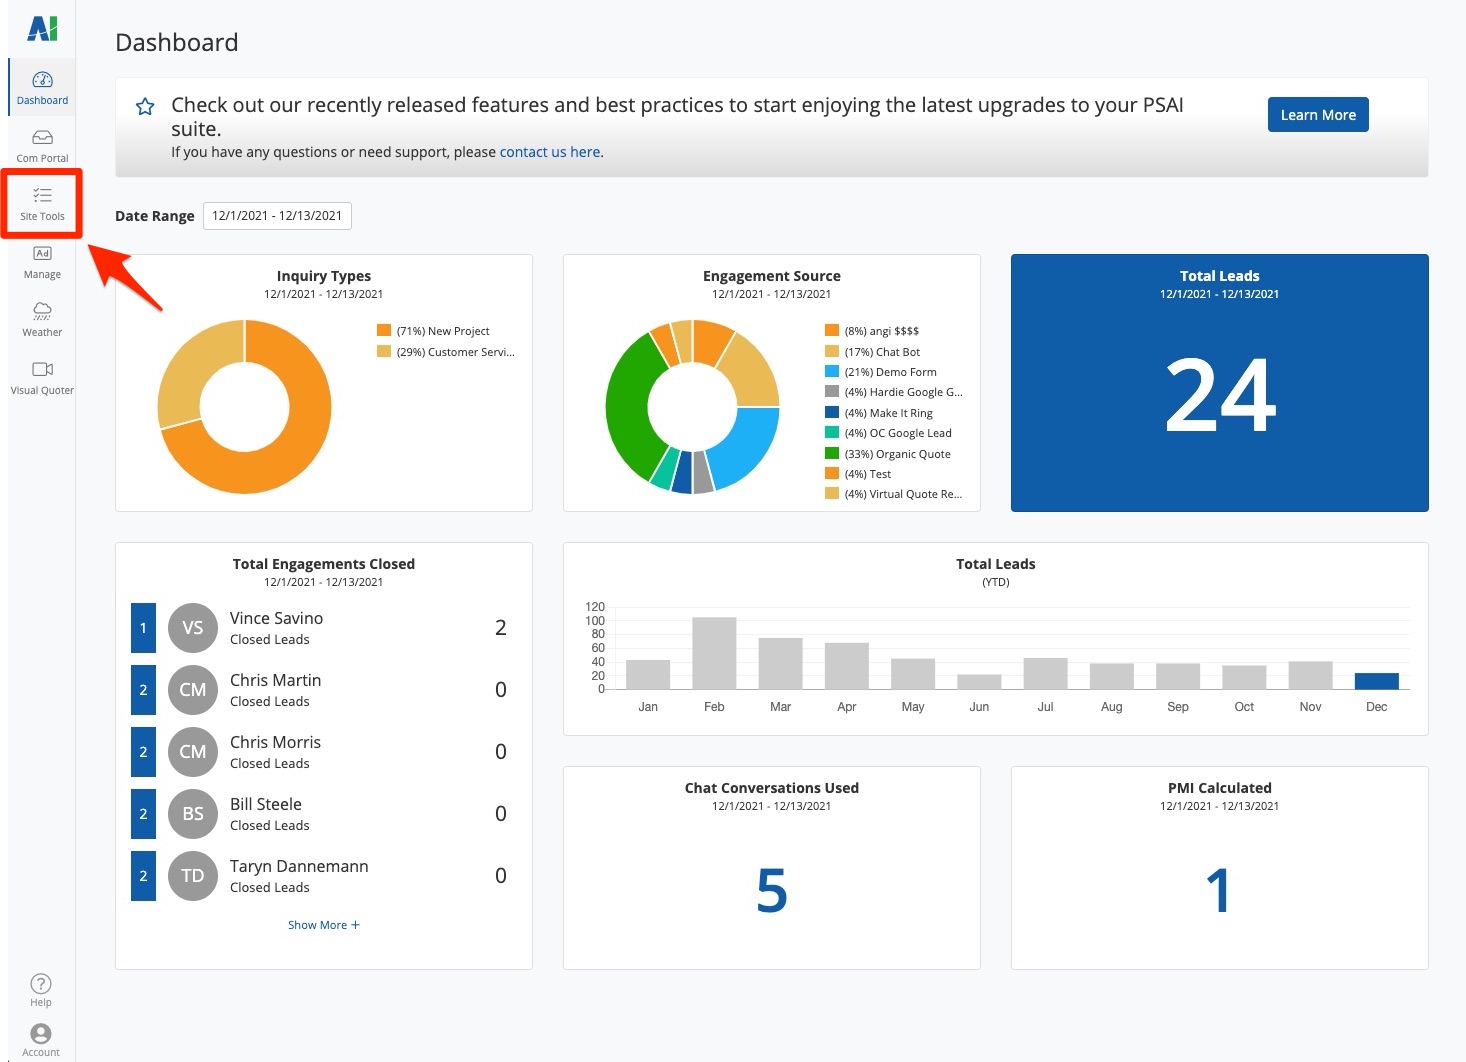
1. Go to Site Tools
After logging into PSAI, go to Site Tools from the left-hand navigation bar.
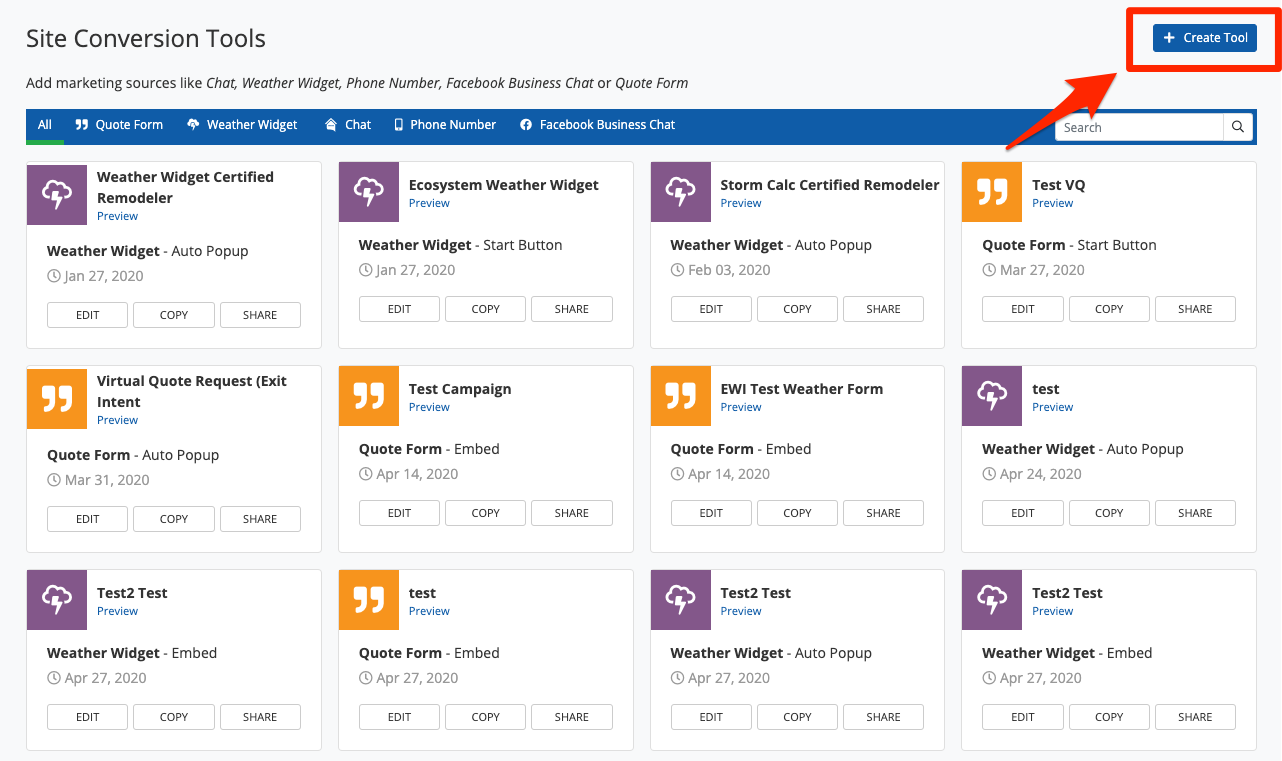
2. Click Create Tool
In the upper right corner, click the button for Create Tool.
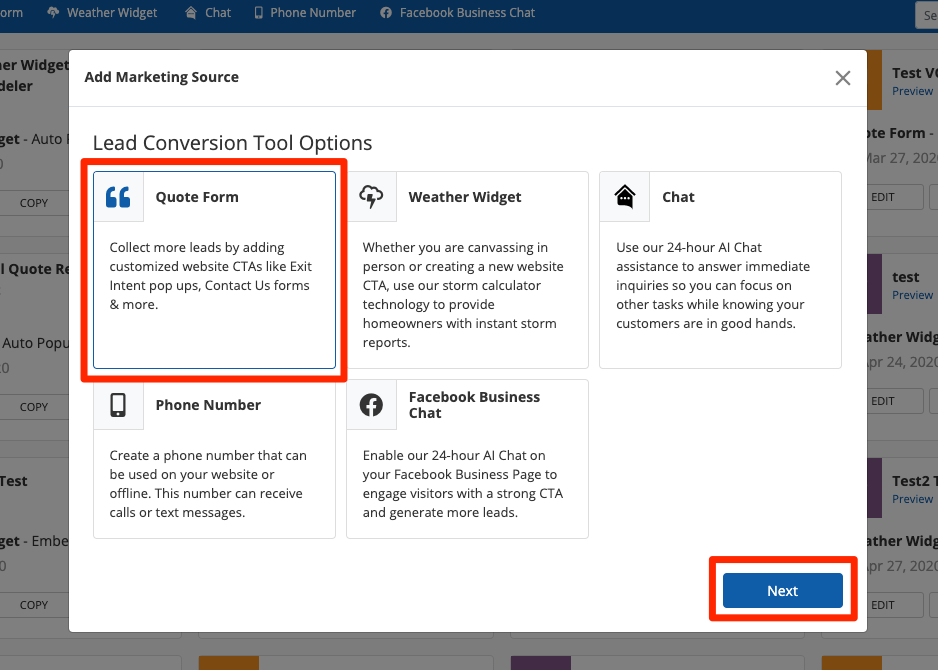
3. Choose Quote Form
In the pop-up, choose Quote Form and then click Next.
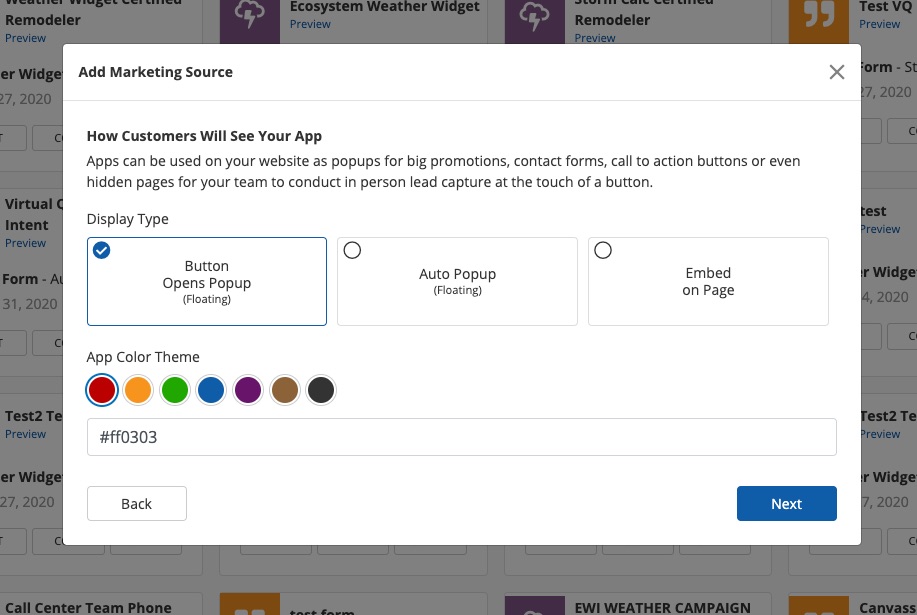
4. Choose the Display Type and Color
Next, choose the way you'd like your quote form to be displayed on your website. (Not sure the difference? See examples of the three display types here.) Here you'll also choose your app's color theme, which impacts the colors of headers and buttons.
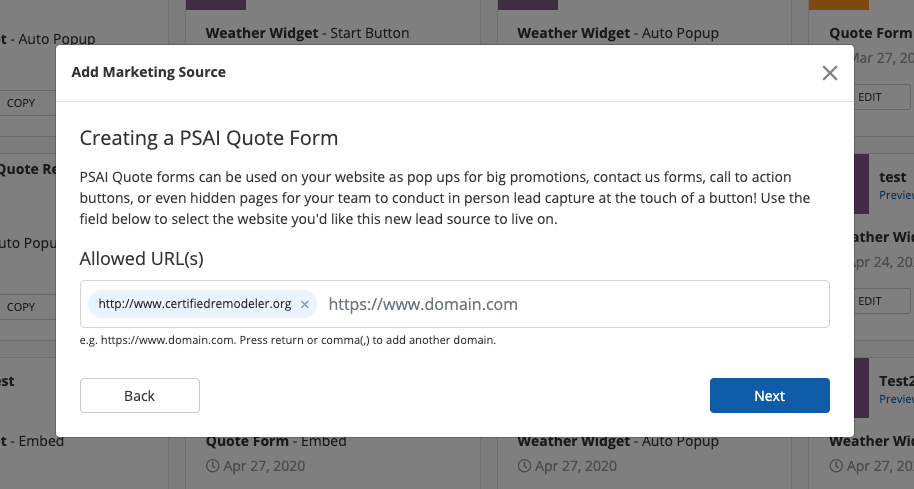
5. Add URLs
On the next screen, add any URLs in which this quote form will be displayed.
By default, your website URL (connected to your PSAI company settings) will be pre-populated. However, you can add additional websites as well—for example, if you have a sister site or are using a special domain for a unique campaign.
Please note that if you do not add the URL here, then the quote form will not display on that site, even if you have properly pasted the code.
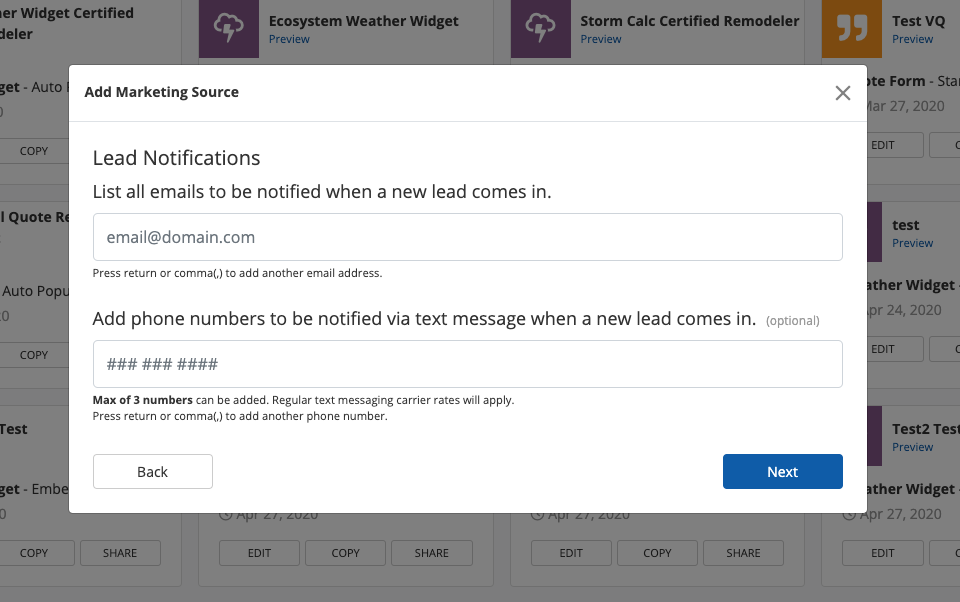
6. Add Email and Phone for Lead Notifications
On the next screen, you can enter the email addresses and/or phone numbers for anyone who should get notified when a lead submits this quote form. This might be your office manager, a specific sales rep, etc. And don't worry—you can always edit these settings later!
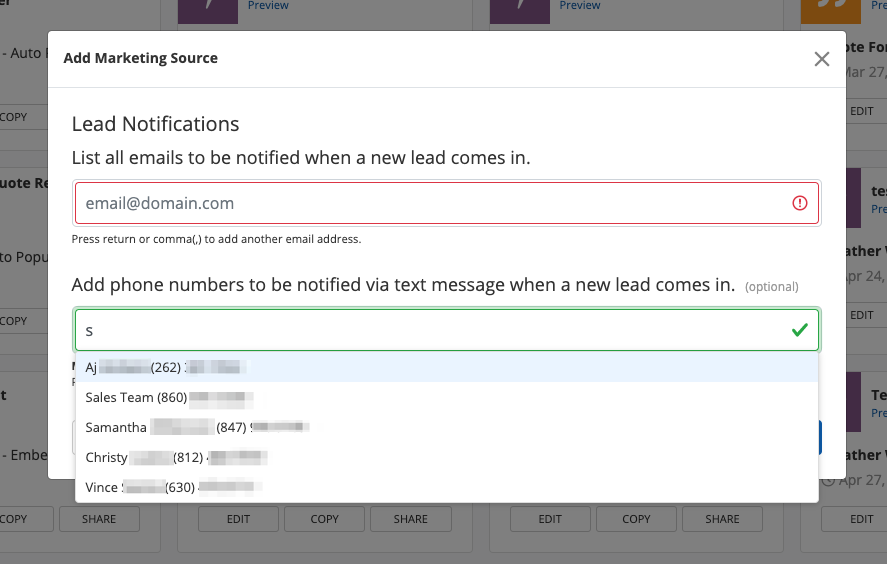
Please note that at least one email address is required.
As you begin to type an email or phone number, PSAI will suggest users based on the contact information you've saved to each user's profile.
Want to add staff as PSAI users so that their contact information can be auto-completed? Learn how to add a new user or edit a user to save a phone number.
7. Add a Name and Complete
On the final screen, type in a name for your quote form and then click Create Tool.
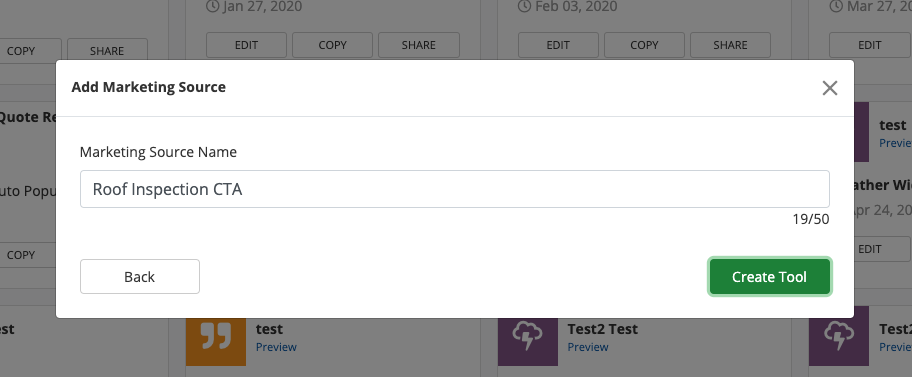
Not sure what to name your new quote form? Try to choose something short and easily identifiable, keeping in mind that this name will appear in your Com Portal as the lead source label.
8. Customize Your Quote Form
After you've finished creating your tool, you will be brought to the Settings page. From here, click into the Customize tab to set all of the details of your newly created quote form, including its:
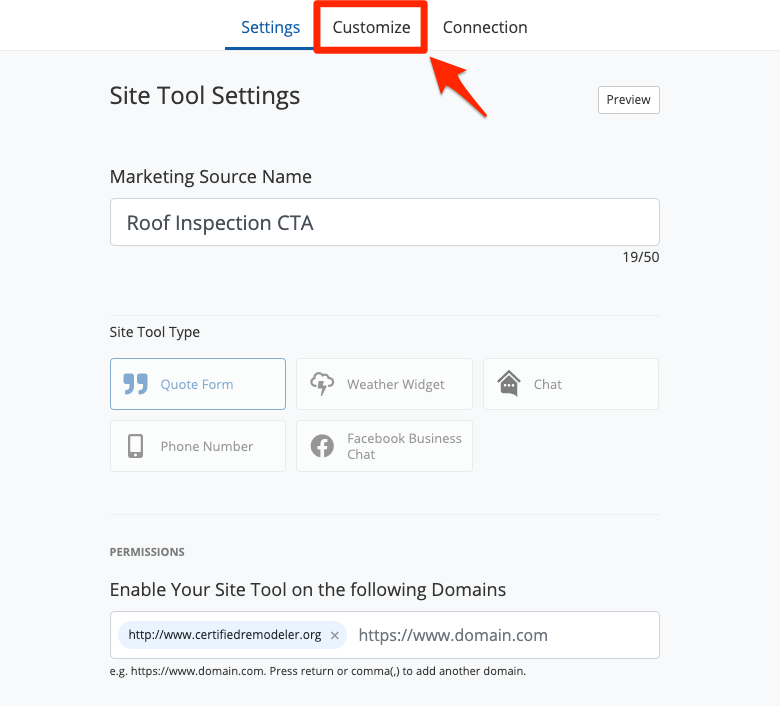
For more tips and guidance, please continue with our article on customizing quote forms.
Next: Add It to Your Website
After you've created your quote form, you'll need to add it to your website. The instructions vary slightly depending on the display type you've chosen:
- Follow these instructions to add an embedded quote form.
- Follow these instructions to add a floating quote form.