The easiest way to print a weather report is to add yourself as an external user of PSAI and then share the report with yourself via email (through the Com Portal). Follow the instructions below.
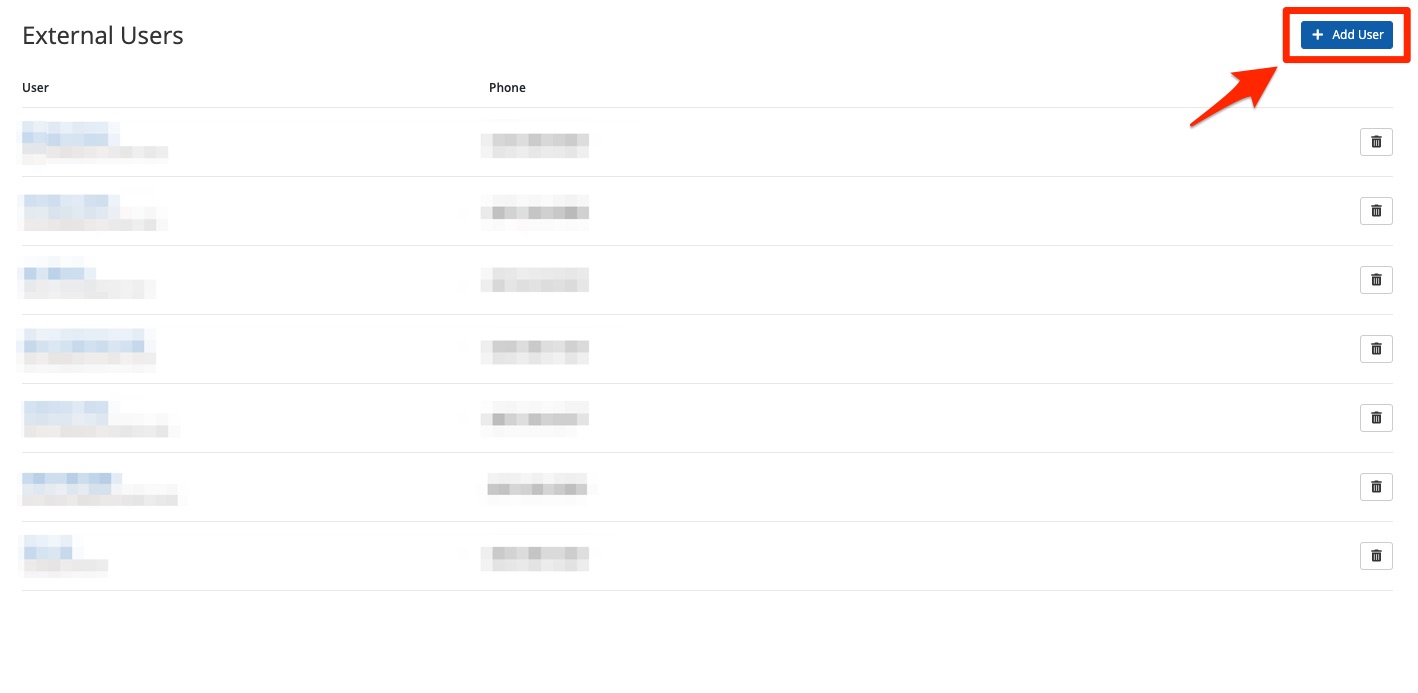
1. Add Yourself as an External User
Add yourself as an external user of PSAI by following these instructions. (When adding your contact information, be sure to input the email address at which you'd like to receive the weather report.)
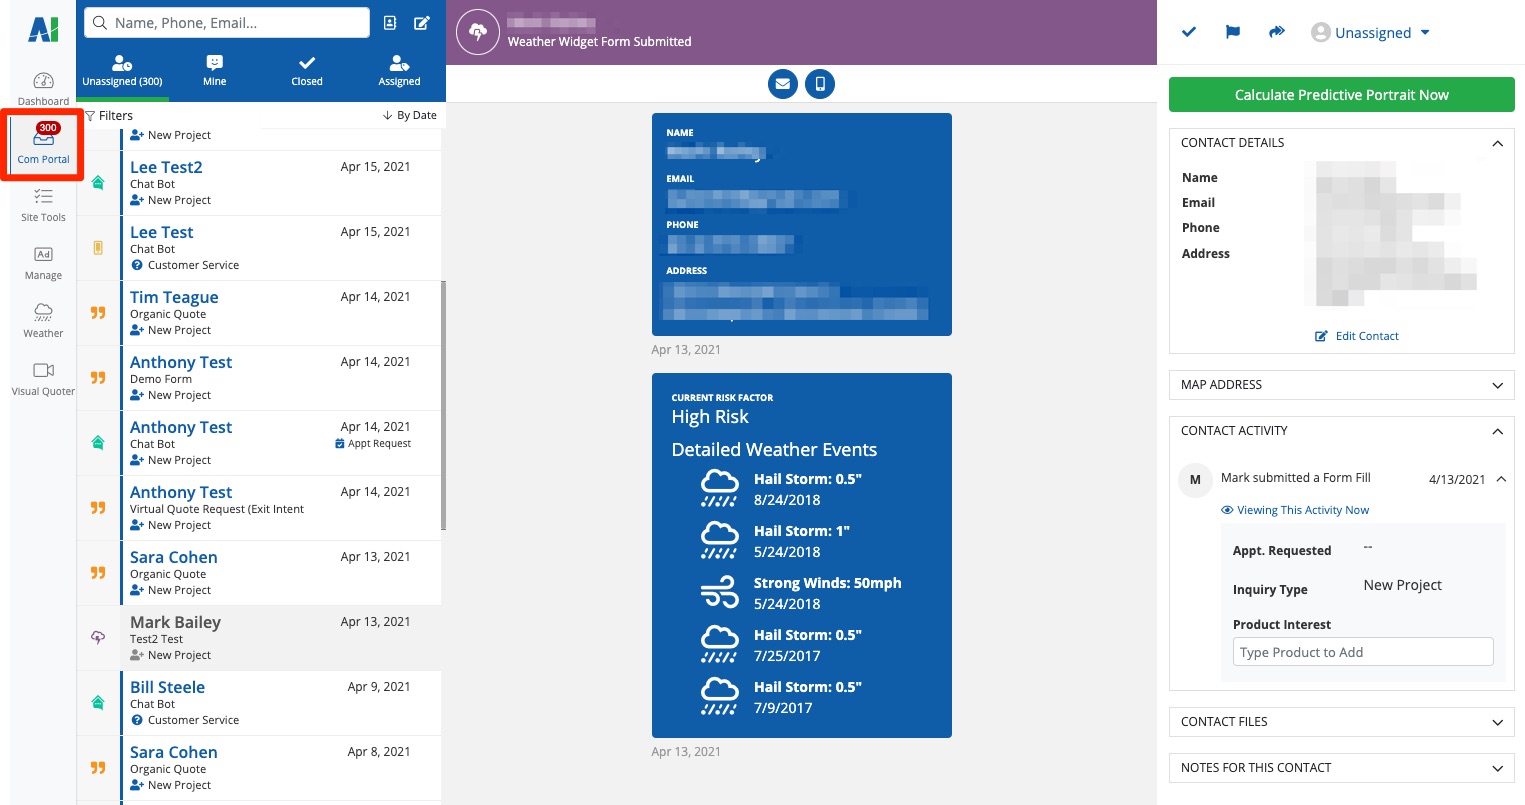
2. Find the Contact in the Com Portal
Once you've added yourself as an external user, go to the Com Portal and locate the contact whose weather report you'd like to share. You can use our Com Portal filtering tips to help find the contact.
3. Generate and/or Share the Weather Report
The next step will depend on whether or not you've already generated the weather report for this contact.
If You Have Already Created the Weather Report
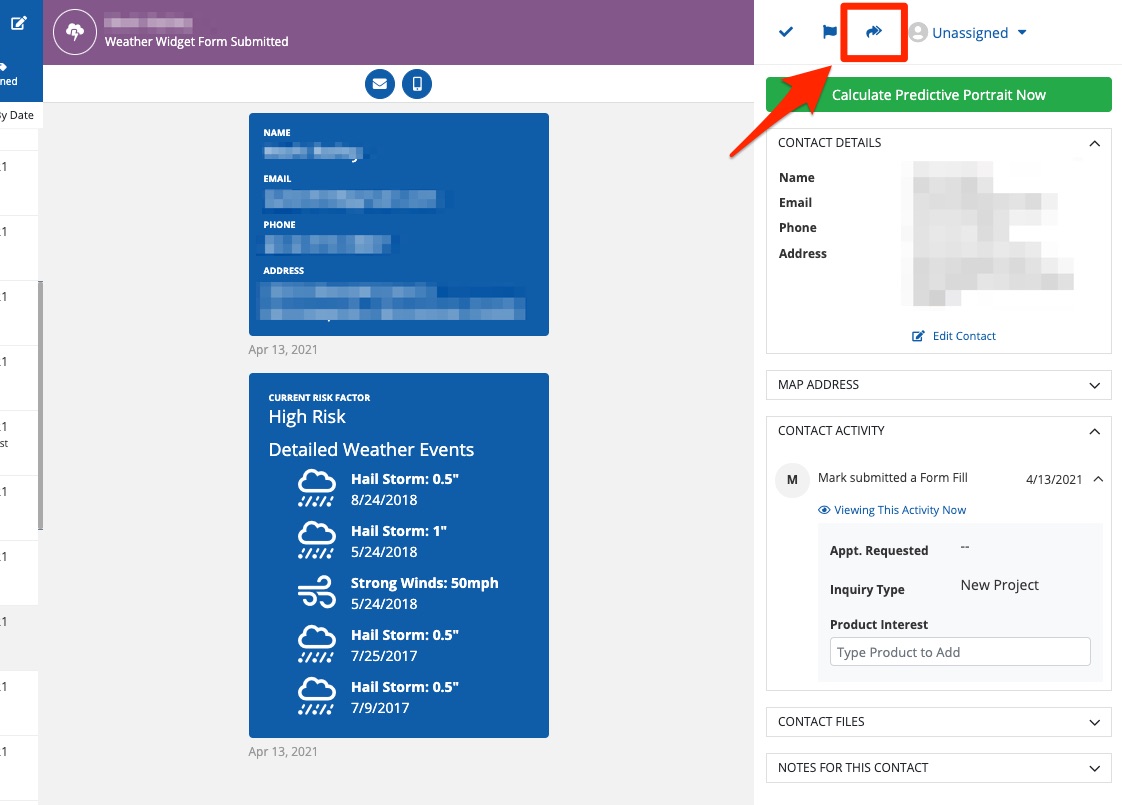
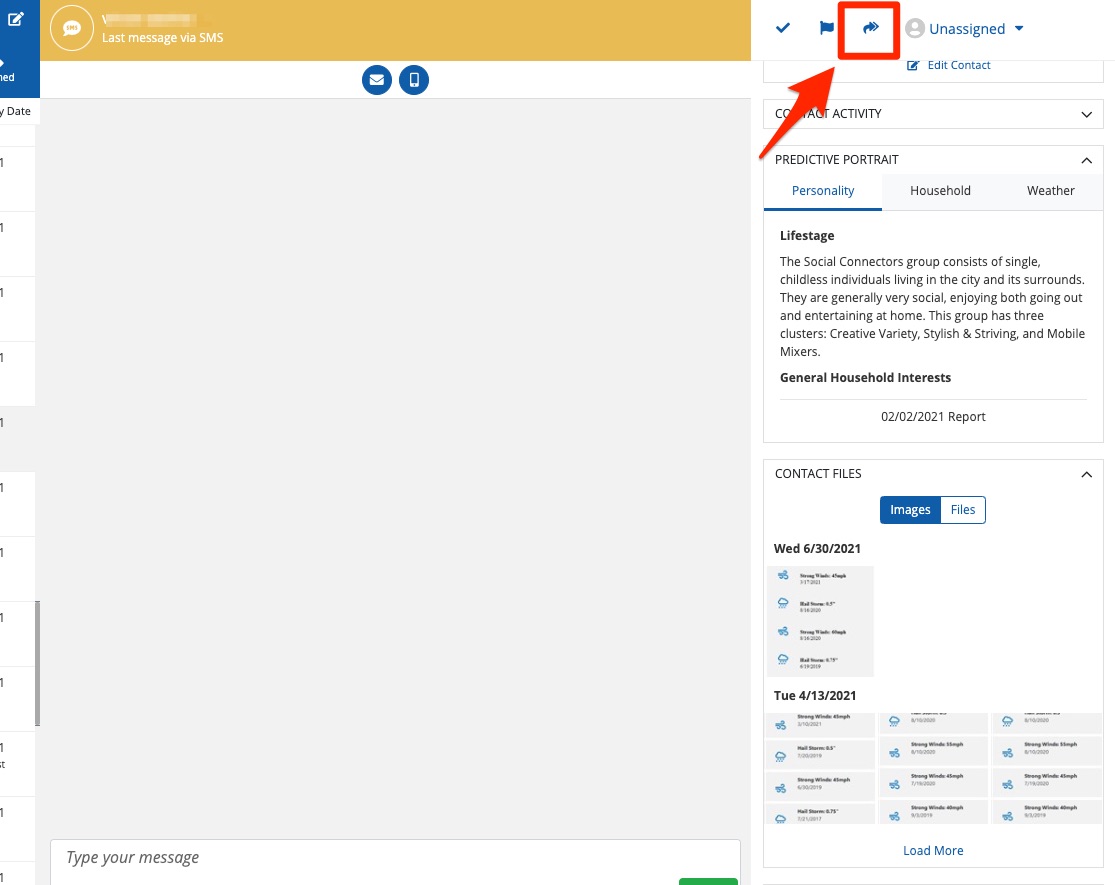
1. Share Contact
If you have already generated the weather report, then click the two-arrow button to share the contact.
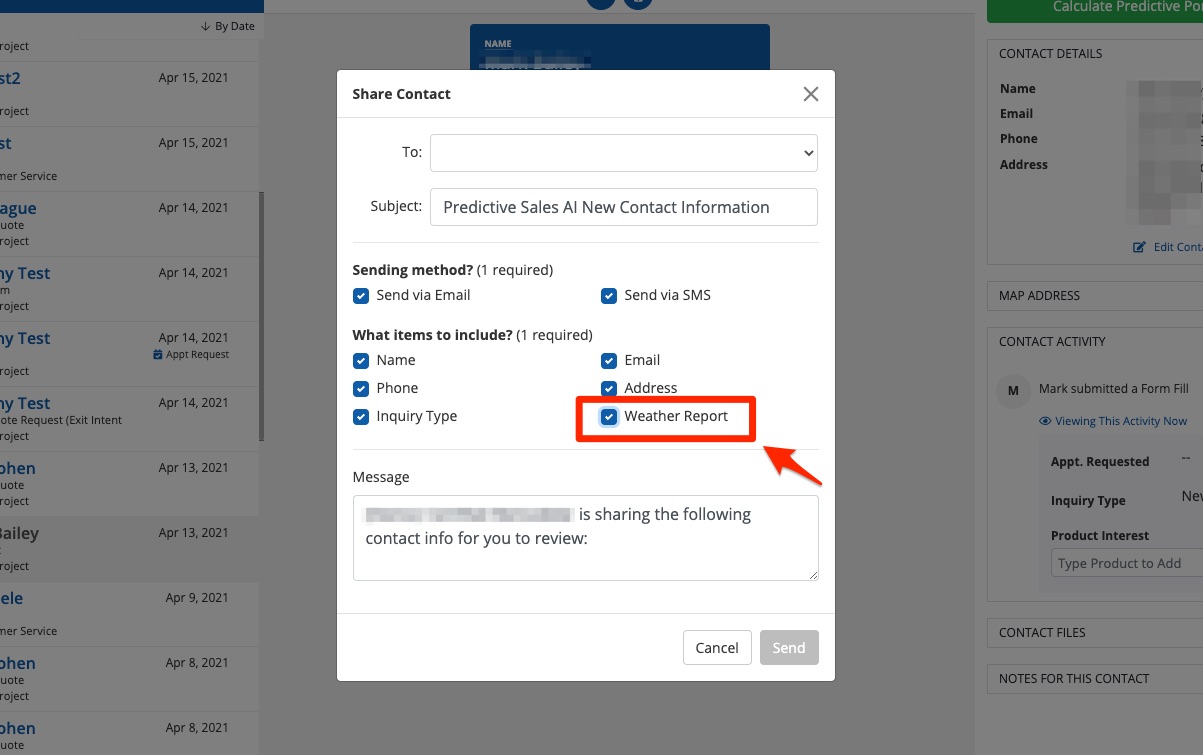
2. Select Sharing Details
In the Share Contact modal, select the following settings:
- Choose yourself as the external user in the "To" field.
- Check the box to "Send via Email" so that you can print the weather report.
- Check the box for "Weather Report" so that it is included in the email to you.
Make any other edits you desire and then click "Send."
That's it! Now you will have received an email with the weather report attached. You can print this email and use it as needed.
If You Have Not Yet Created the Weather Report
If you have not yet generated a weather report for this contact, you'll need to do that first, before you can share the weather report.
1. Create the Report
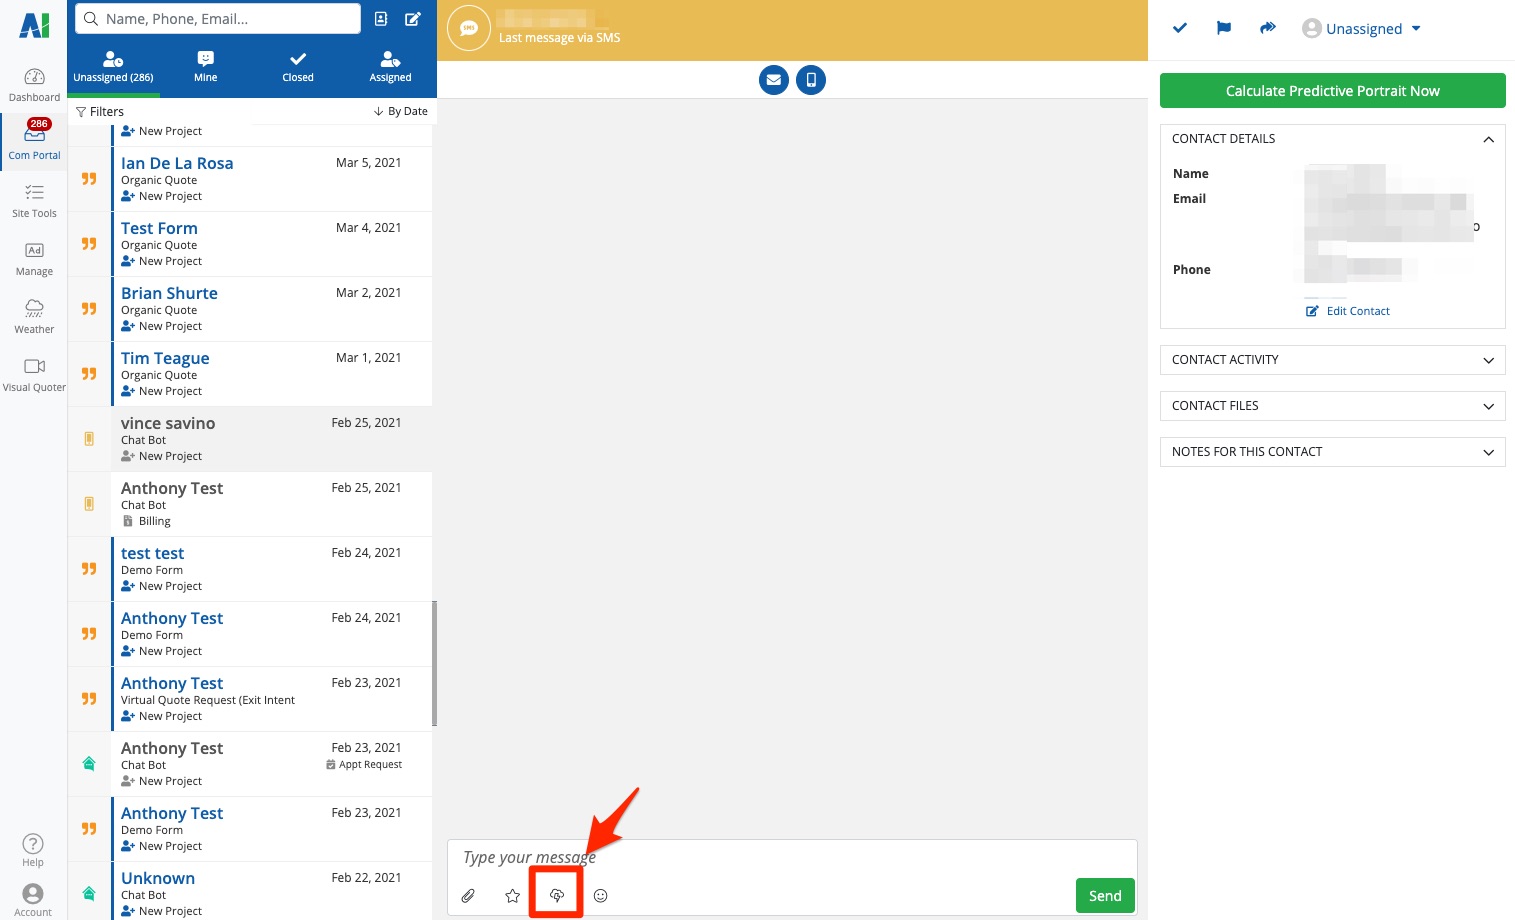
Generate the weather report by clicking the lightning bolt button at the bottom of the messaging box.
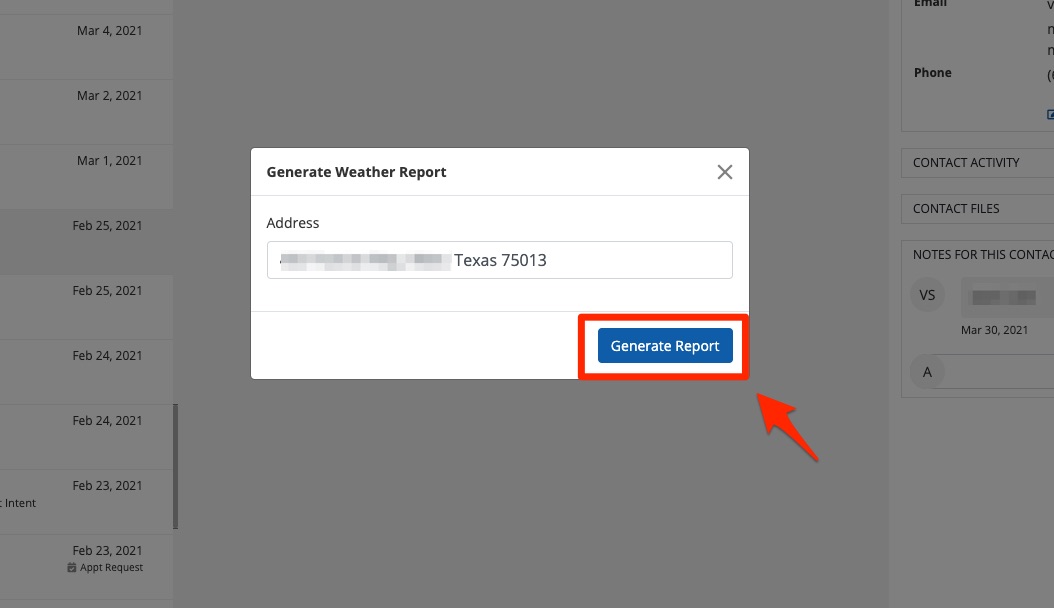
Follow the steps in the modal to generate the weather report, adding the address and clicking "Generate Report."
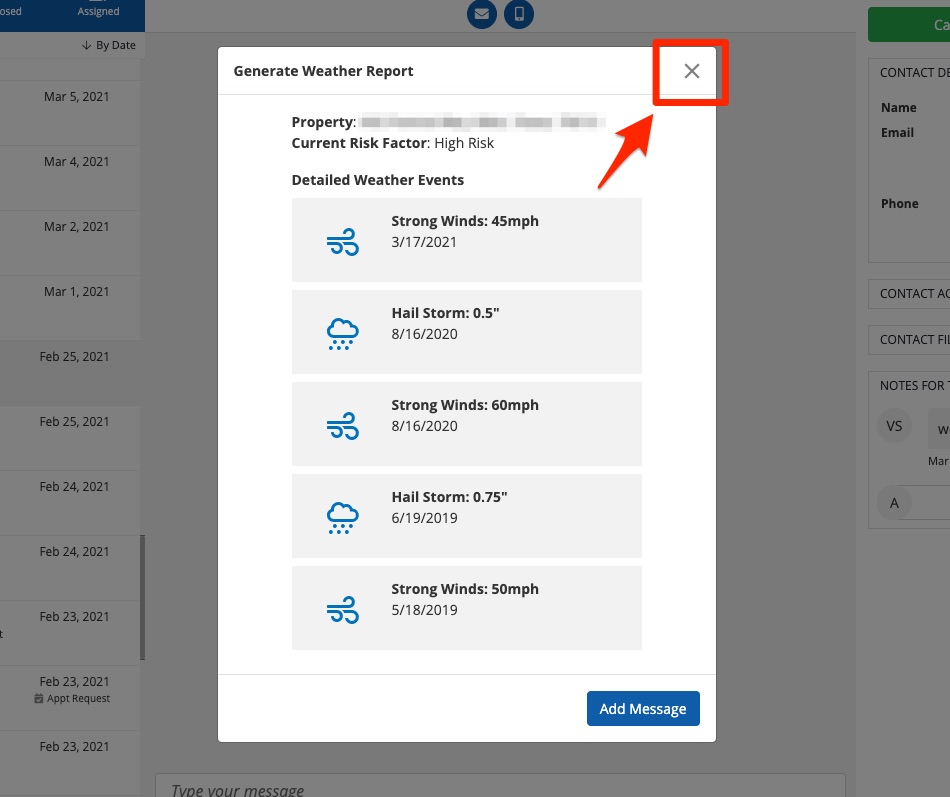
2. Decide Whether to Send It to the Lead
Once the report has been generated, you can decide whether or not to send it to the lead.
If you do want to send it, then click "Add Message" and complete the steps to send. If you do not want to send the weather report to the lead, simply click the X to close the modal.
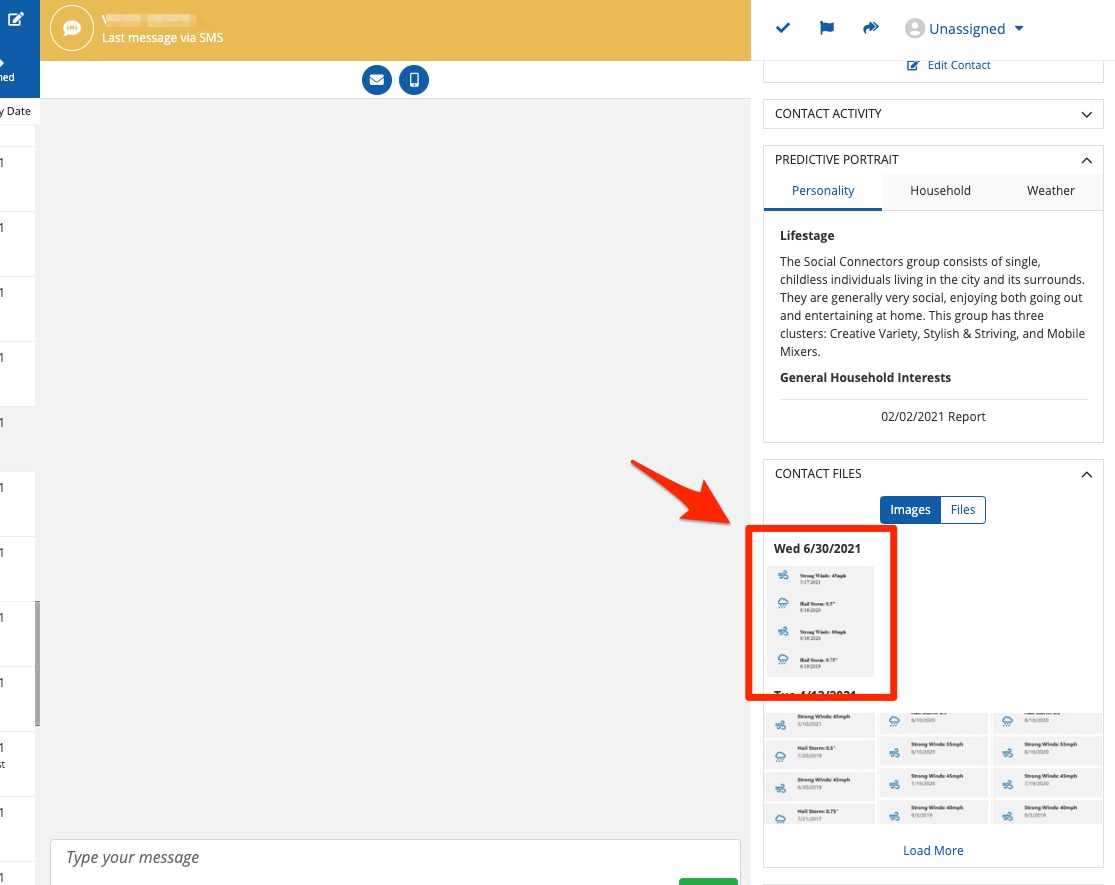
Even though you have not sent it to the lead, the weather report will still be saved to the lead's Contact Files. That means that it can be shared with you as external user.
3. Share Contact
After you have created the weather report (regardless of whether you sent it to the lead or not), you can now click the two-arrow button to share the contact with yourself.
4. Select Sharing Details
In the Share Contact modal, select the following settings:
- Choose yourself as the external user in the "To" field.
- Check the box to "Send via Email" so that you can print the weather report.
- Check the box for "Weather Report" so that it is included in the email to you.
Make any other edits you desire and then click "Send."
That's it! Now you will have received an email with the weather report attached. You can print this email and use it as needed.