PSAI is designed to fit into your company's staffing, workflows, and operations no matter what they look like. It's easy to ensure that your lead data goes to the right people—and only the right people—by granting or restricting the access that your PSAI users have.
Follow the instructions below to create a custom user role with the exact access permissions you want.
This article assumes that you generally know how to add a new user. If not, please start with our instructions on adding PSAI users.
1. Add a New Role
From any user's profile page, open the User Role dropdown menu and click Add New.
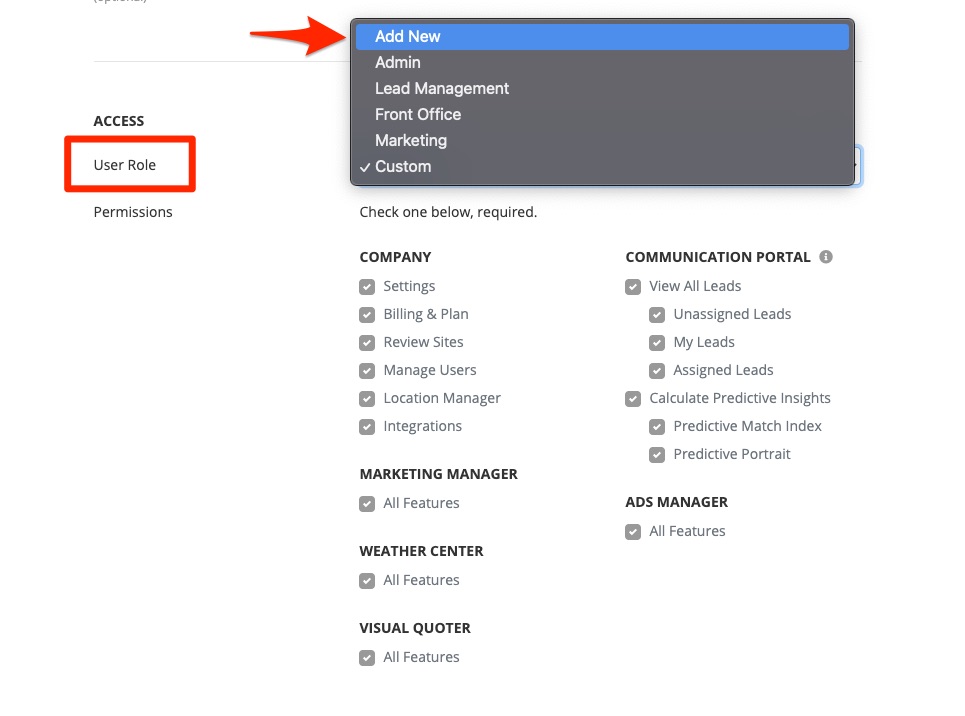
If you want to set specific user permissions without creating and saving a new role, click Custom instead. Then you can then check any boxes you'd like without saving these settings as a new role.
2. Define Your New User Role
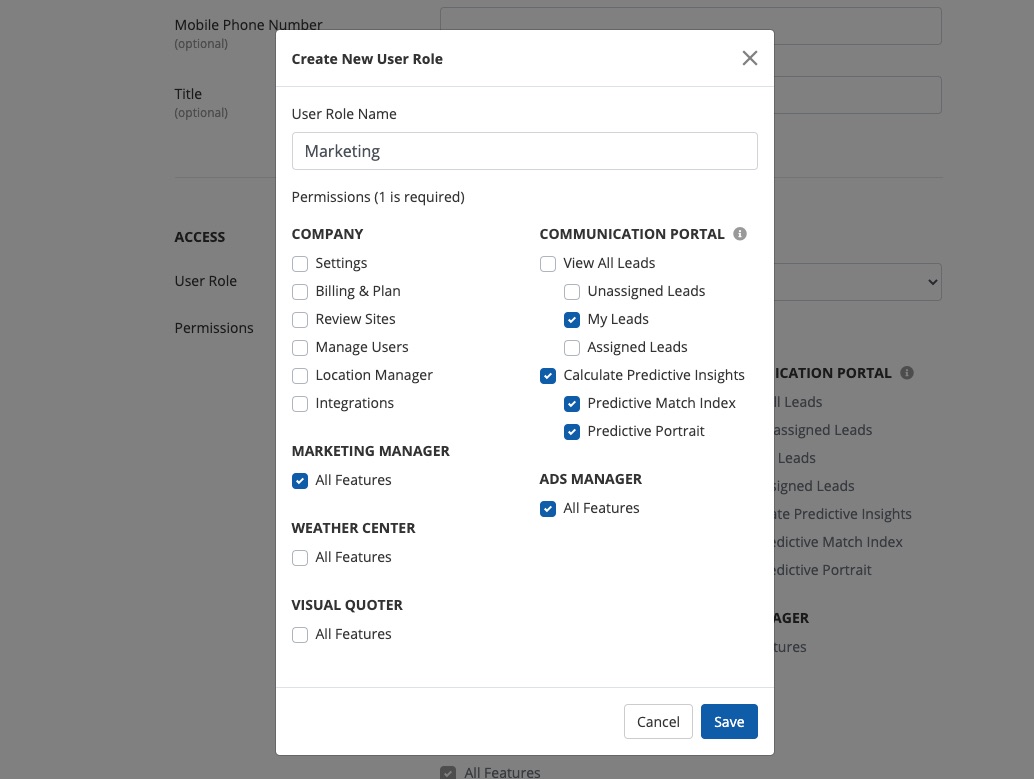
Within the Create New User Role panel, first give your new user role a name at the top. Then choose the specific access settings you want by checking and unchecking the boxes under each feature/tool.
For more information on these options, check out our article explaining the different user permissions.
Is the feature you want grayed out? Checkboxes are inactive if they cannot be chosen. For example, a user who cannot view any leads also cannot view any predictive insights.
Choosing the Right Access Permissions
Setting the right user permissions will not only make PSAI easier to use for your staff, but it will also ensure that your lead data is secure and thoughtfully shared with only the people who need it.
Please keep in mind that PSAI comes with one default role called Admin, which has access to all current and future PSAI features. If you need to add an all-access administrator, please choose this pre-defined role instead of creating a new one. Your company's PSAI account must have at least one Admin at all times.
3. Save the Custom Role
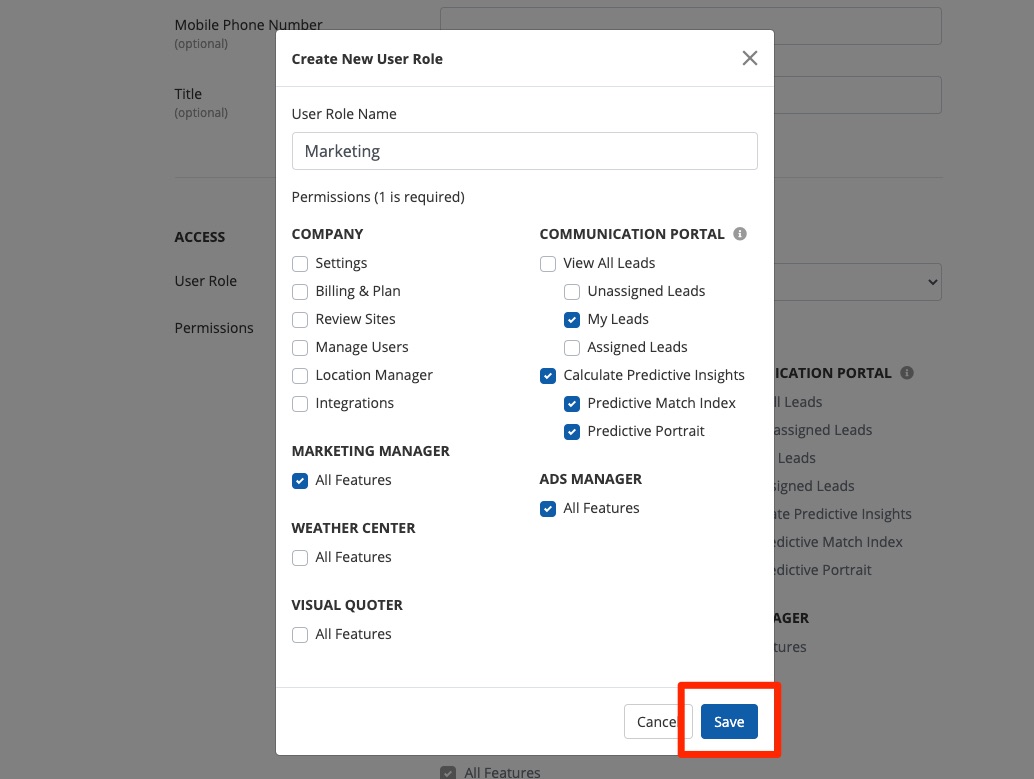
Once you've chosen the right permissions for this new role, click Save.
4. Use the Role in the Future
Once you've created and saved your new role, it will now appear in the User Role dropdown menu, so you can assign it to any other PSAI user in the future.
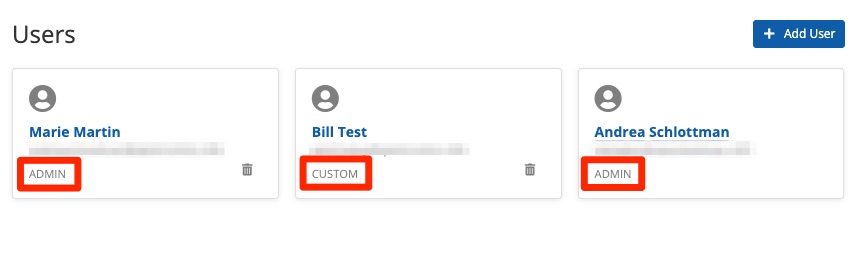
Did you know? You can easily check which PSAI user has which role by going to your Users page. All users are tagged according to their roles as shown below.