Assigning leads to your team members in PSAI is simple. Follow the instructions below.
You can only assign leads to team members who have been added to PSAI. Learn how to add new PSAI users here.
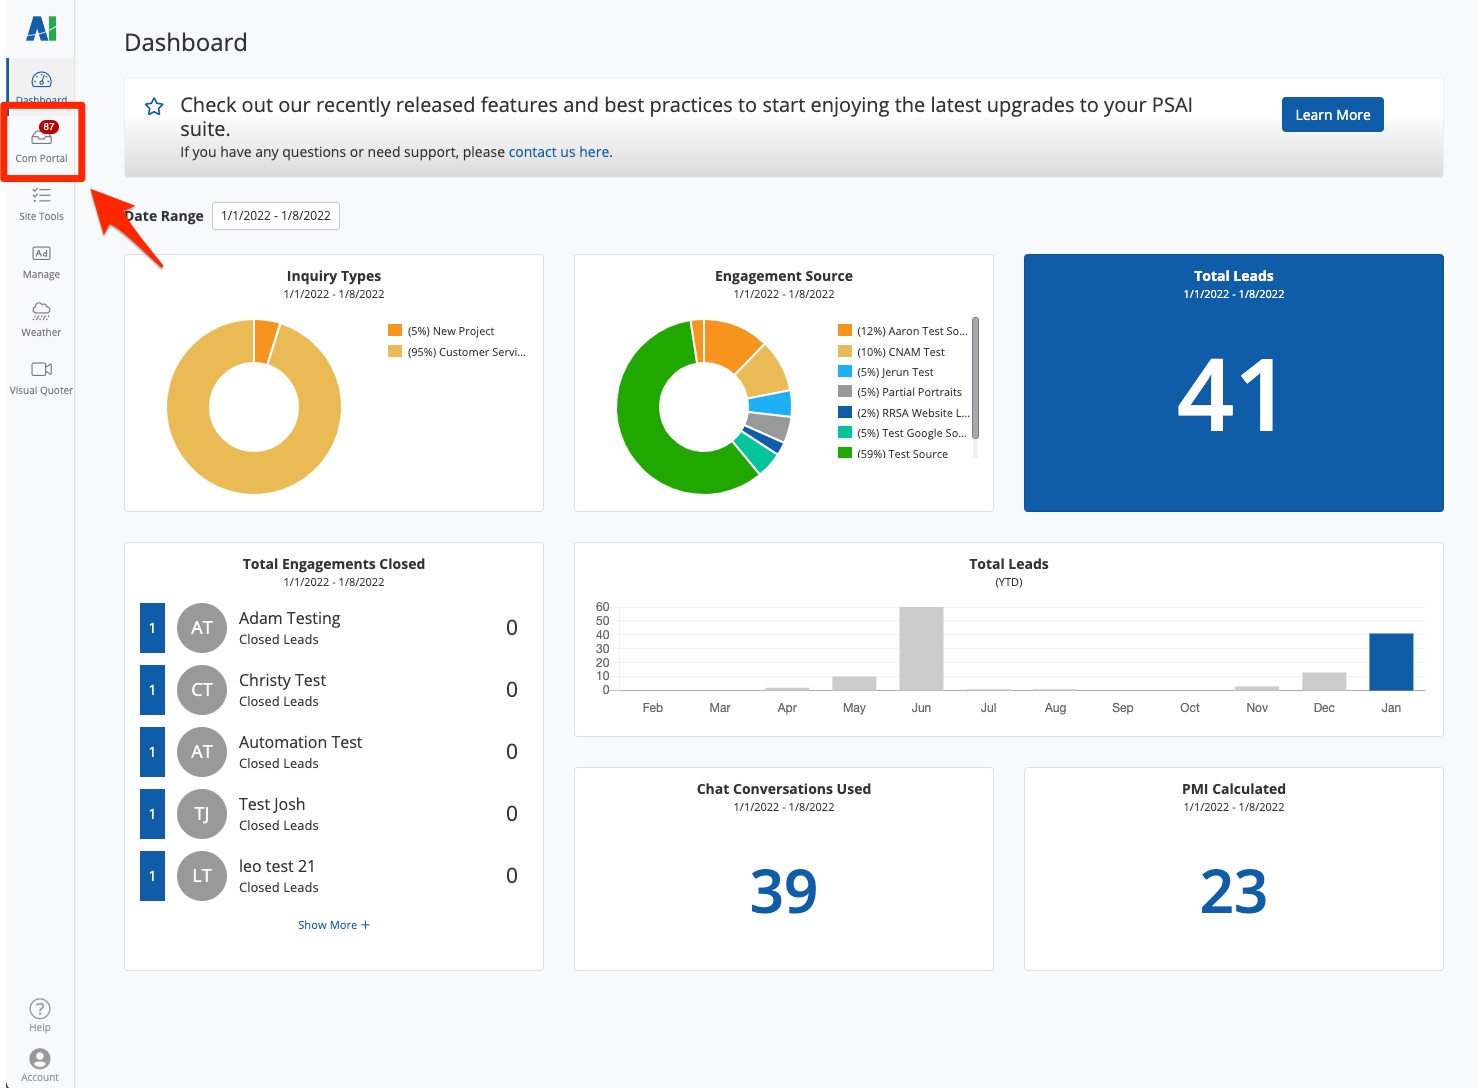
1. Go to the Com Portal
Navigate to the Com Portal by clicking the link from the left-hand toolbar.
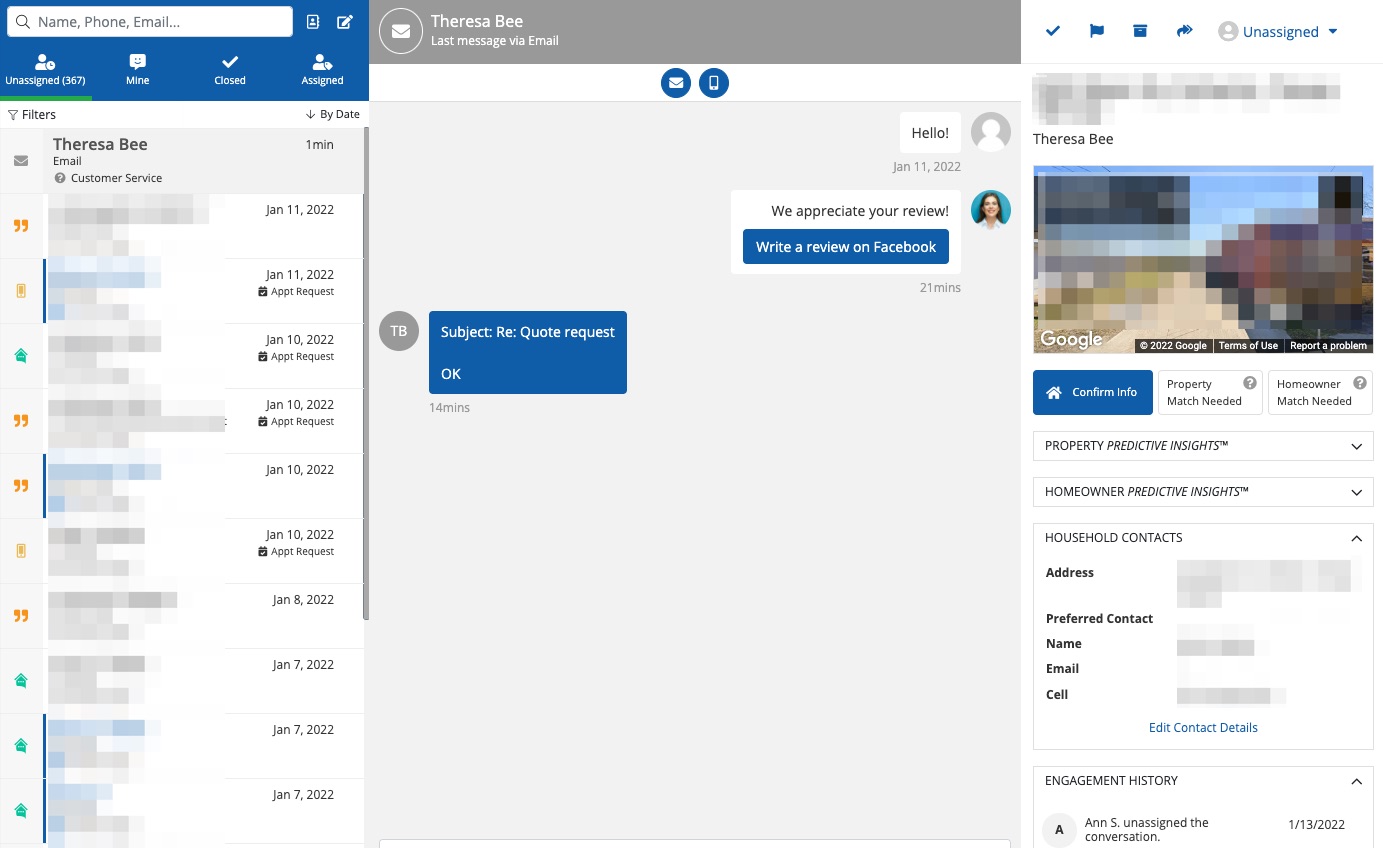
2. Find the Lead
From the Com Portal, find the lead that you'd like to assign. If you're assigning this lead for the first time, you'll likely find them in the Unassigned lead bucket. (For help finding the right lead, check out our searching and filtering tips.)
Once you've located the lead, click on their name to open their engagement page.
3. Choose the Assignee
Click into the dropdown menu at the top right and choose a new PSAI user. Note that users are displayed in alphabetical order by first name.
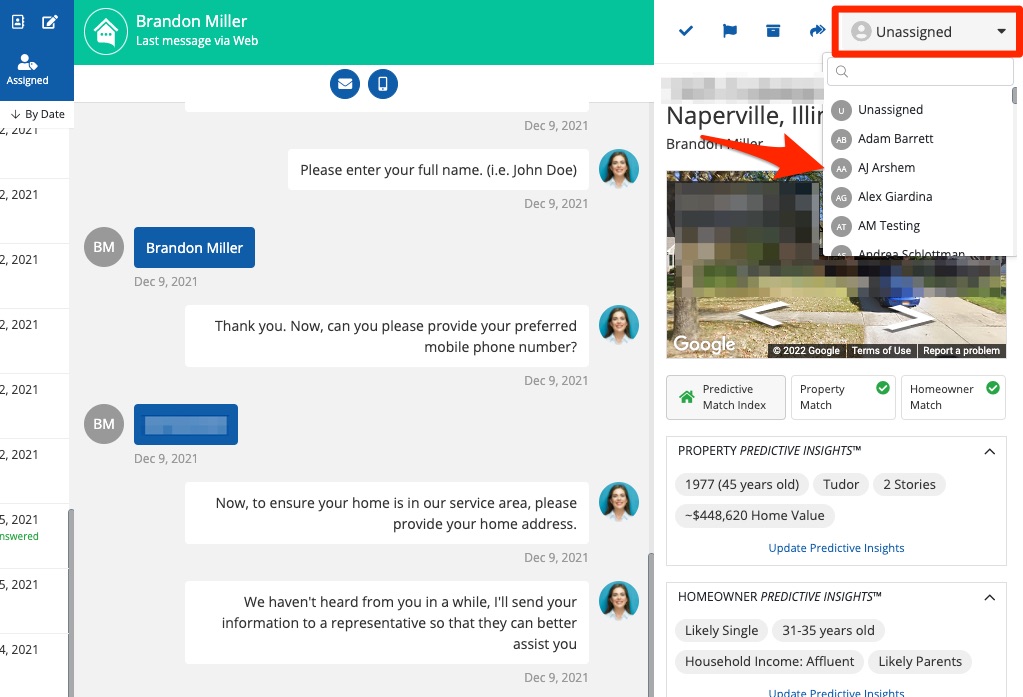
If you're assigning this lead for the first time, the dropdown menu will currently say "Unassigned." If you're reassigning the lead, then it will display the name of the currently assigned PSAI user.
What Happens When You Assign a Lead?
Whenever you assign a lead, a few things will happen automatically—all of which make it easier for your team to keep track of the lead assignment now and in the future.
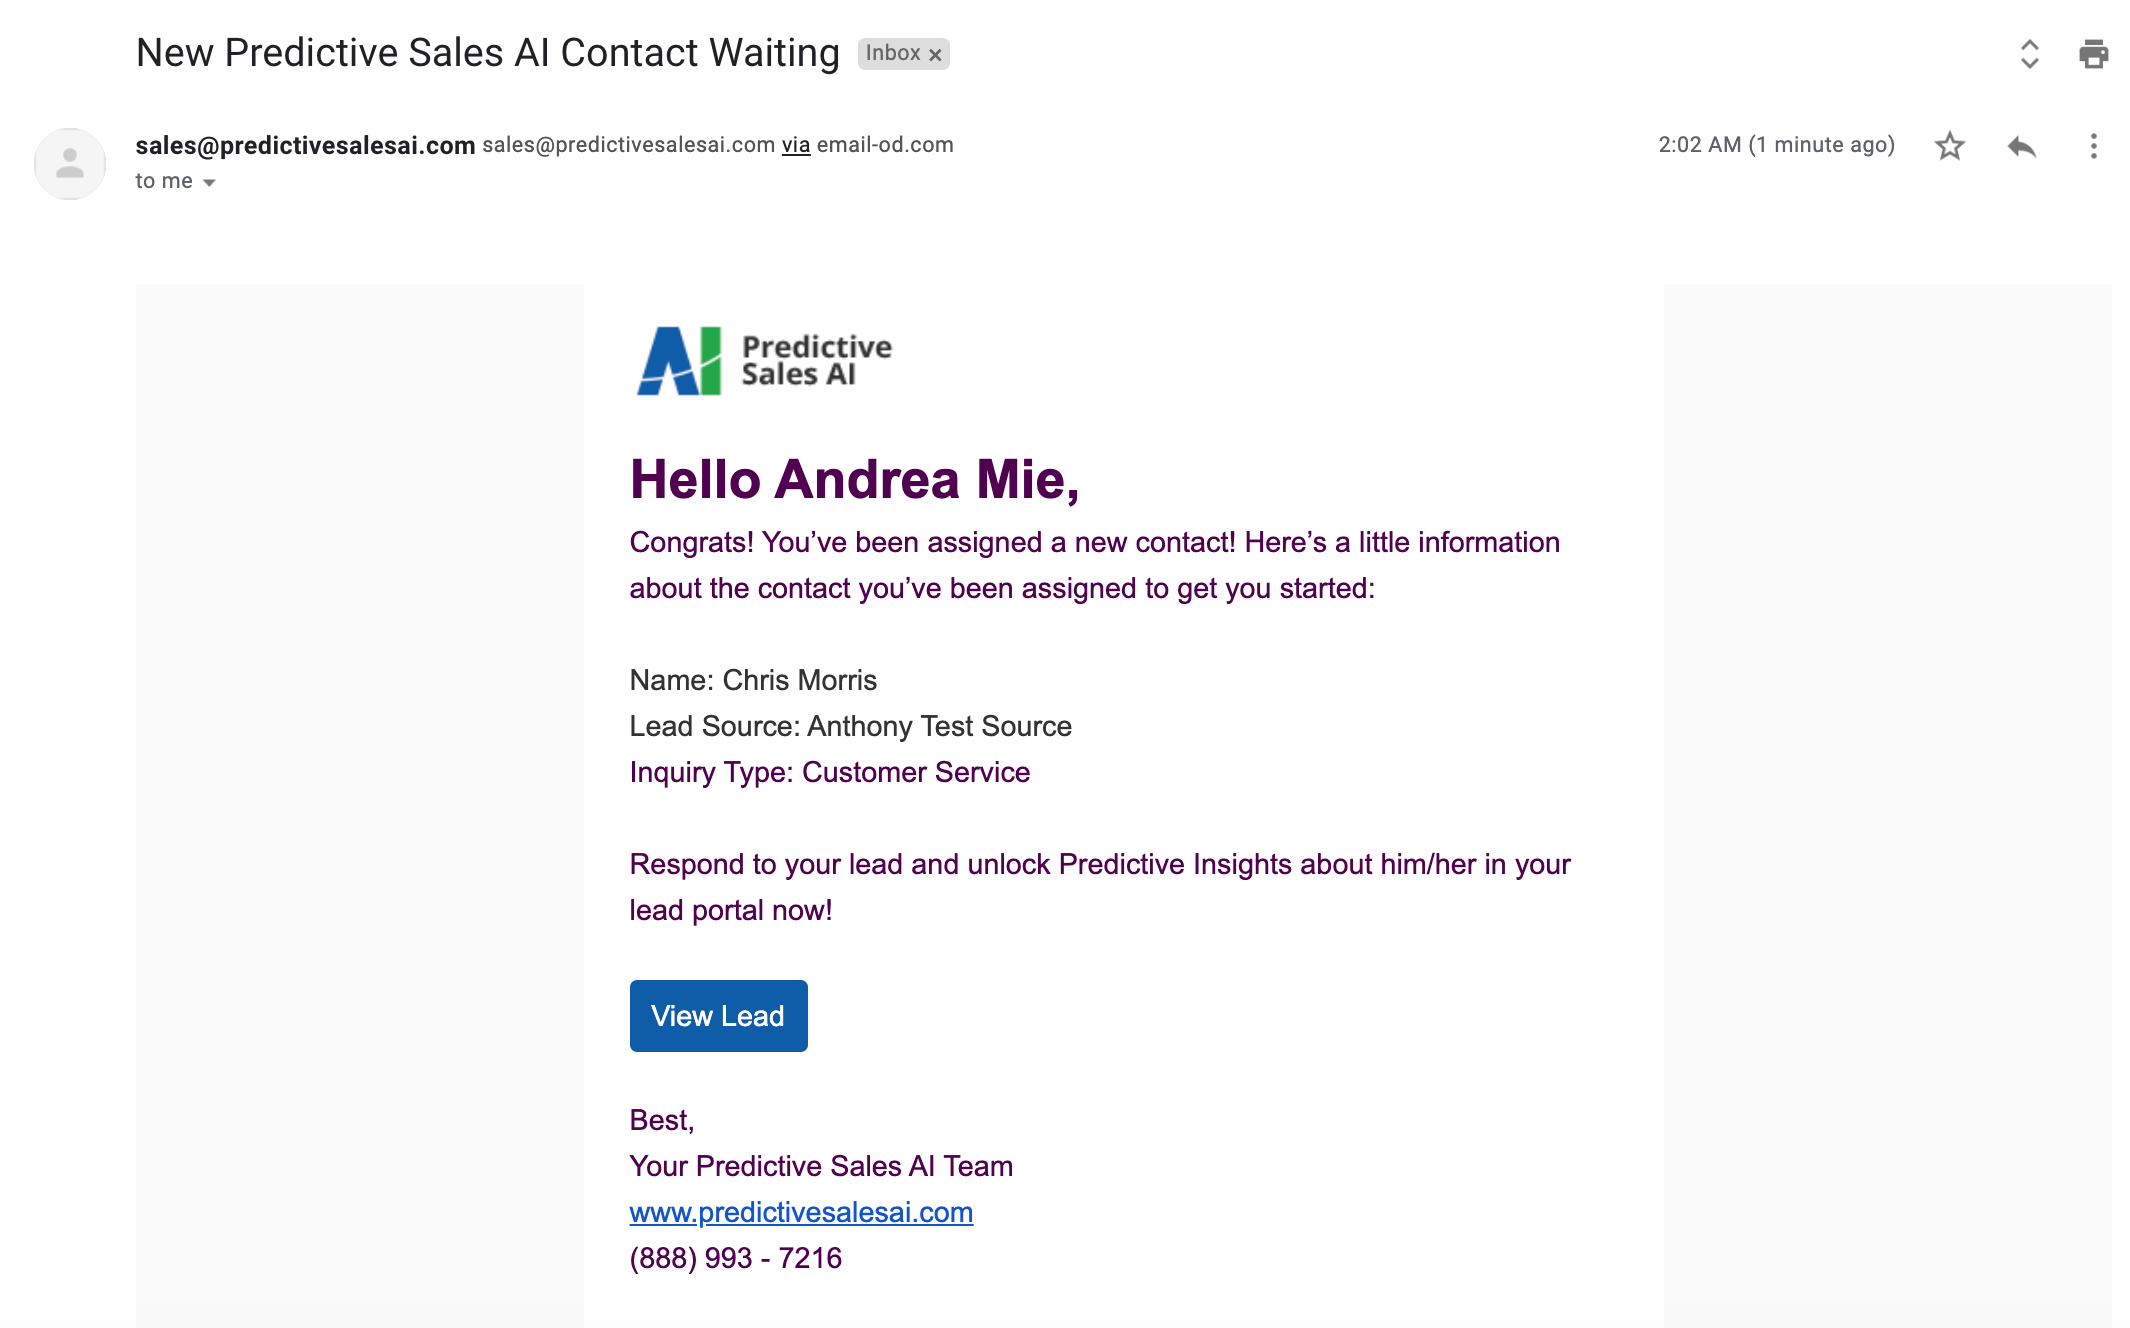
1. Automated Email Notification Is Sent
As soon as you assign the lead, PSAI will send an automated notification email to the assignee. This email notifies the user and provides a link to the lead in the Com Portal for easy follow-up.
Remember that the Com Portal is mobile-friendly! If your reps are often on phones or tablets out in the field, have them save PSAI as a shortcut on their mobile home screen.
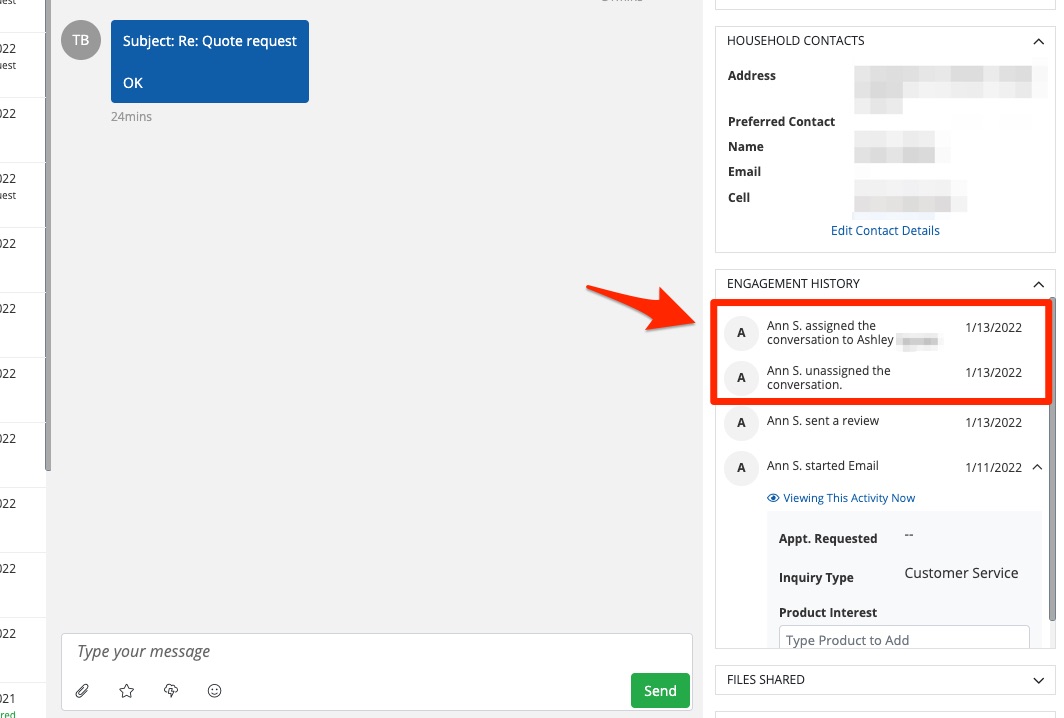
2. Engagement History Is Updated
Depending on how your business operates, you may assign and reassign leads several times throughout the customer journey. To help you stay on top of it, PSAI automatically records lead assignments in the Engagement History panel.
3. Lead Buckets Are Updated
Whenever you assign a lead, the lead will immediately move into that PSAI user's Mine bucket.
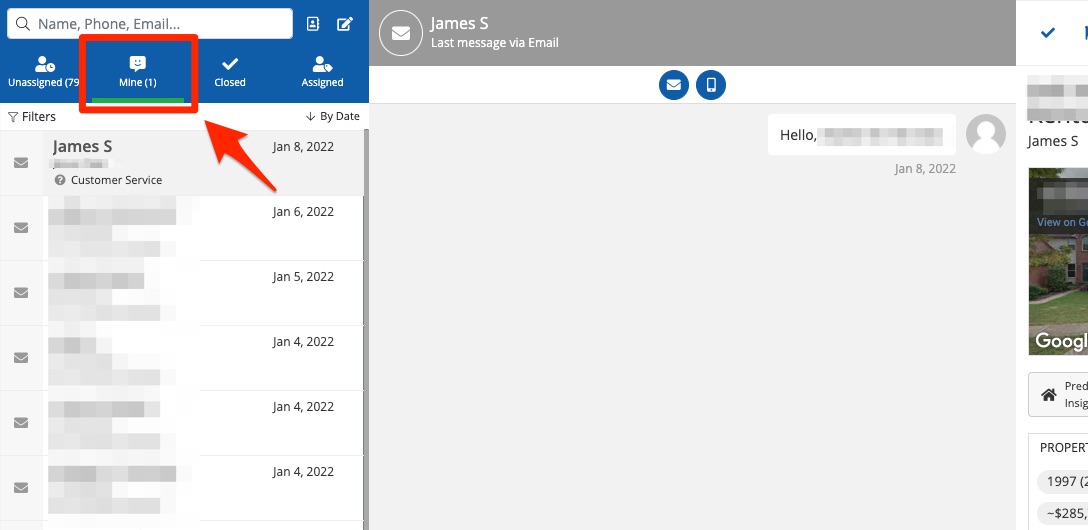
Keep in mind that buckets are user-specific. The PSAI user who received the assignment will see the lead in their Mine bucket; all other PSAI users will see the same lead in the Assigned bucket (because it has been assigned to someone else).
Now you know how...but want to learn why you might assign leads to your staff? Get more tips and information in our overview on assigning leads in PSAI.