Whenever you add a manual contact to PSAI, you'll be able to designate exactly where that lead came from by creating a custom lead source. You can create as many custom lead sources as you want, allowing you to precisely track leads—whether from canvassing, home shows, external affiliate sites, yard signs, or some other marketing effort.
Follow the instructions below to create a custom lead source within the Com Portal.
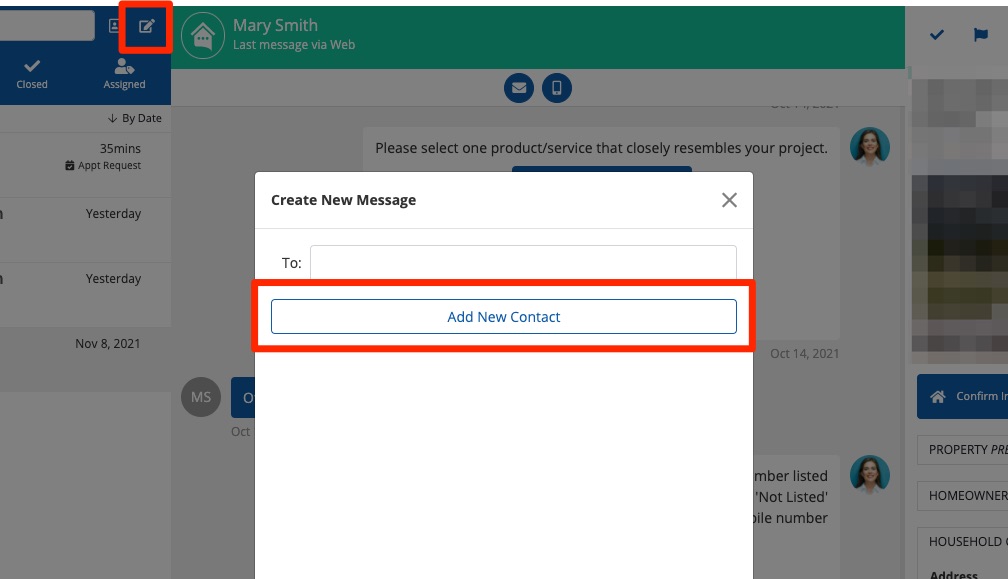
1. Add a New Contact
Click the pencil to open the new contact modal. Then click Add New Contact.
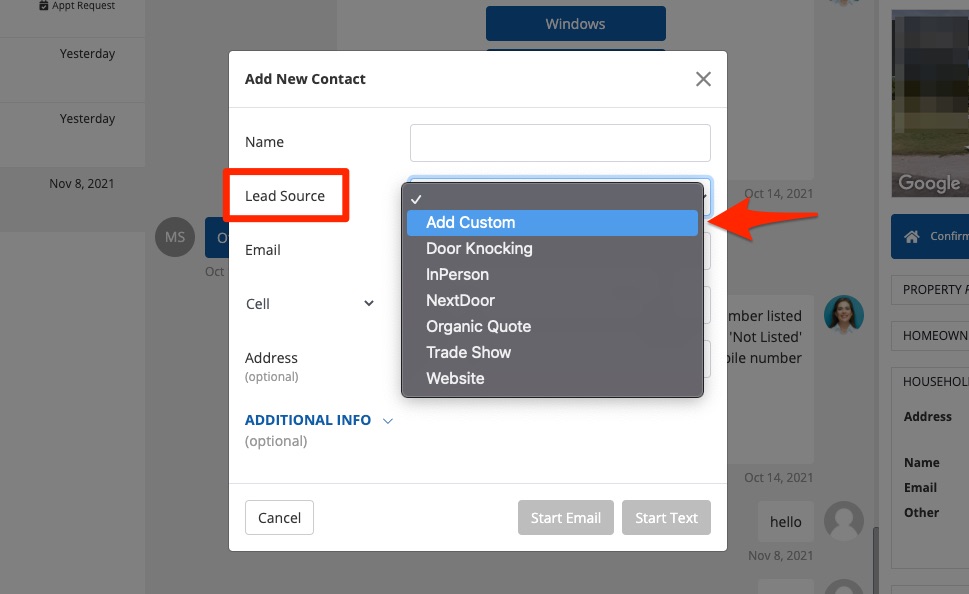
2. Create a Custom Lead Source
In the Lead Source field, click into the dropdown menu and select Add Custom.
3. Fill in the Details
On the Add New Source panel that pops up next, fill out the form fields as shown below.
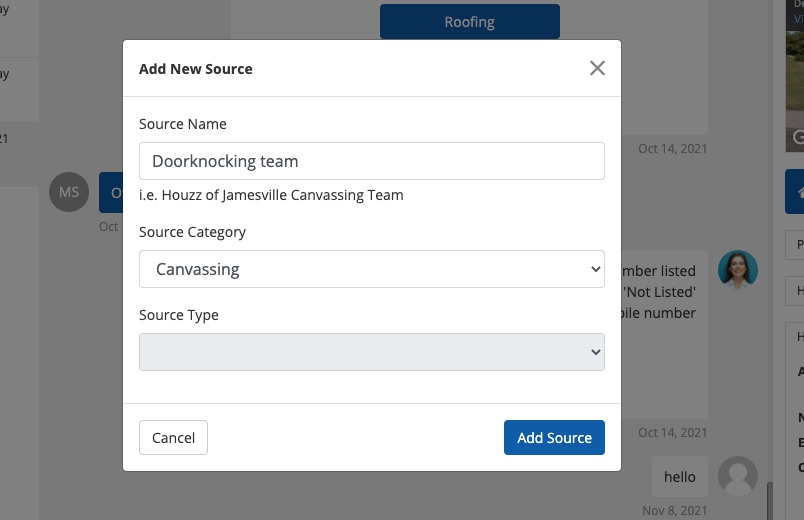
Here is a bit more information on how to fill in these fields:
- Source Name: Give your lead source a descriptive name so that you can easily identify it in the future. For instance, you could name the source after its geographic area, head sales rep's name, months of active runtime, or some combination of these identifying features.
- Source Category: Choose the most relevant source category from the drop-down menu options, which include various sources such as Radio, Lead Aggregators (like Angi), and Events.
- Source Type: This field only becomes active for certain types of source categories, including YouTube and Facebook among others. If this field remains gray, then it is inactive and you do not need to choose anything.
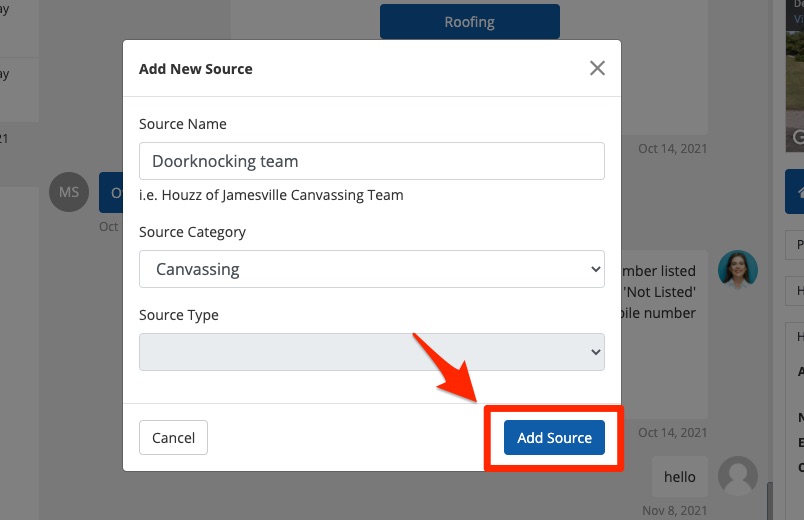
4. Add Source
When you've finished filling in the relevant information, click "Add Source" to save your new custom lead source.
That's it! Your custom lead source will now be available in the dropdown menu whenever you manually add a new contact in the future. You can also use this source as a filter in the Com Portal, just like any other source label.