Whether you want to change your company's logo or your connected Facebook account, it's quick and easy to update your company settings in PSAI. Follow the instructions below.
1. Navigate to Company Settings
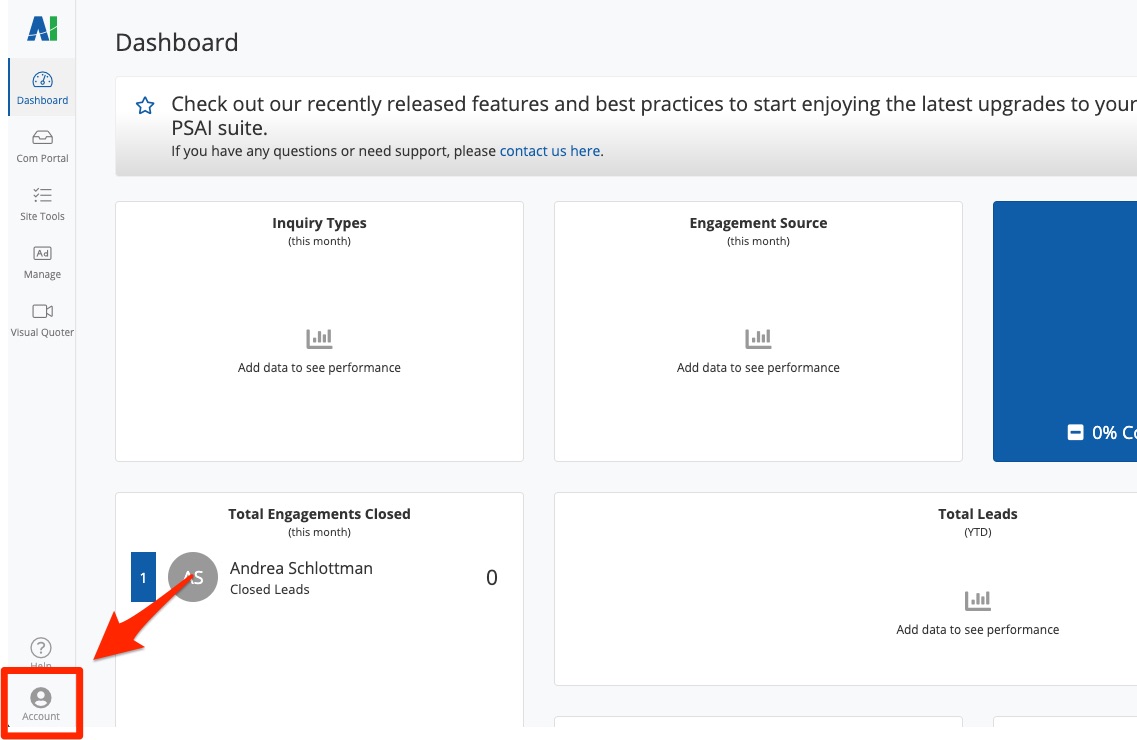
To update your company details, log into PSAI and then click Account from the bottom left corner.
2. Edit Your Settings
You'll be brought to the Company Settings page, where you can update all of the necessary details about your company.
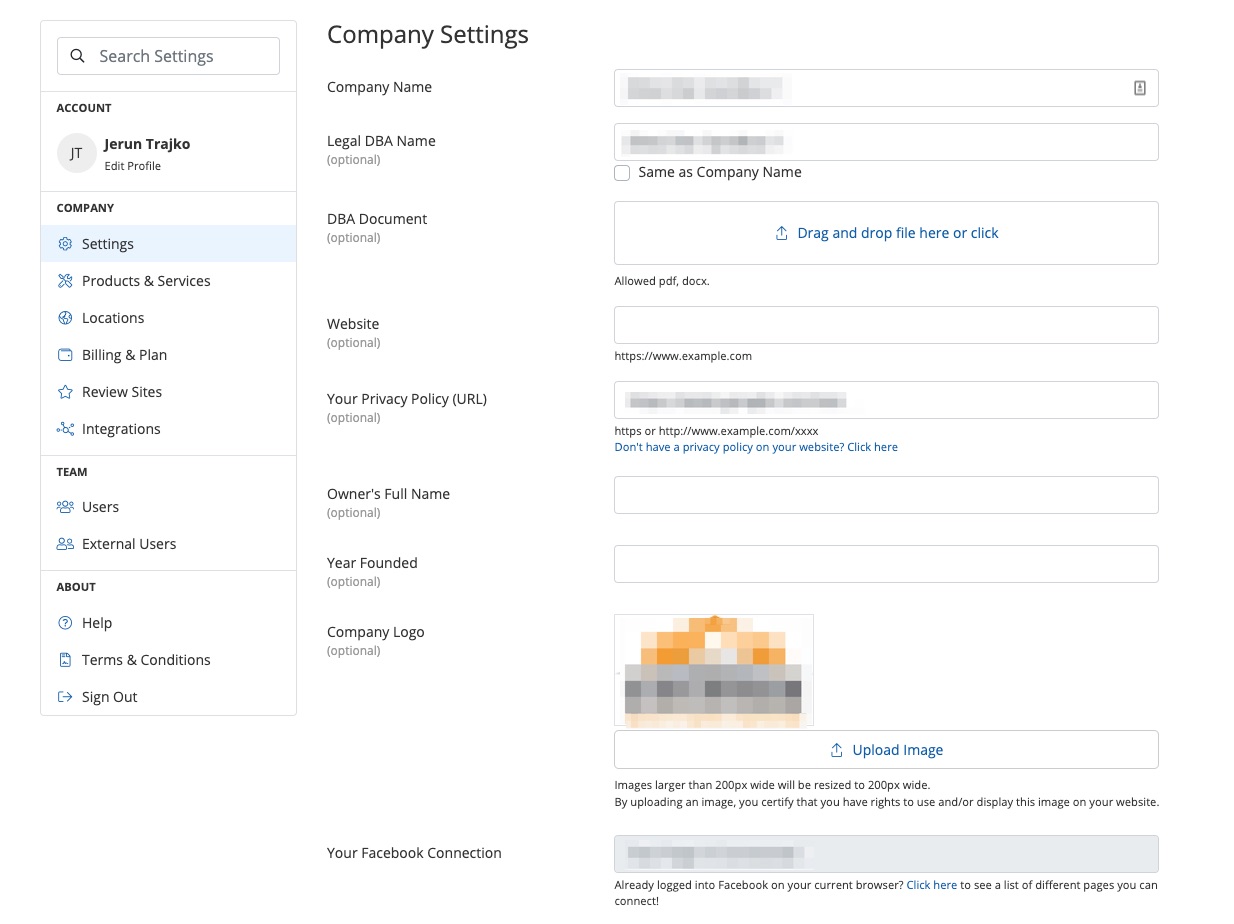
On the Company Settings page, you can update the following fields:
- Company name
- Legal DBA name
- DBA document
- Website URL: Adding your website URL here will allow PSAI to auto-populate the URL whenever you create a new site tool.
- Privacy policy URL: Because Facebook requires this for any ads run on its platform, a privacy policy is required to use PSAI Ads Manager.
- Owner's full name
- Year founded
- Logo: The logo you add here will appear throughout your PSAI platform, including your storm campaign landing page and Gia chat bot.
- Facebook connection: A Facebook connection is required to launch ads through PSAI Ads Manager. This connection only needs to be done once.
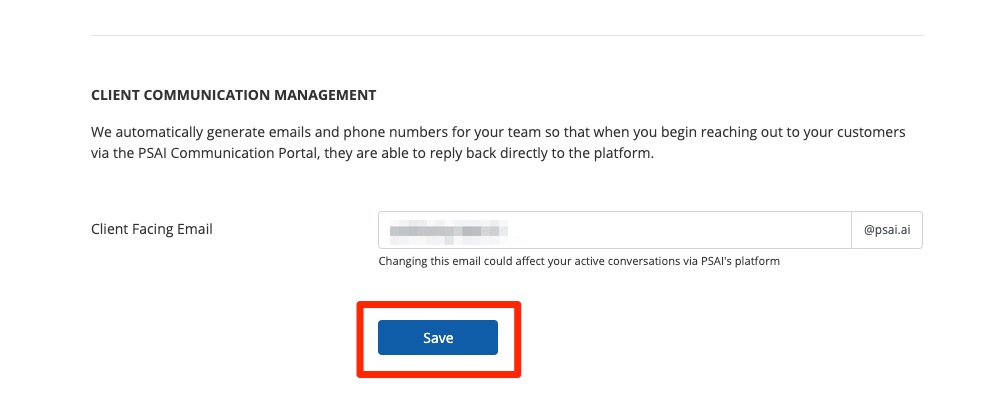
- Client-facing email: This email address appears in the email sender line whenever you communicate with leads through the Com Portal. (To avoid disrupting any in-progress communications, we do not recommend changing this once it has been set up.)
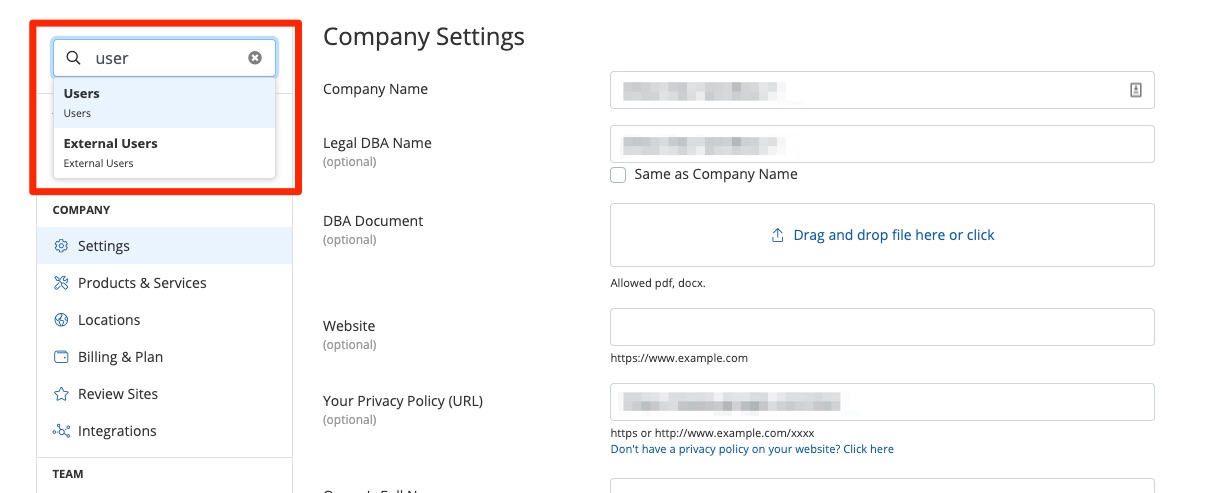
For all other fields related to your company settings, use the left-hand navigation menu. These subpages allow you to update your products and services, update billing, add new users, add integrations with partners, and more.
Tip: If you aren't sure where to update something, use the search bar!
3. Save Your Changes
Once you've edited your company settings, click Save.
Now that your company's settings are updated, you may want to add new users to your company's PSAI account. Learn how to add new PSAI users here.