PSAI's Weather technology allows you to draw a custom shape on a map and then launch a targeted Facebook ad campaign to homeowners within that geographic area. Drawing is just one step of the storm campaign launch process, but it's very important to getting your ad right!
Learn how to draw on the map below.
1. Click "Select Audience & Calculate"
Once you're on the Weather map, bring up the drawing panel by clicking the button for "Select Audience & Calculate." (If you need tips on finding a storm, check out how to find recent storms near you or how to view storms happening right now.)
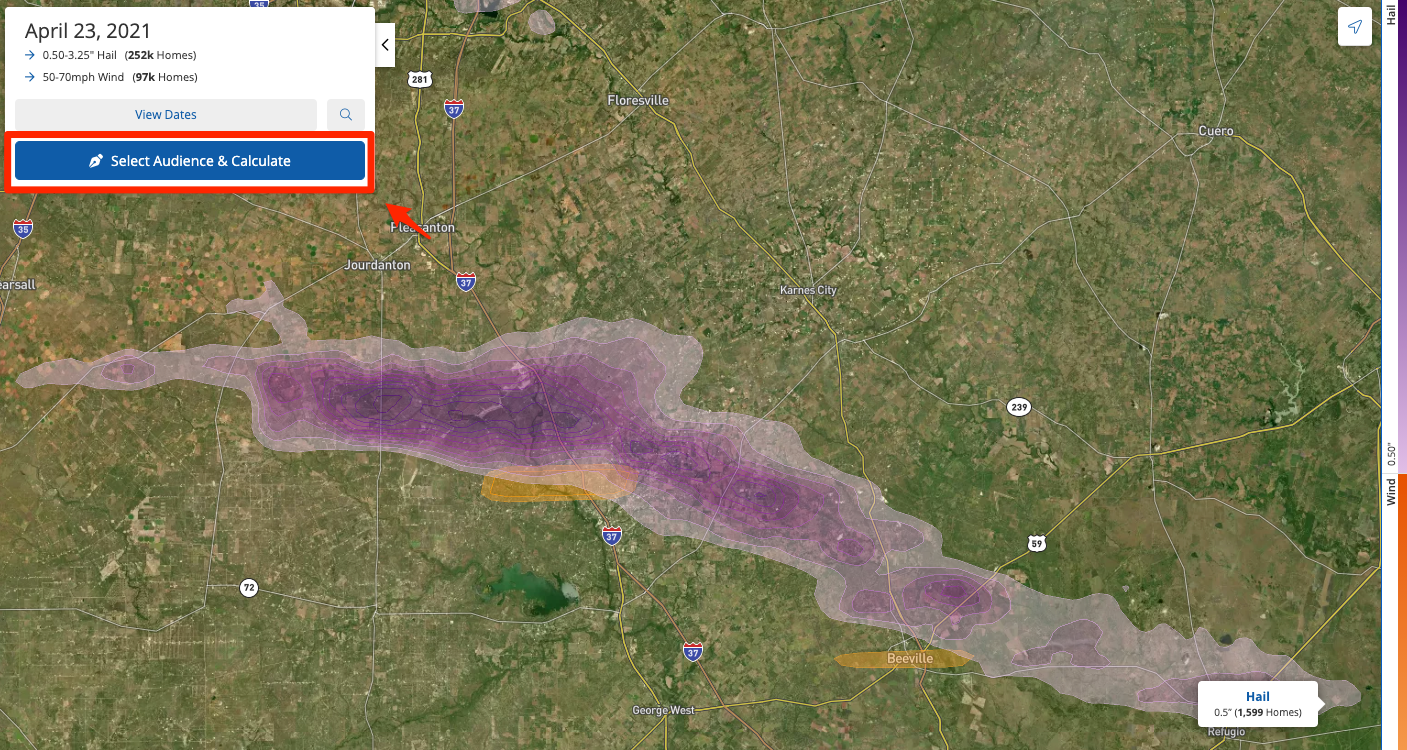
Clicking the "Select Audience & Calculate" button will activate the drawing panel in the upper right corner, as shown below.
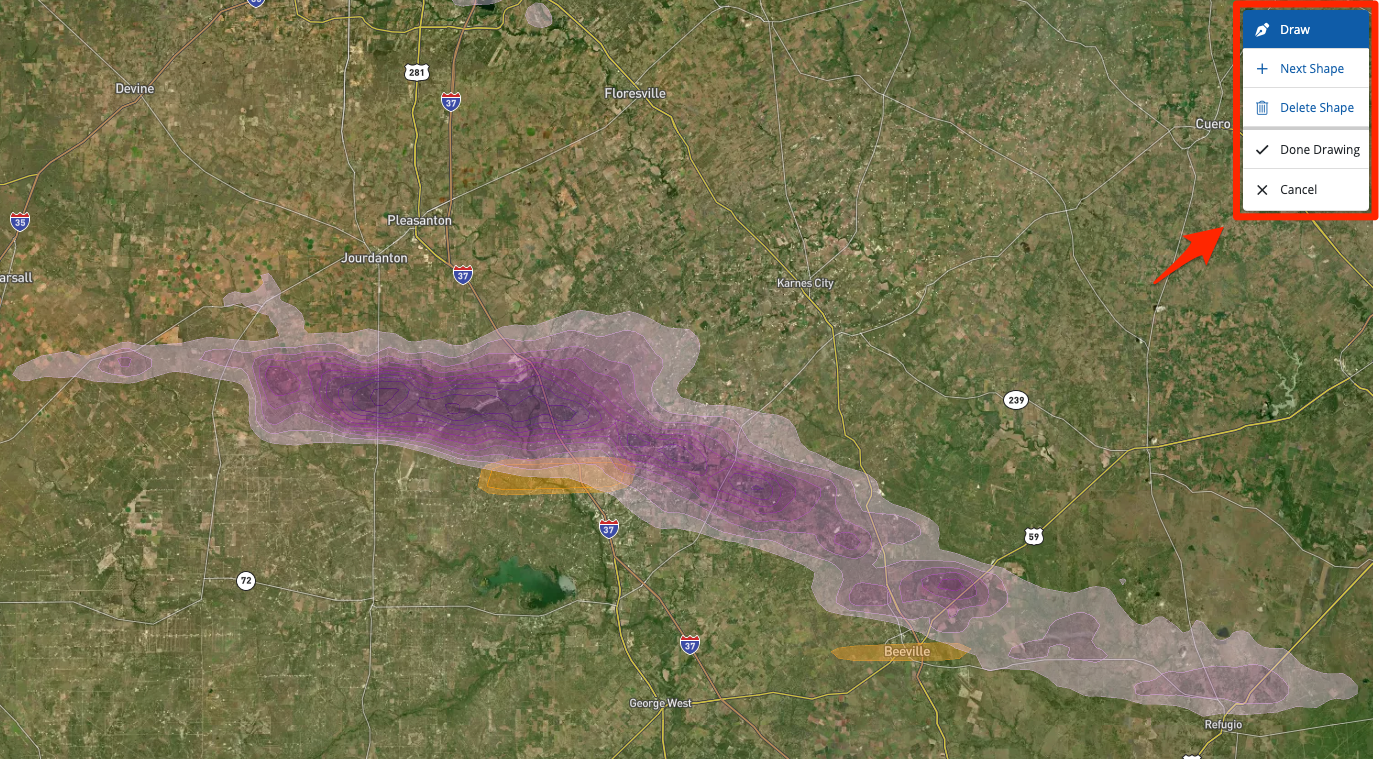
2. Click to Start Your Shape
Once you have the drawing panel activated, click once anywhere on the map to mark the initial point on your polygon.
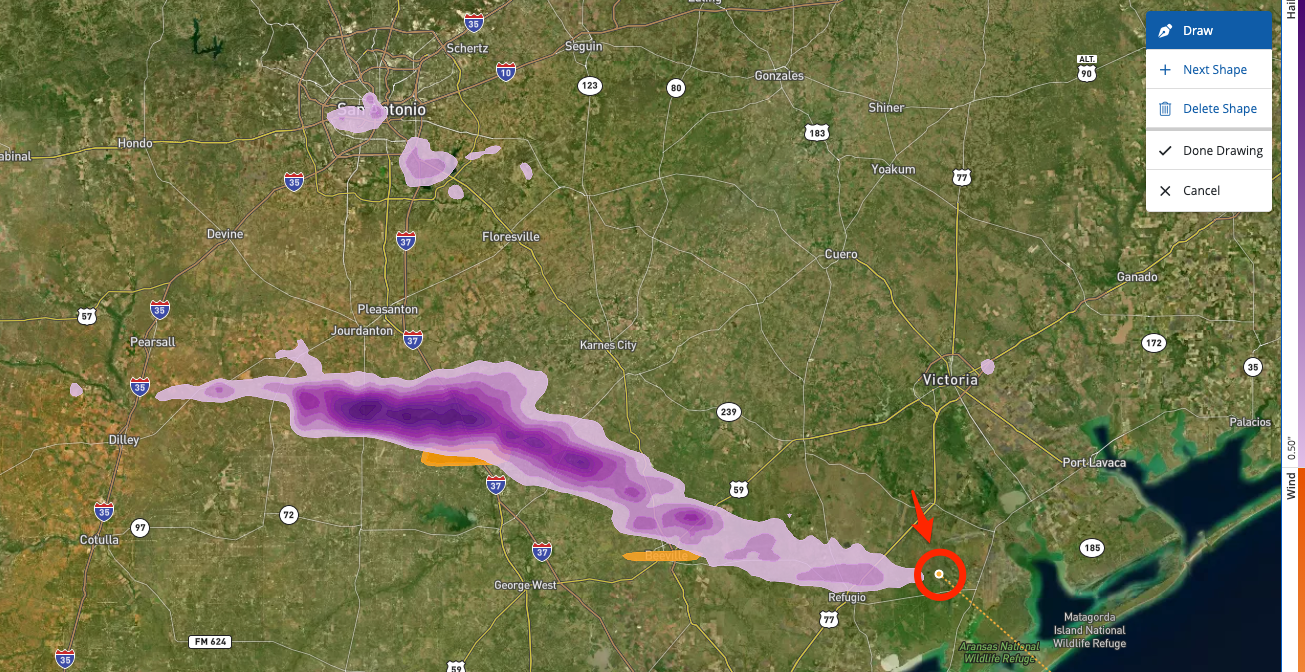
3. Click to Add Points to Your Shape
Continue clicking to add more points to your polygon, defining its total shape and size.
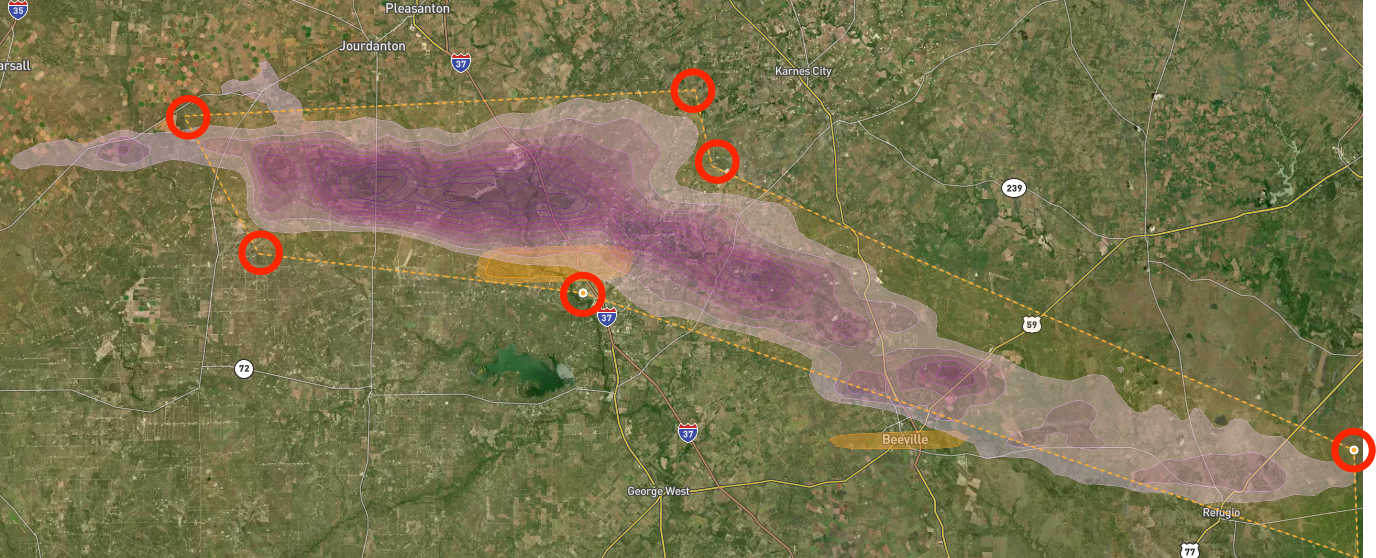
To speed up the calculations and improve the accuracy of your homeowner audience, we recommend following the edges of the storm swath closely, as shown below.
Want to target multiple storm areas that aren't contiguous? Learn how to draw multiple polygons on the map.
4. Complete Your Shape
Click "Done Drawing" to finalize your shape(s). As shown in the GIF below, this will begin the calculation of your homeowner audience, which is the first step to launching your storm campaign.
What's next? Now that you know how to draw on the map, refer to our drawing best practices to make sure you're getting the best results for your storm campaign.
You can also check out more information in the linked resources below: