With each storm campaign you launch on Facebook, you'll get a customized landing page that encourages Facebook users to fill out a form in exchange for their extreme weather report. To add your logo to this page—increasing your company's branding and building trust with visitors—follow the instructions below.
Note that your logo will display above the weather form on your storm campaign's landing page, as shown below.

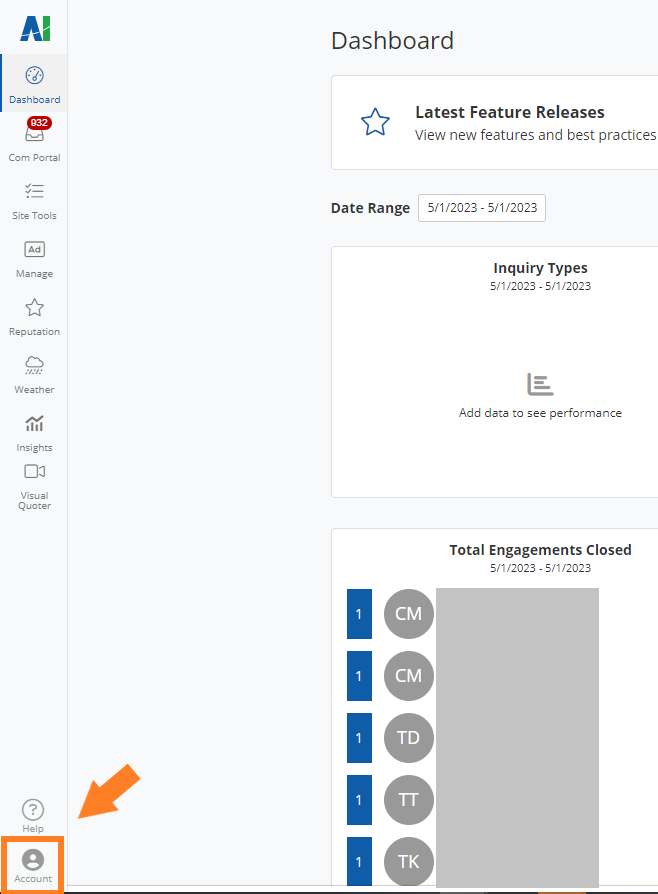
1. Go to Company Settings
After logging into PSAI, click Account to open your company settings.
2. Upload Your Logo
Scroll down to the section for Company Logo and click the button to upload your image. (If you already have a logo here, then the new image will replace it.)
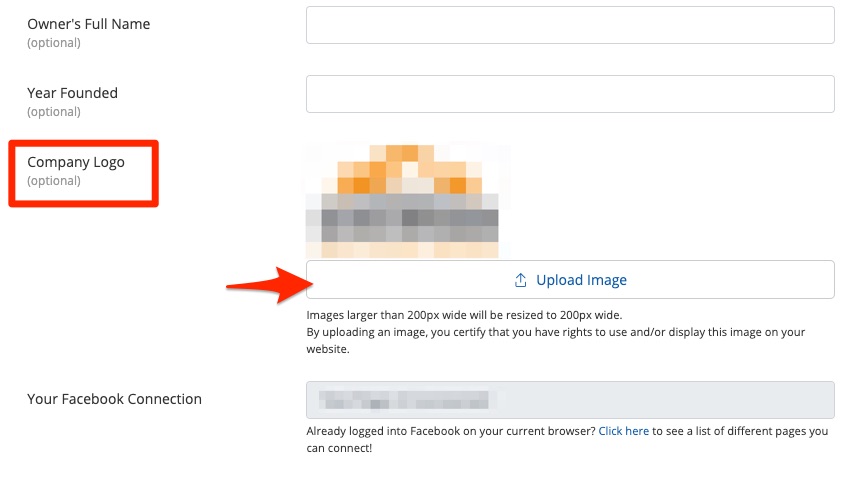
We recommend uploading a logo file that has a white background or will look good on a white background, as the form background itself is white.
3. Save Your Changes
Scroll to the bottom of the page and click the button to save your changes.

Now that your logo is saved to your company settings, it will automatically appear on your storm campaign landing pages. See an example of a storm campaign landing page here.
Learn more about running successful storm campaigns in these resources: