Marking a geographic area as a Favorite Area on your PSAI Weather map is a great way to ensure quick and easy access to that location directly from your Weather Center dashboard. These favorite locations, will be specific to your account only, meaning that if you have a friend on your team, you will not see the favorite locations they have added in your Favorite Storm Region. You will only see the favorite regions that you have created, helping you to more easily click into regions of the map that matter to you!
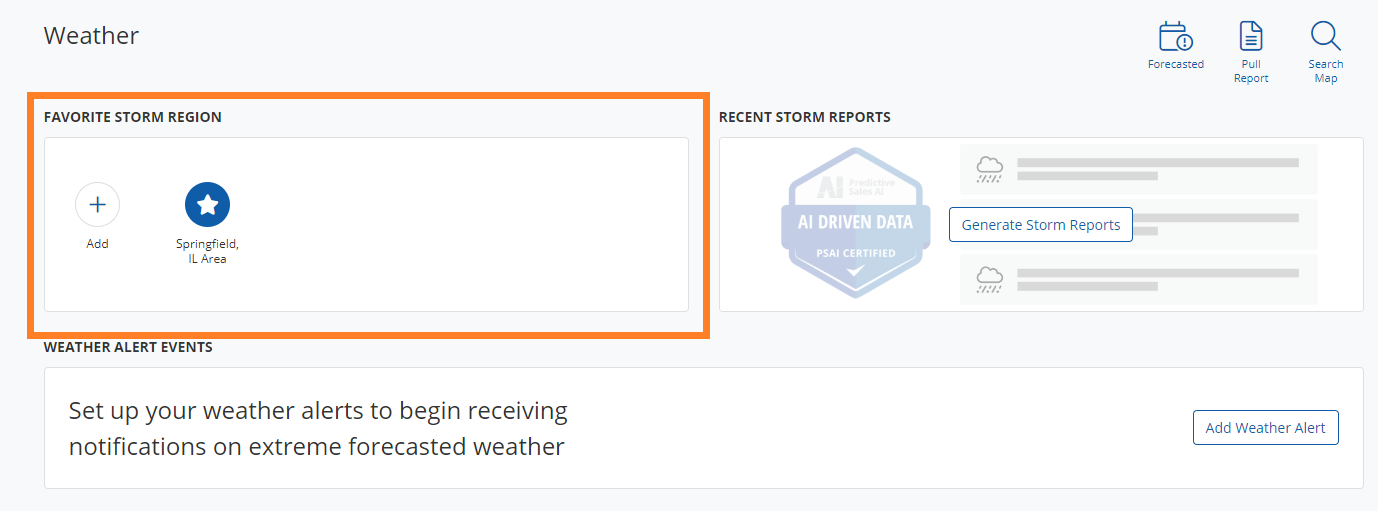
Any time you add a new favorite market, it will appear in the Favorite Storm Region panel of the Weather dashboard.
To save a Favorite Market, follow the instructions below.
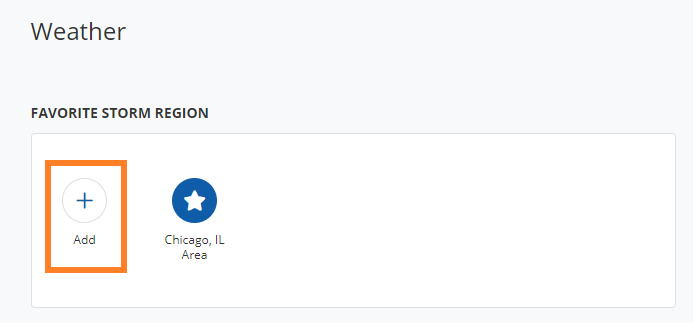
1. Click "Add Map Favorite" or Click the Plus Sign (+) in the Favorite Storm Region
If you just created your account, and you haven’t created a storm region, you will see an Add Map Favorite button on your main weather dashboard.

If you have already created a favorite map region, then you can click the plus button “+” in your favorite map region of your main weather dashboard.
It doesn't matter how to enter the map. In addition to the Search Map button, you can enter by clicking the Forecasted button. Learn more about all the ways to explore the weather map here.
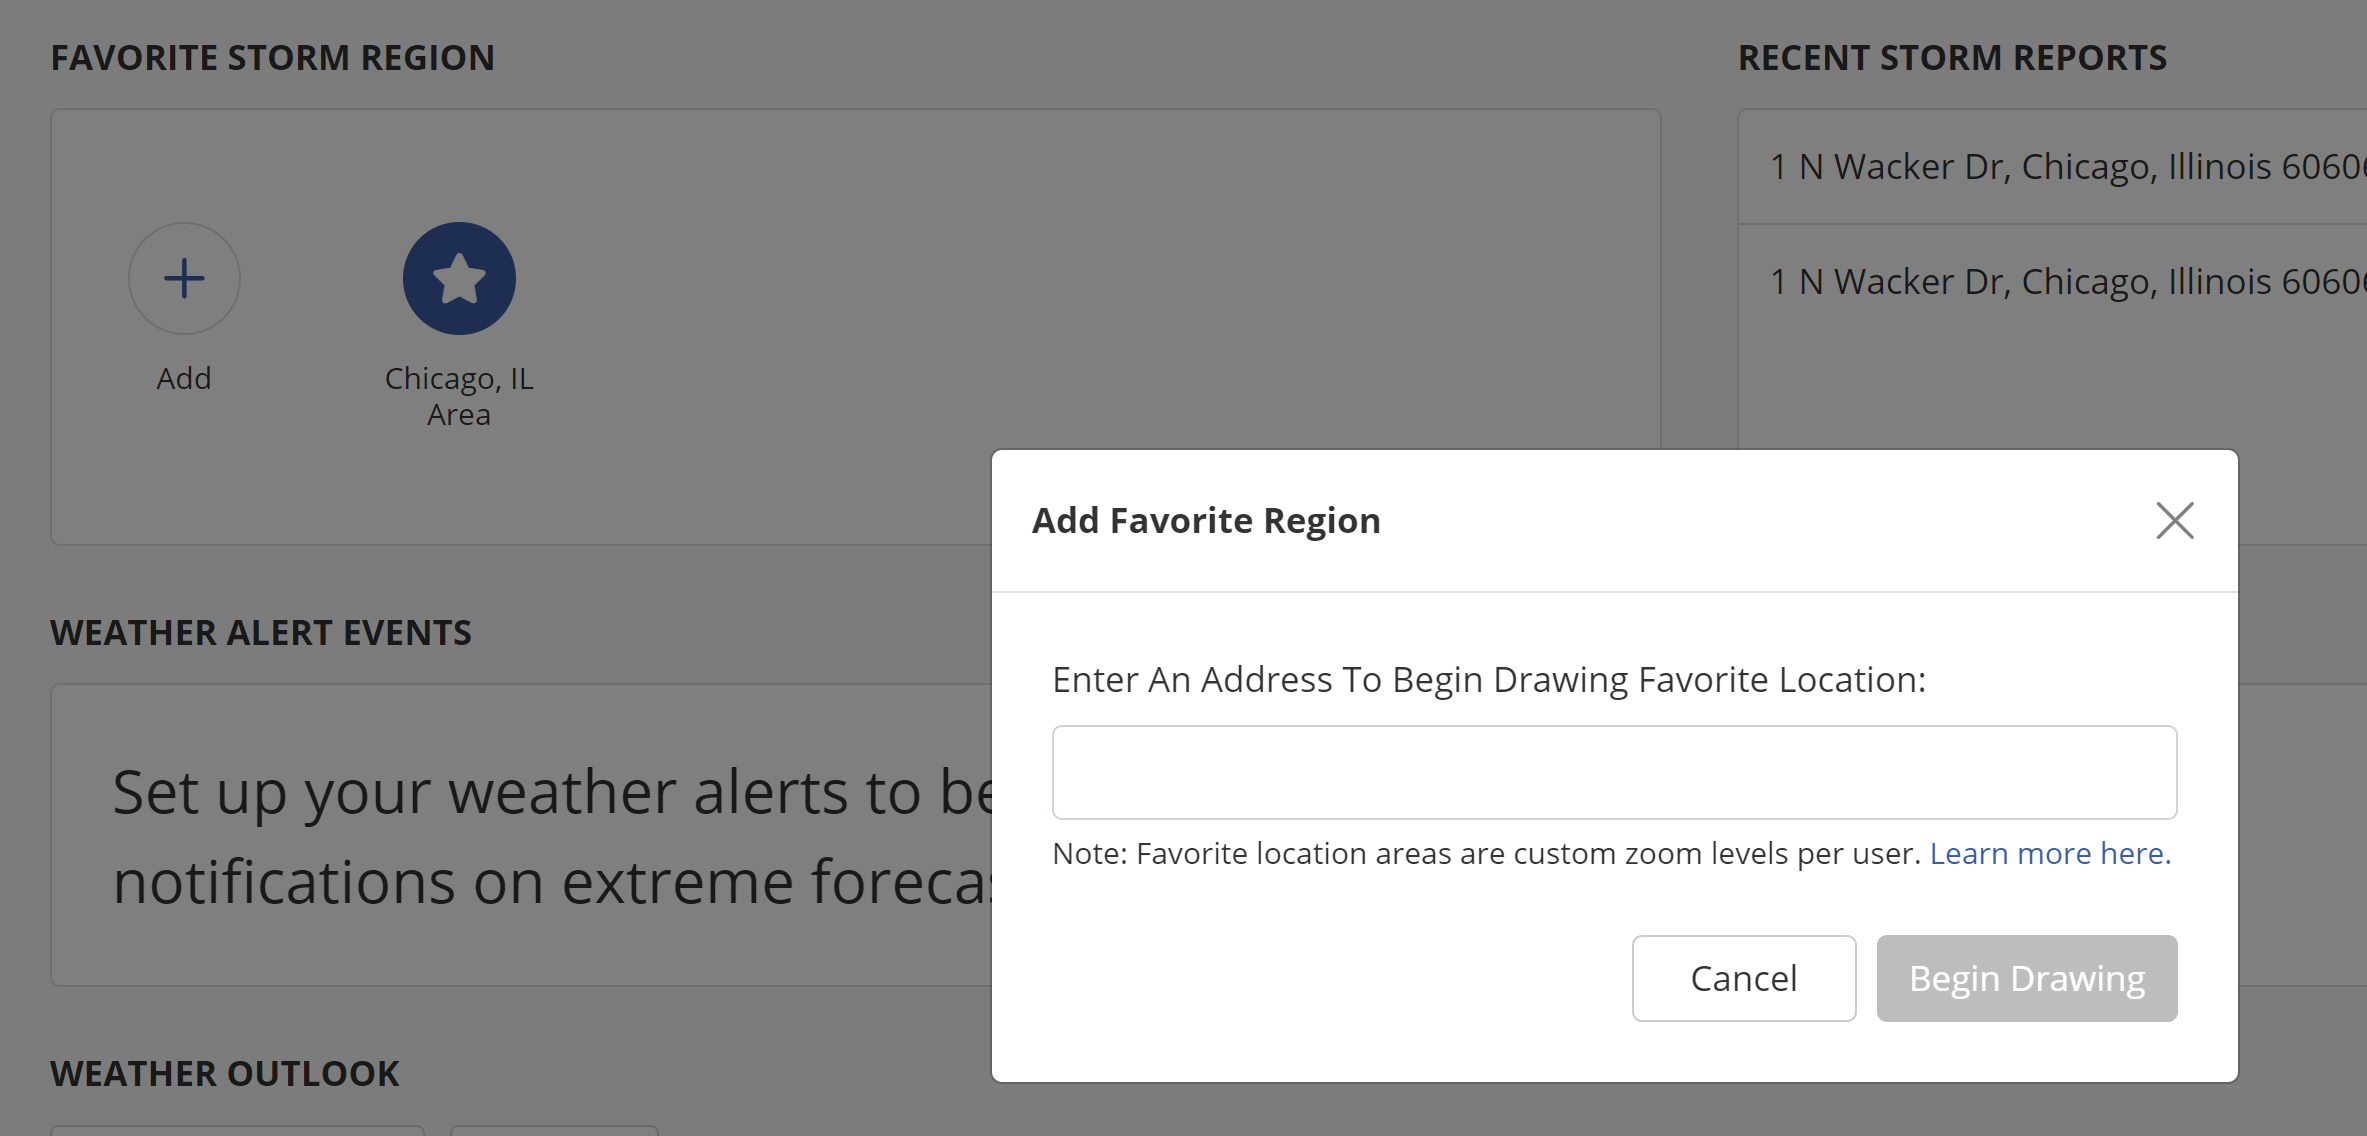
2. Enter a Unique Address That You Would Like to Draw Around
In order to begin drawing around an area, enter a unique address to originally zoom the map into.
Make sure to enter an exact address such as "1 N Wacker Dr, Chicago, IL 60606" as opposed to a zip code or city/state.
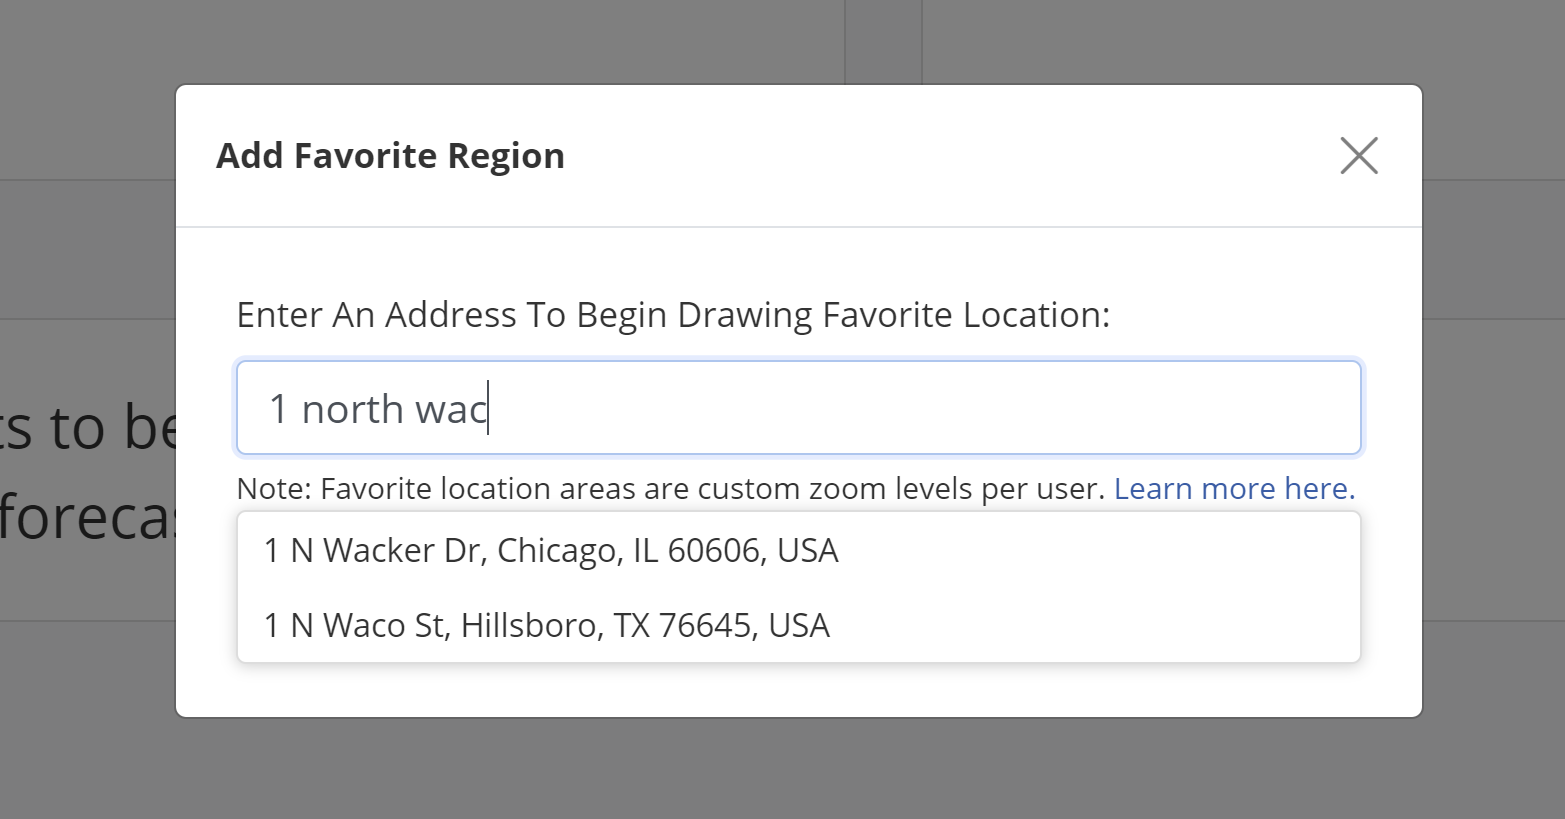
3. Select a Recommended Address From the List Provided
Upon entering a unique address into the search menu, wait for the weather system to display recommended addresses, and select one from the list provided.
4. Click 'Begin Drawing'
After you select a recommended address, the Begin Drawing button should become enabled. Selecting this button should take you to the map where you can zoom in and out as you desire in order to draw a unique region of your choosing.
5. Draw Your Polygon(s) on the Map
Note that once you've activated the drawing panel, single-clicking anywhere on the map will start a point of your polygon. Before clicking on the map, try zooming in or clicking and dragging to make sure you're centered on the area you'd like to save.
When you first enter your map, you can begin by simply clicking directly on the screen, and a shape will begin to form. You should notice that your cursor has changed from a standard arrow pointer shape to a plus sign '+' shape. This means that you can begin clicking the map and a shape will begin to form.

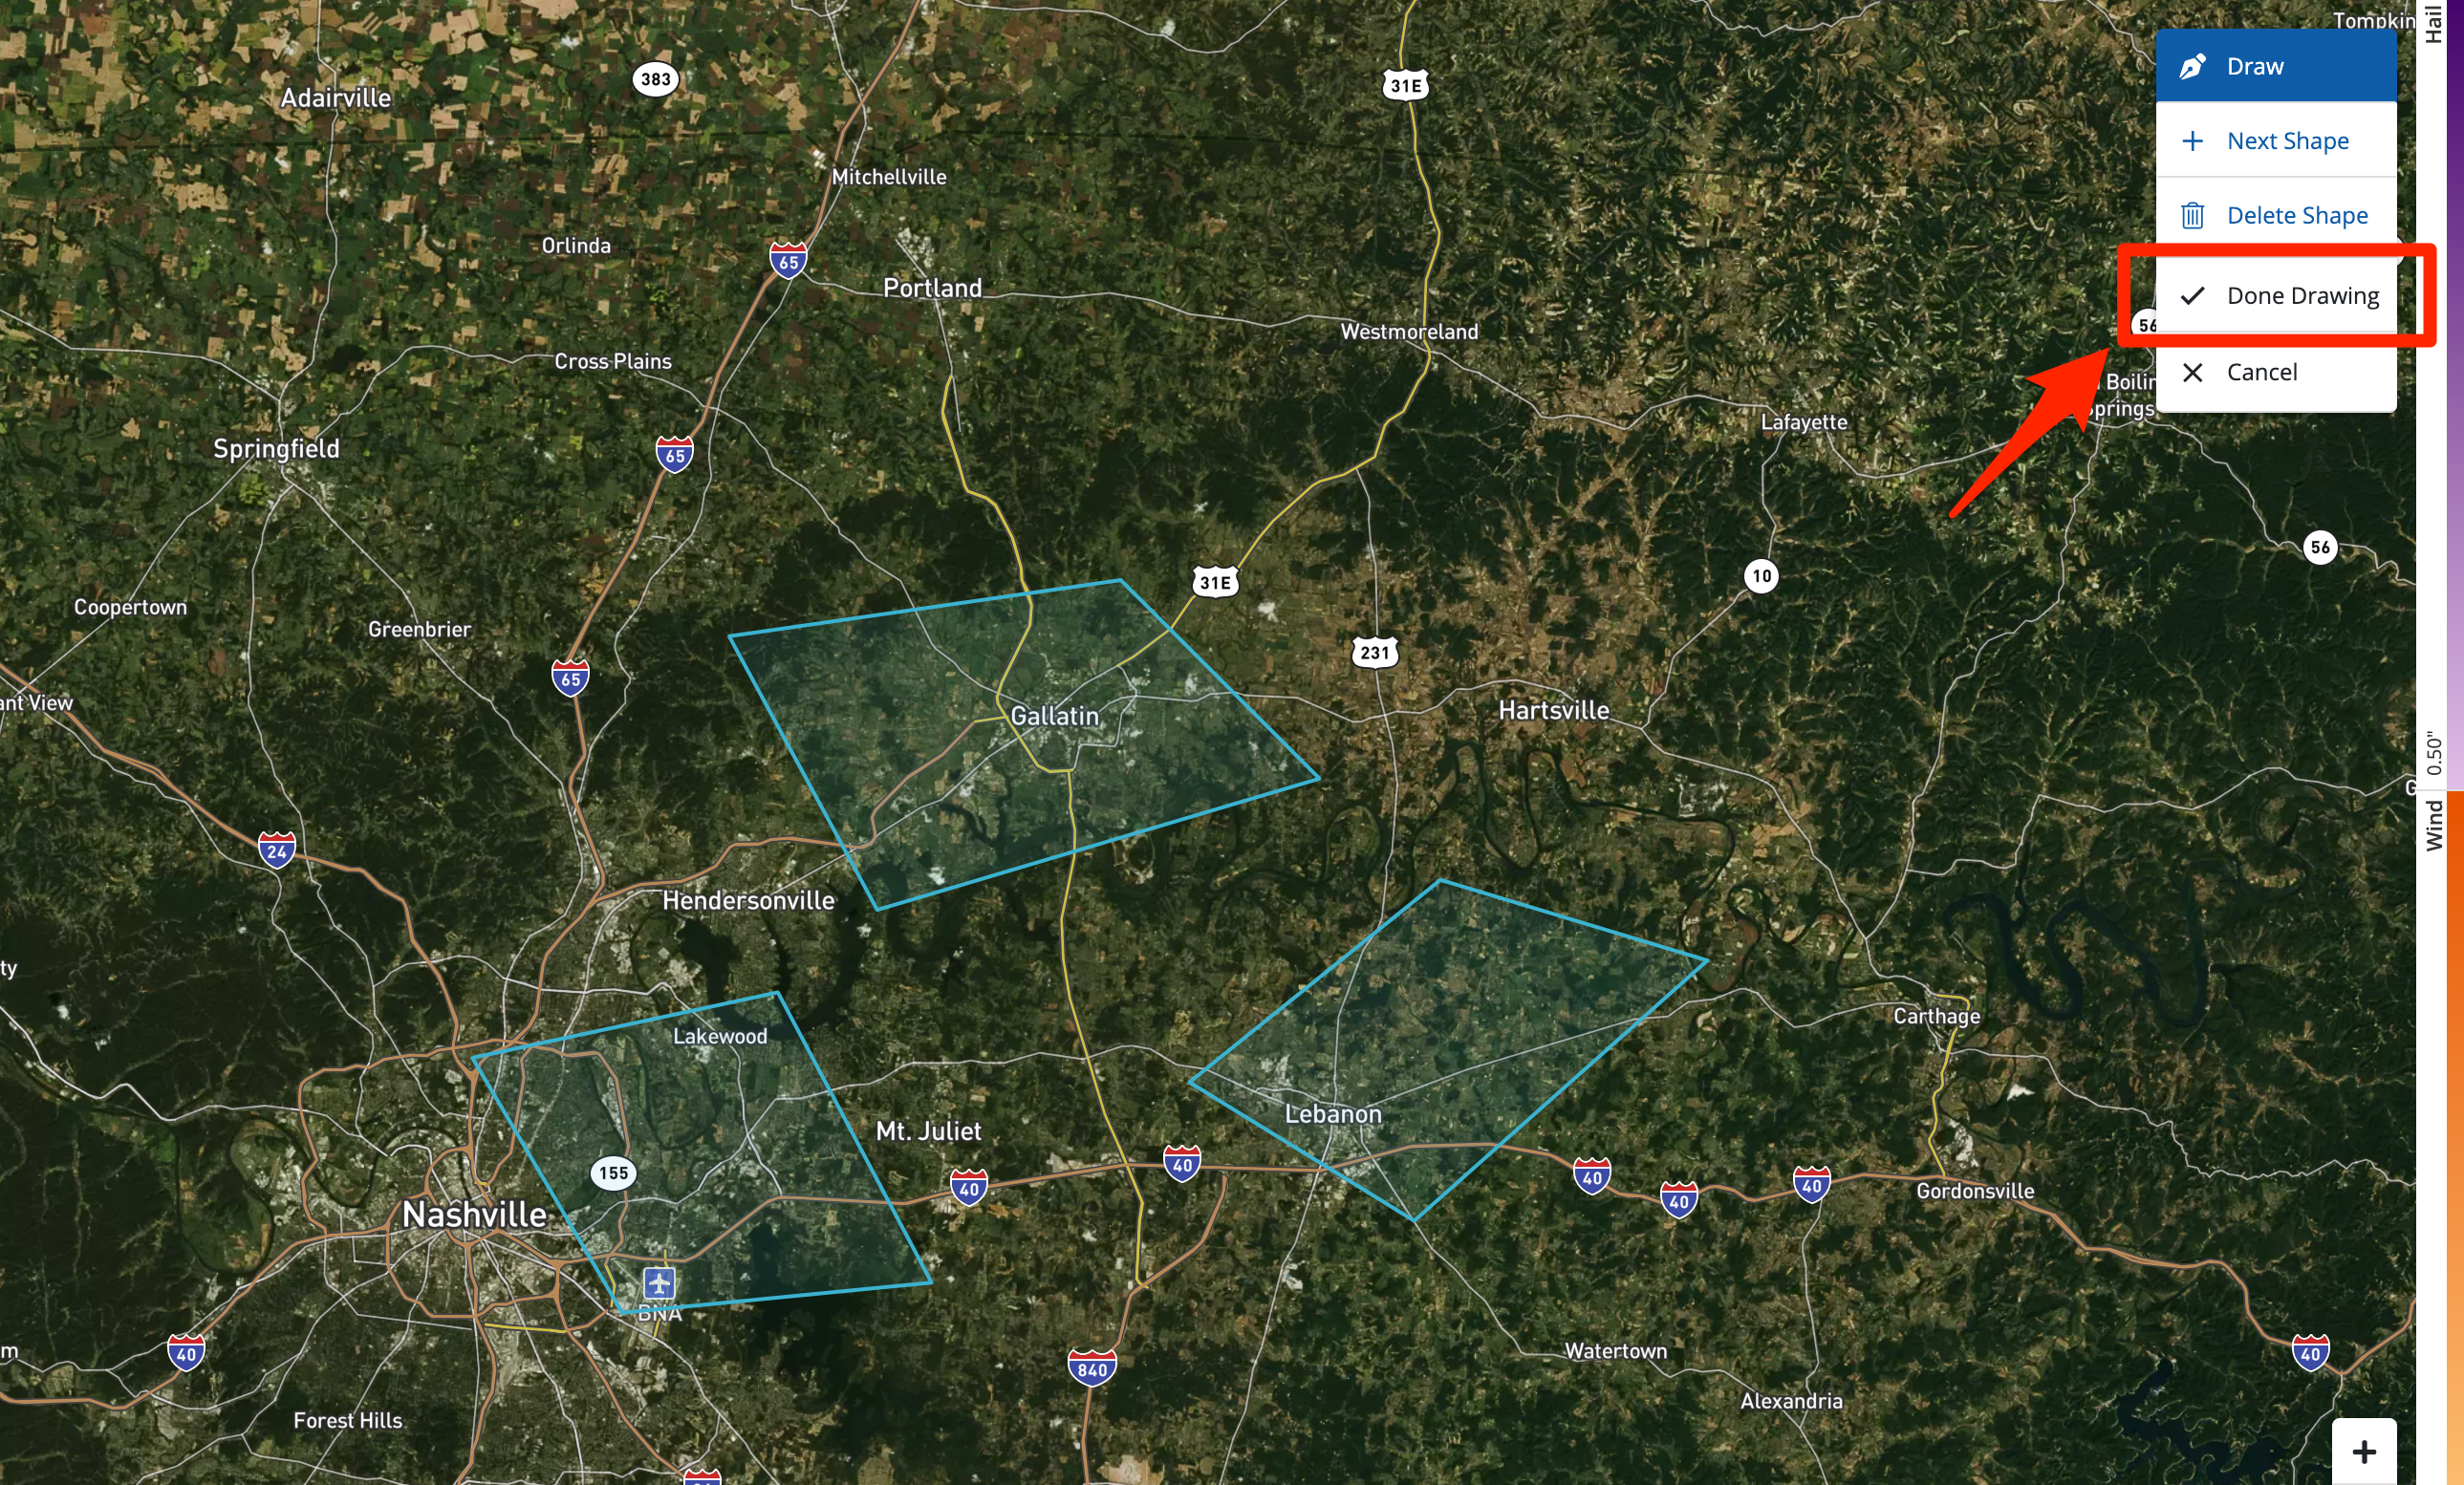
6. Select 'Done Drawing' to Save Your Shape
Using the drawing tools, draw one or more polygons on your Weather map, indicating the areas that you'd like to save. When you're finished, click the button for "Done Drawing."
If you'd like some guidance, check out our best practices for drawing on the Weather map.
Note that your favorite market will not save these specific polygons but rather a view of the entire geographic area in which they are placed.
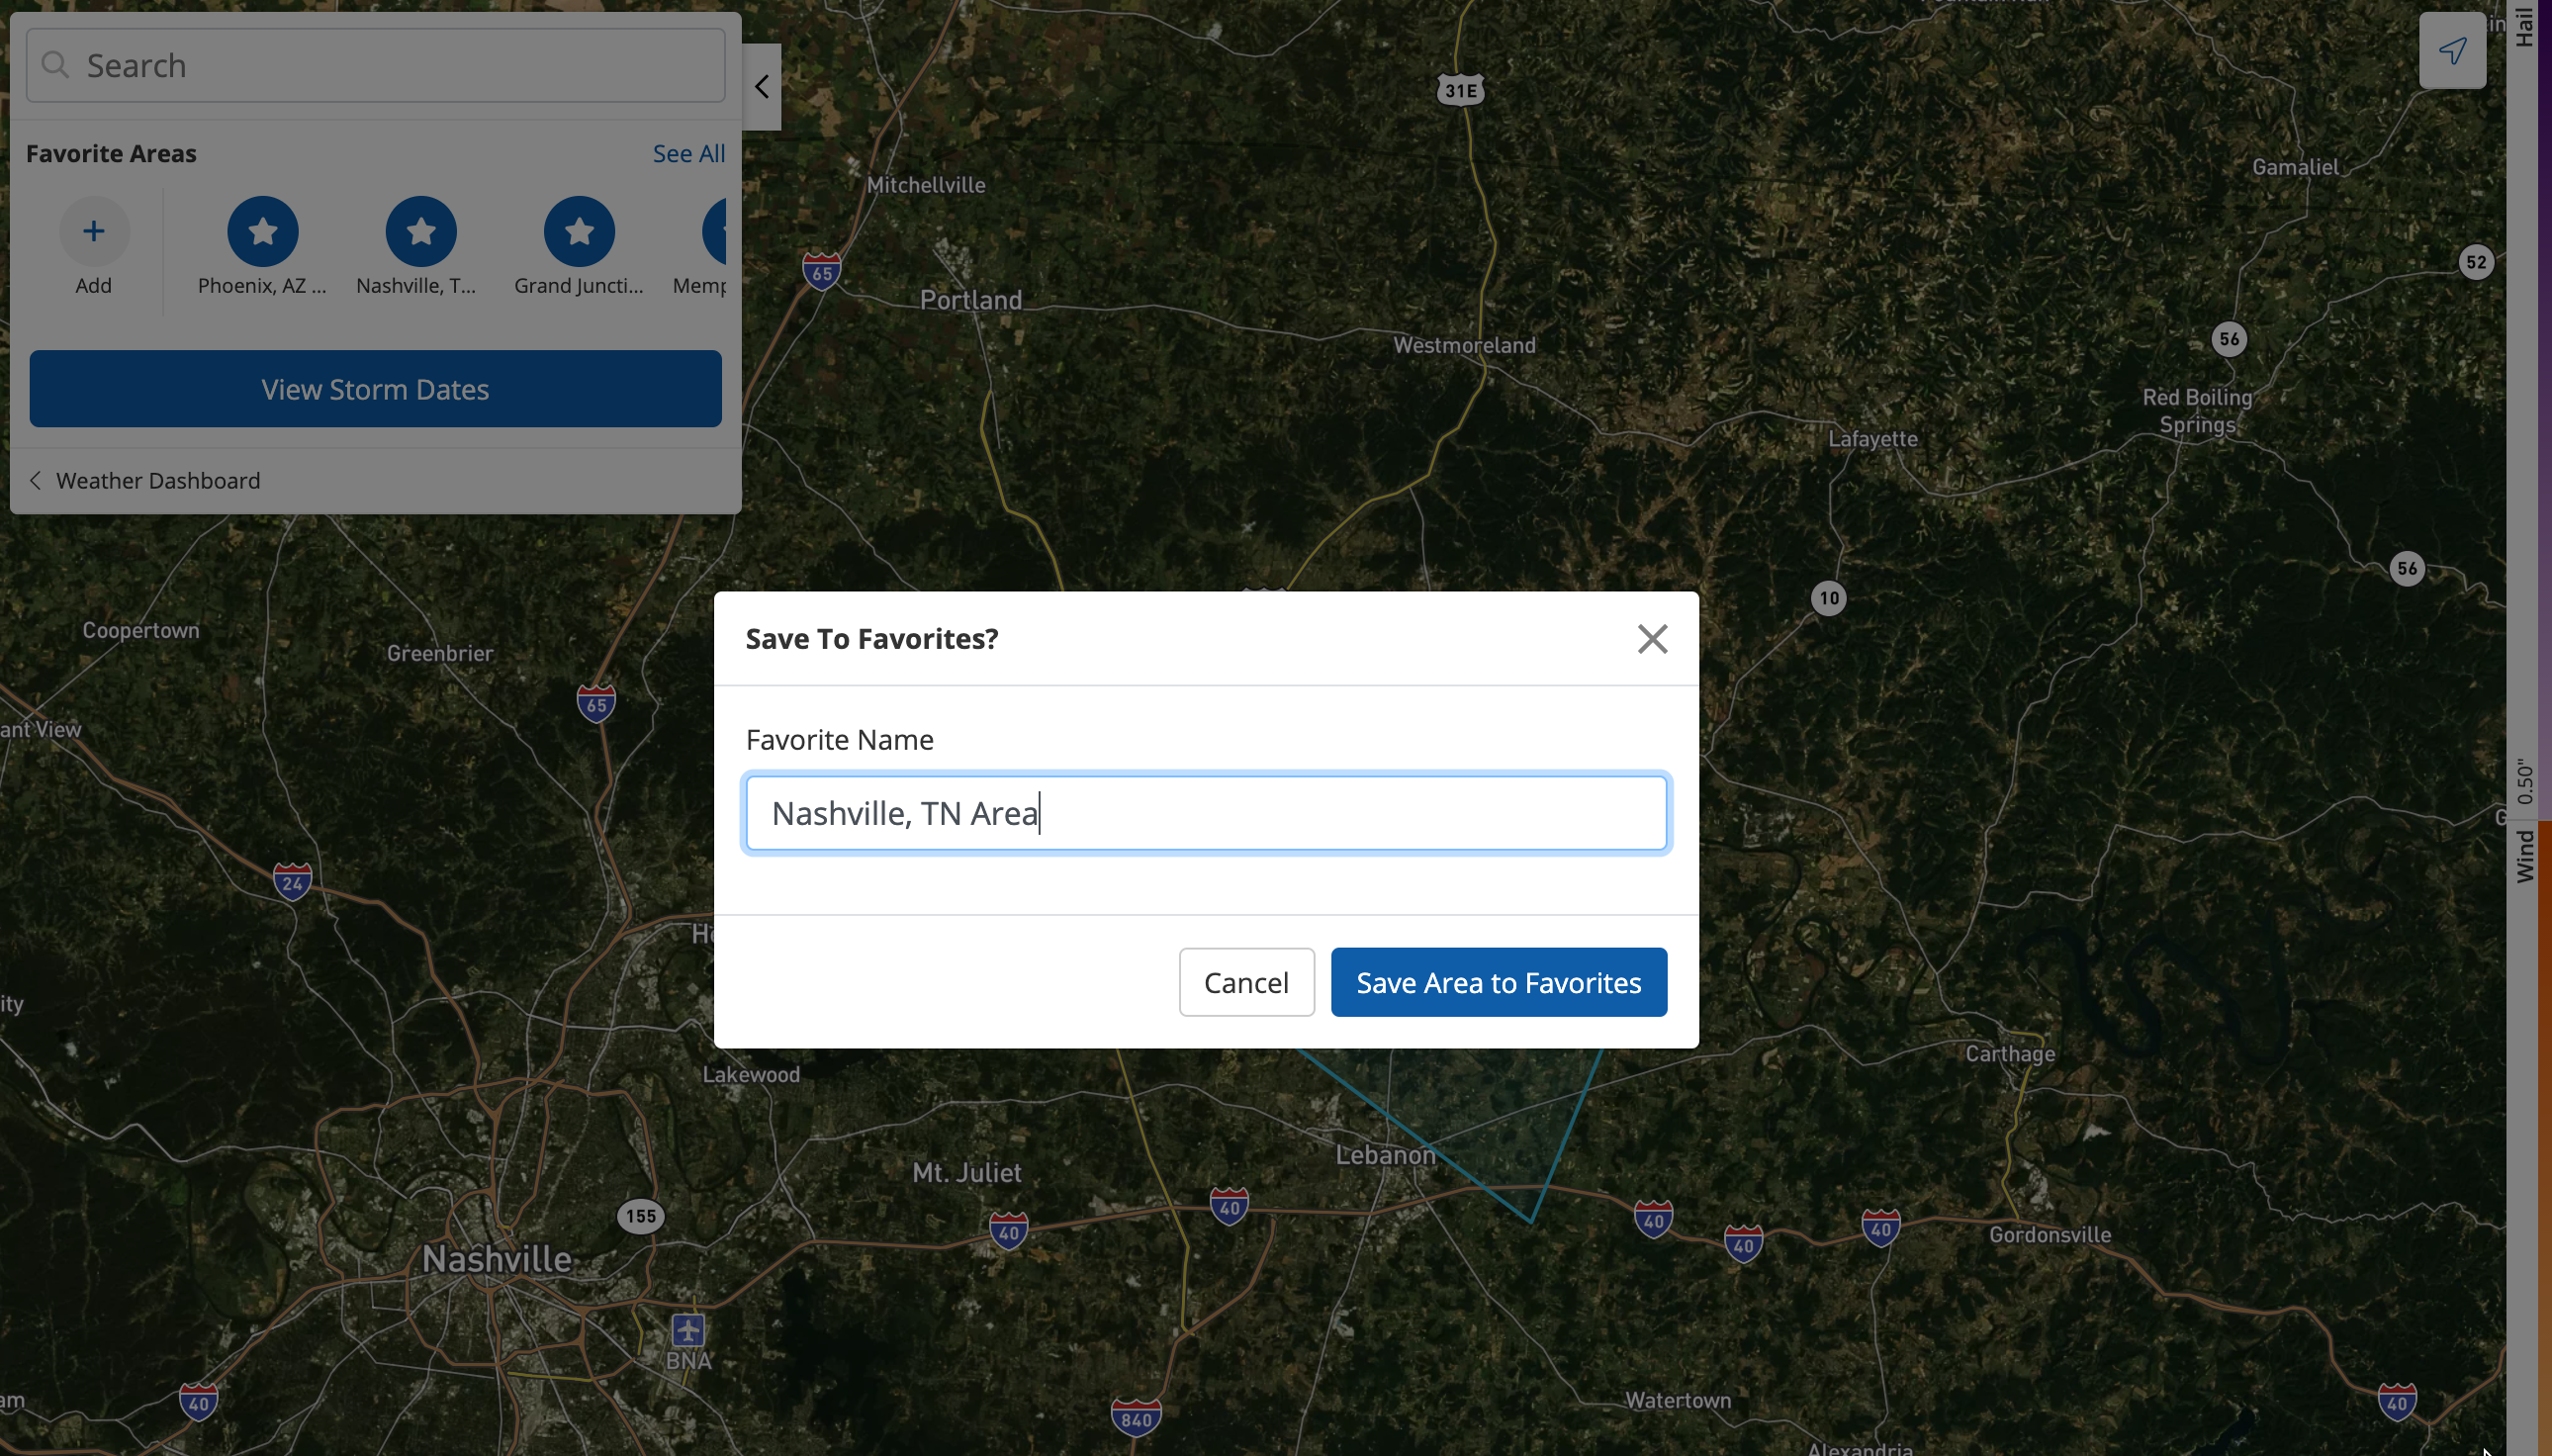
4. Confirm the Save and Name Your Market
Once you've clicked "Done Drawing," you'll be prompted to save your chosen market or cancel it. The market will be auto-populated with the name of the closest major metro area, but you can change it to anything you'd like.
Click "Save Area to Favorites" to complete the process.
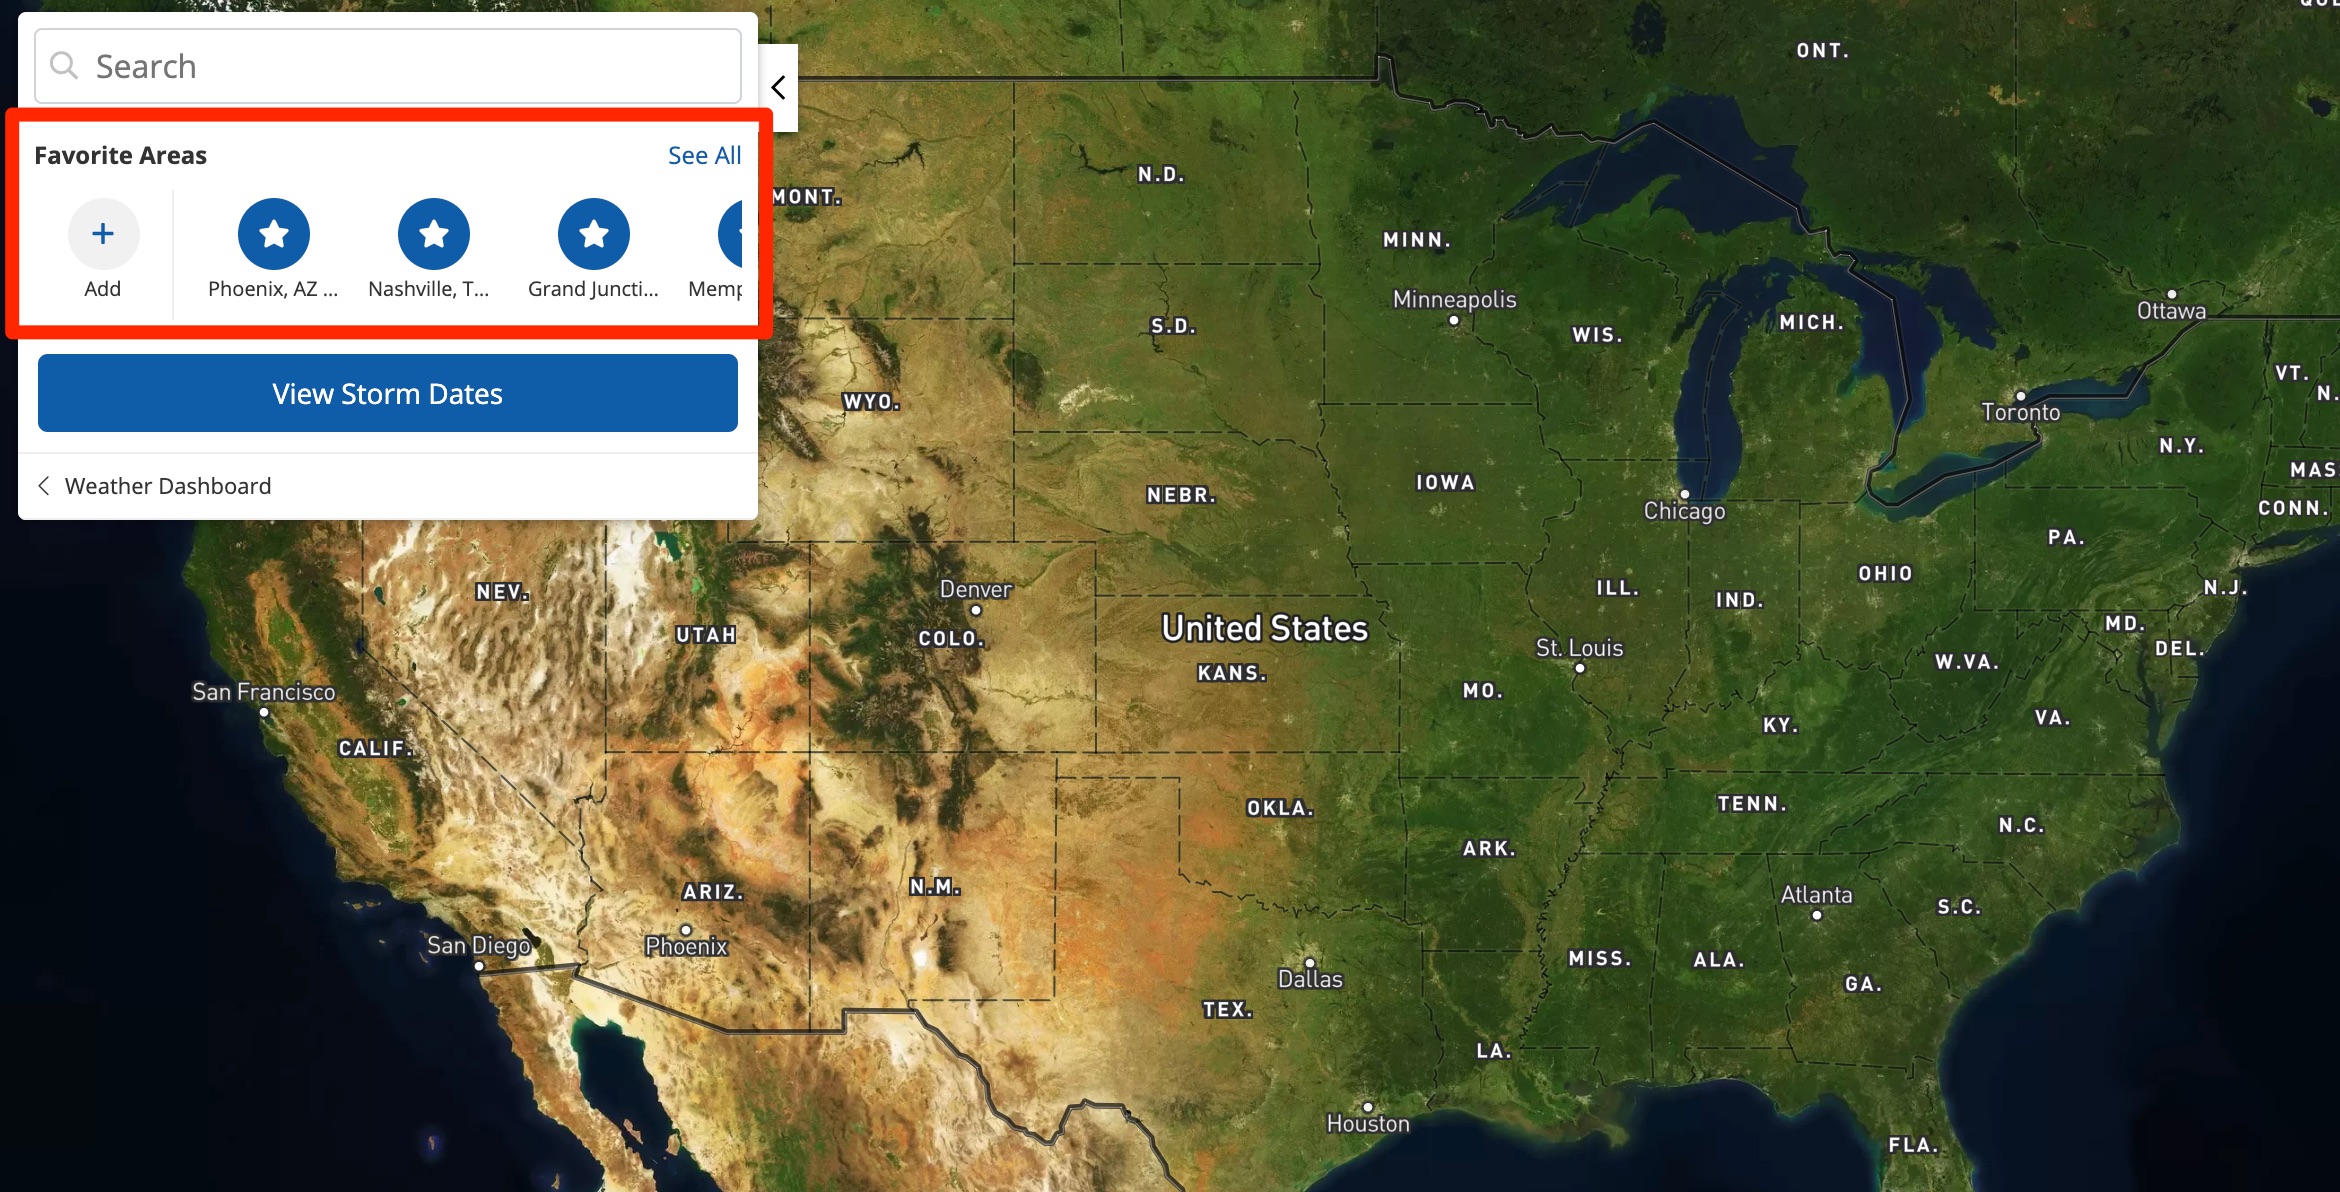
Once you've saved a Favorite Market, it will appear on your PSAI Weather Center dashboard, so you can quickly and easily zoom into this area and launch a storm campaign.
Your favorite markets will also be shown within the weather map panel for easy viewing there, too.
If you change your mind about which areas to save, you can easily delete a saved market at any time.