Ads Manager is a straightforward tool that allows you to launch custom Facebook ad campaigns directly from your PSAI portal. This feature is very user-friendly, but there are a few tips that can make it easier to get up and running!
Check out the need-to-know tips below, and you'll be ready to start creating and launching Facebook ads in Ads Manager.
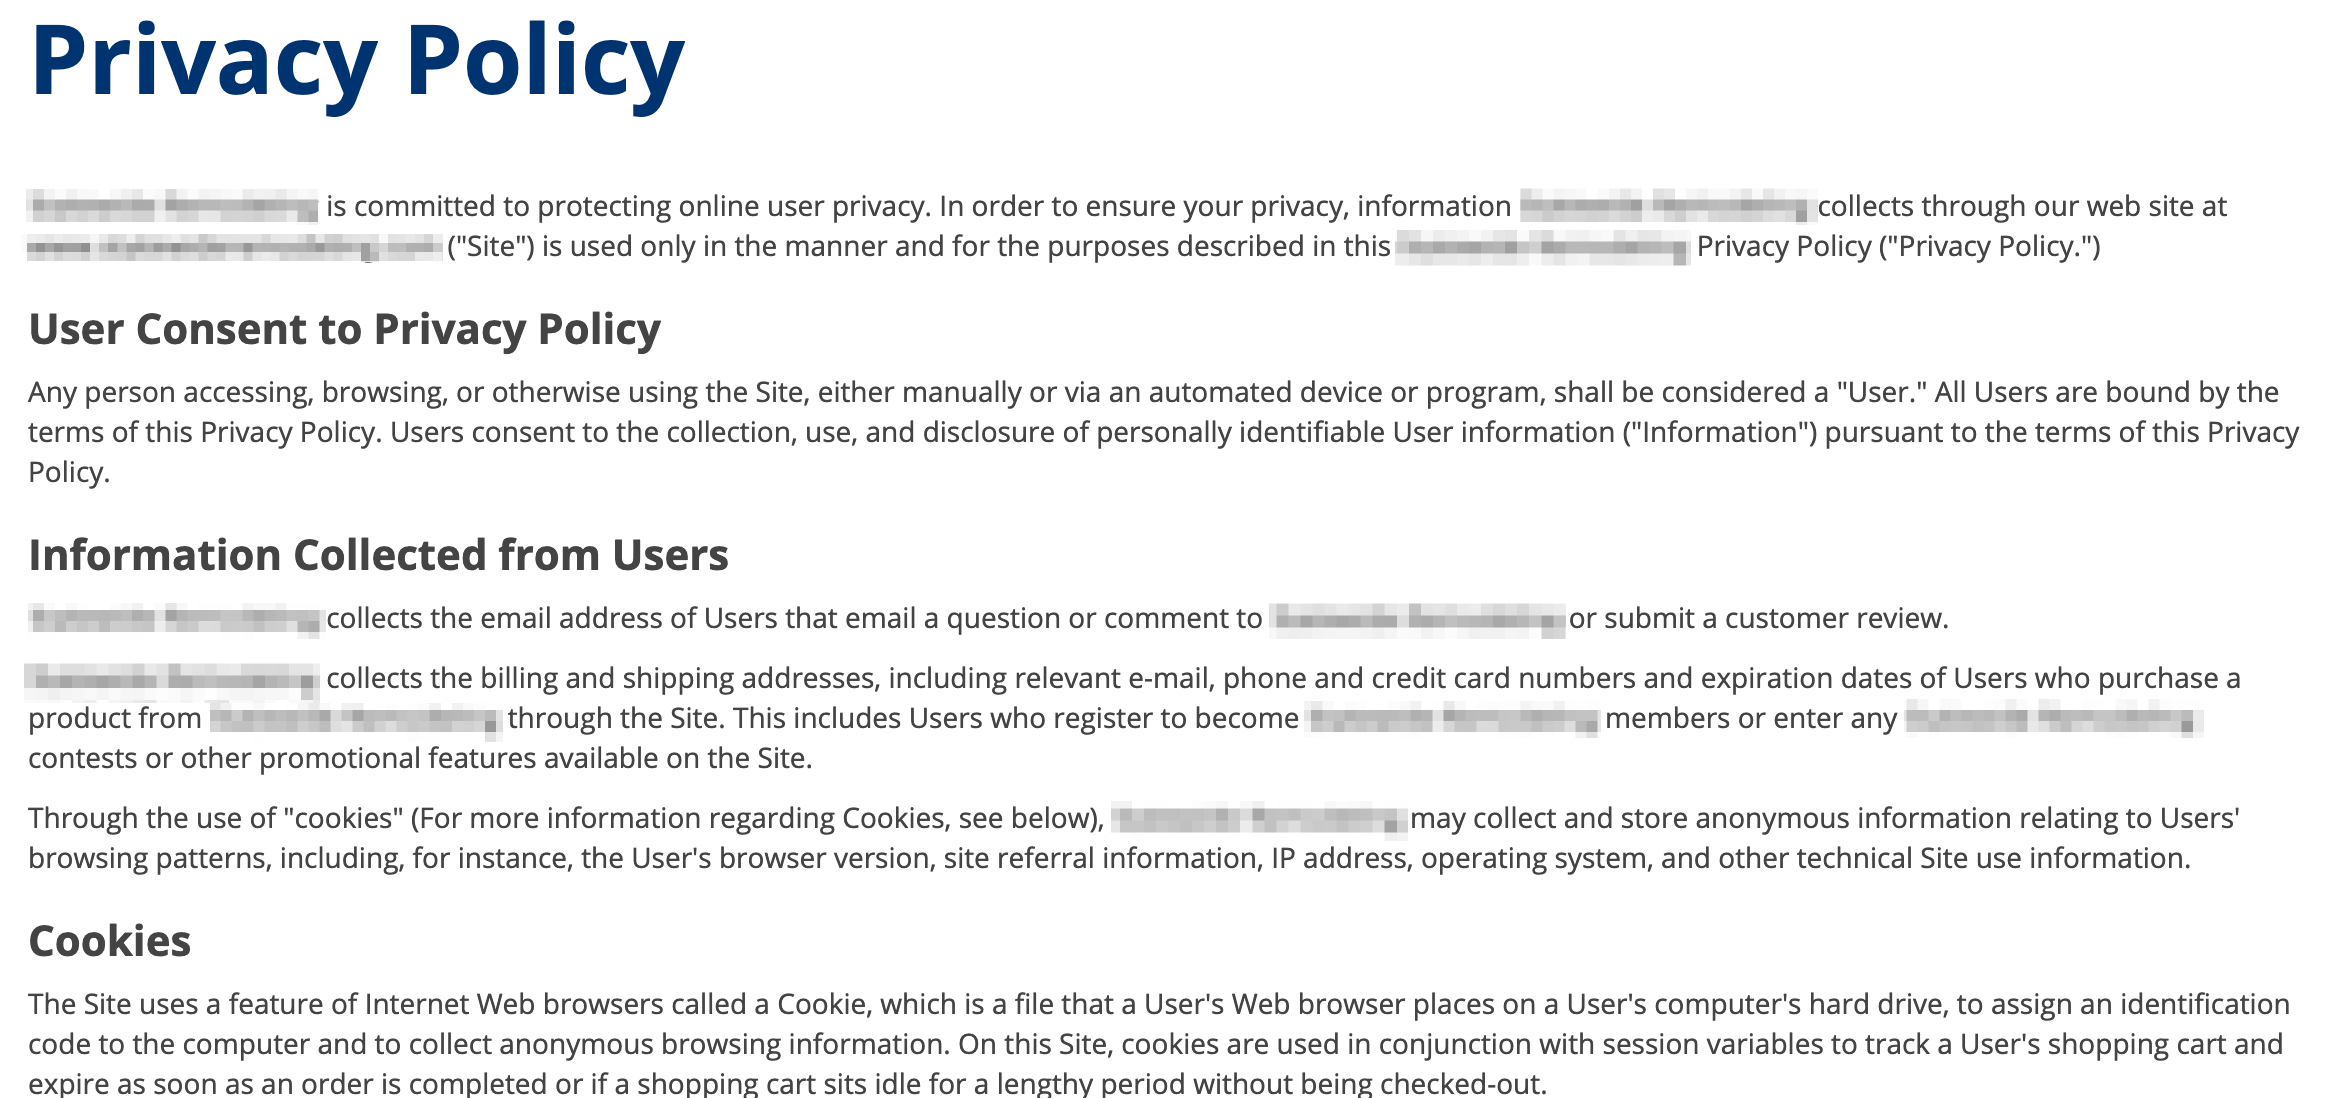
1. Privacy Policy
Before you can access Ads Manager within PSAI, you must have a privacy policy posted on your website and also linked within your PSAI Company Settings. If you do not have one, follow these instructions to add a privacy policy to your website and then paste that link into PSAI.
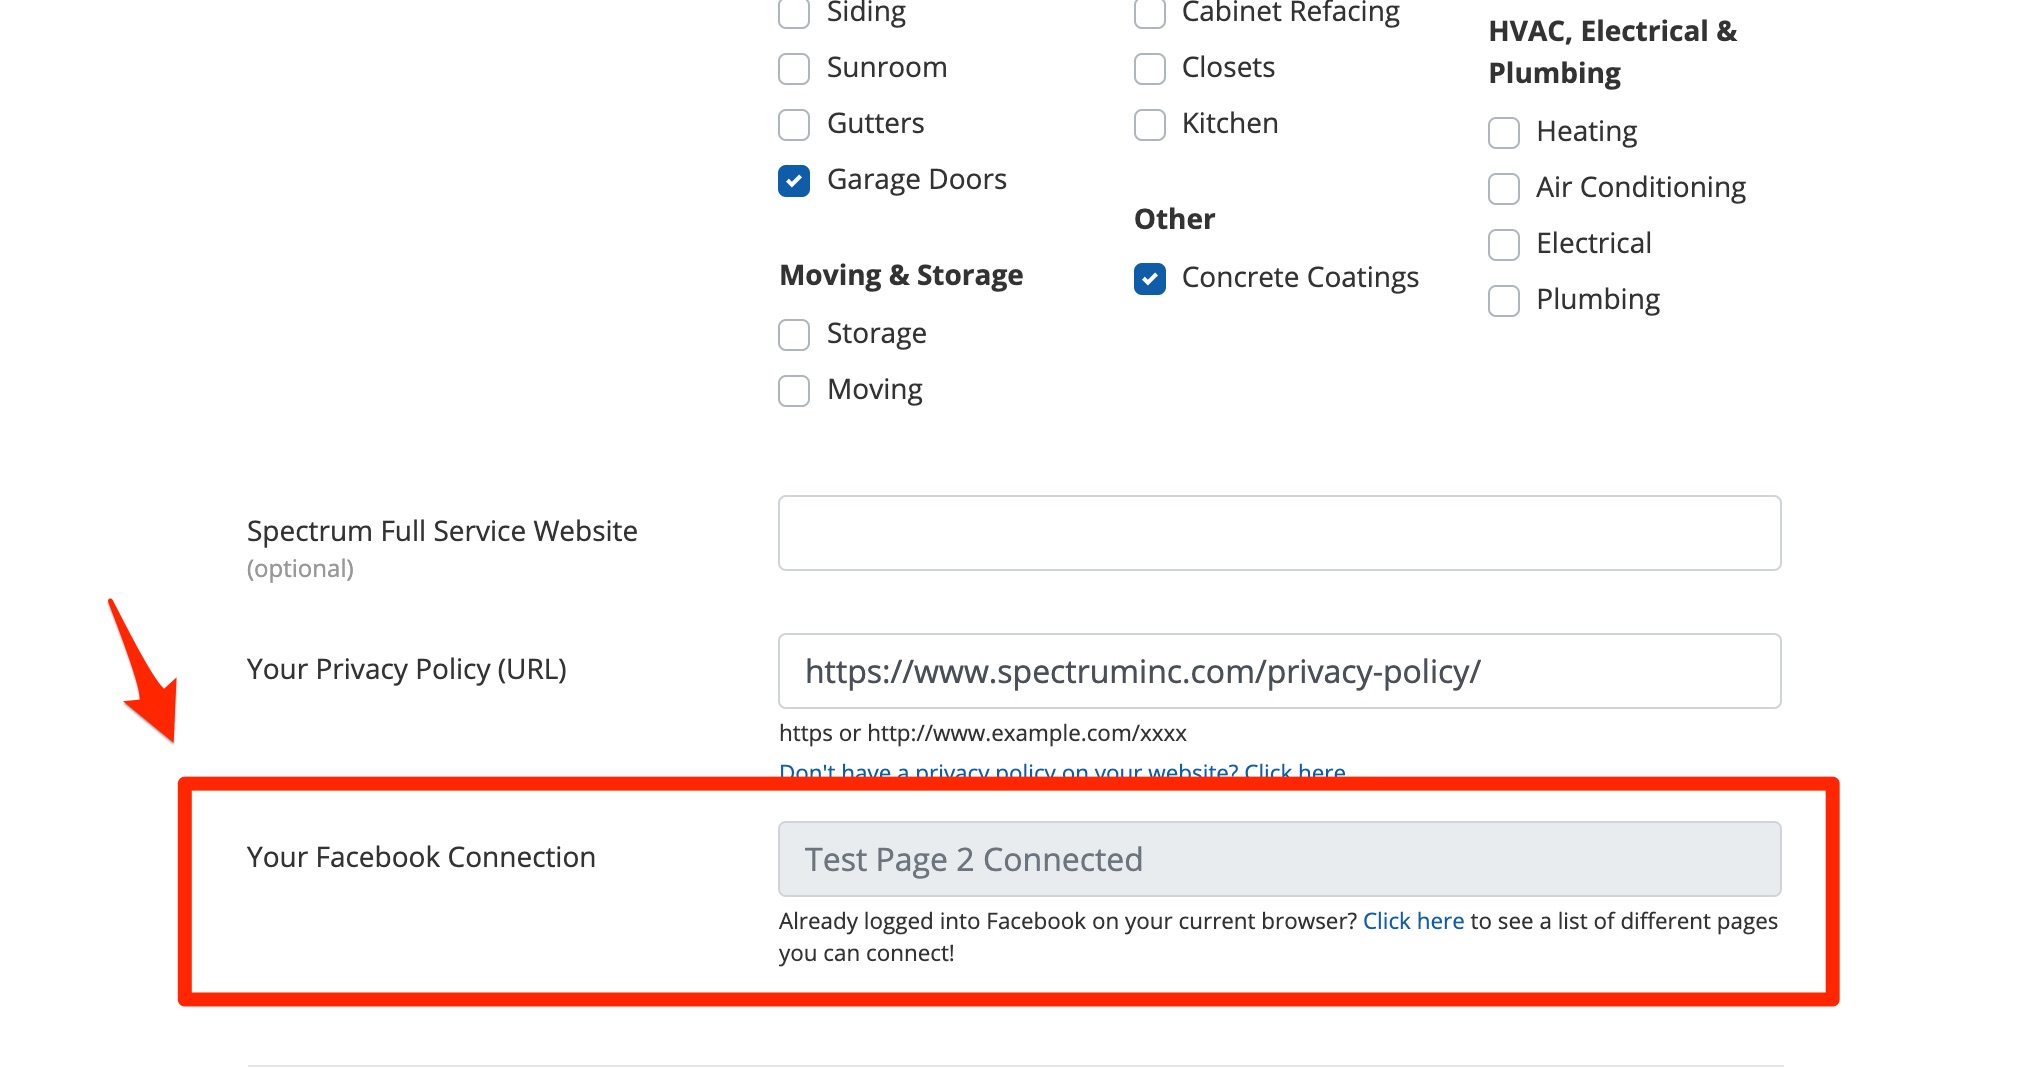
2. Facebook Connection
When you set up Ads Manager, you'll log into your personal Facebook account in order to connect your Facebook Business Page to PSAI. This Facebook Connection only has to be done one time, and it can be accessed through your Company Settings page.
Learn more about the Facebook Connection in these related resources:
- Why Do I Have to Login from a Personal Account?
- How to Set Up My Facebook Connection - link coming soon!
- Why Can't I See My Facebook Business Page?
Did you know? You can also go on a guided tour to complete the entire Ads Manager set-up process, including the privacy policy. Learn more about the Ads Manager set-up tour here.
3. PSAI User Access
You can grant access to Ads Manager to any of your PSAI Users, so they can post ads to Facebook on your company's behalf.
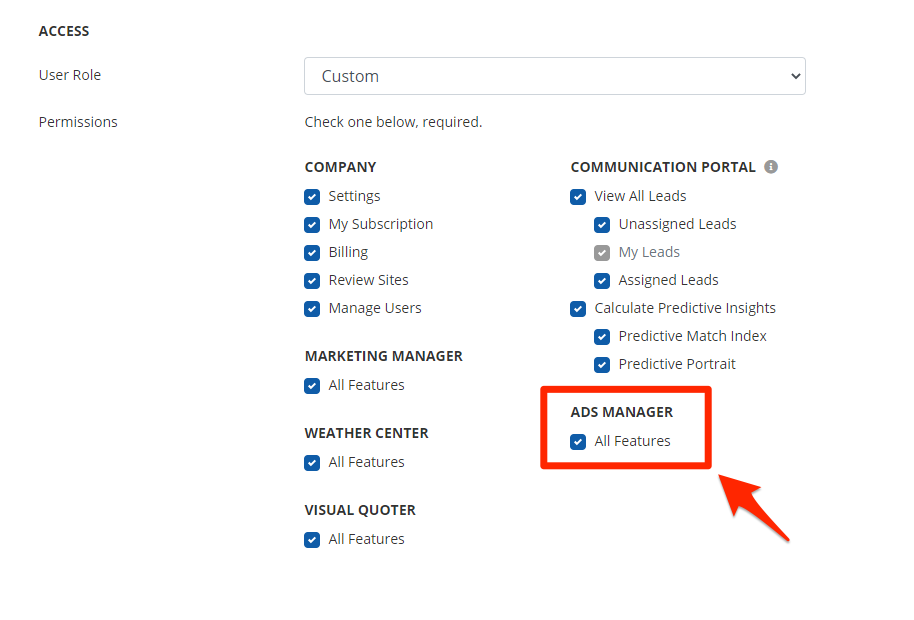
Follow these instructions to grant your team Ads Manager permissions.
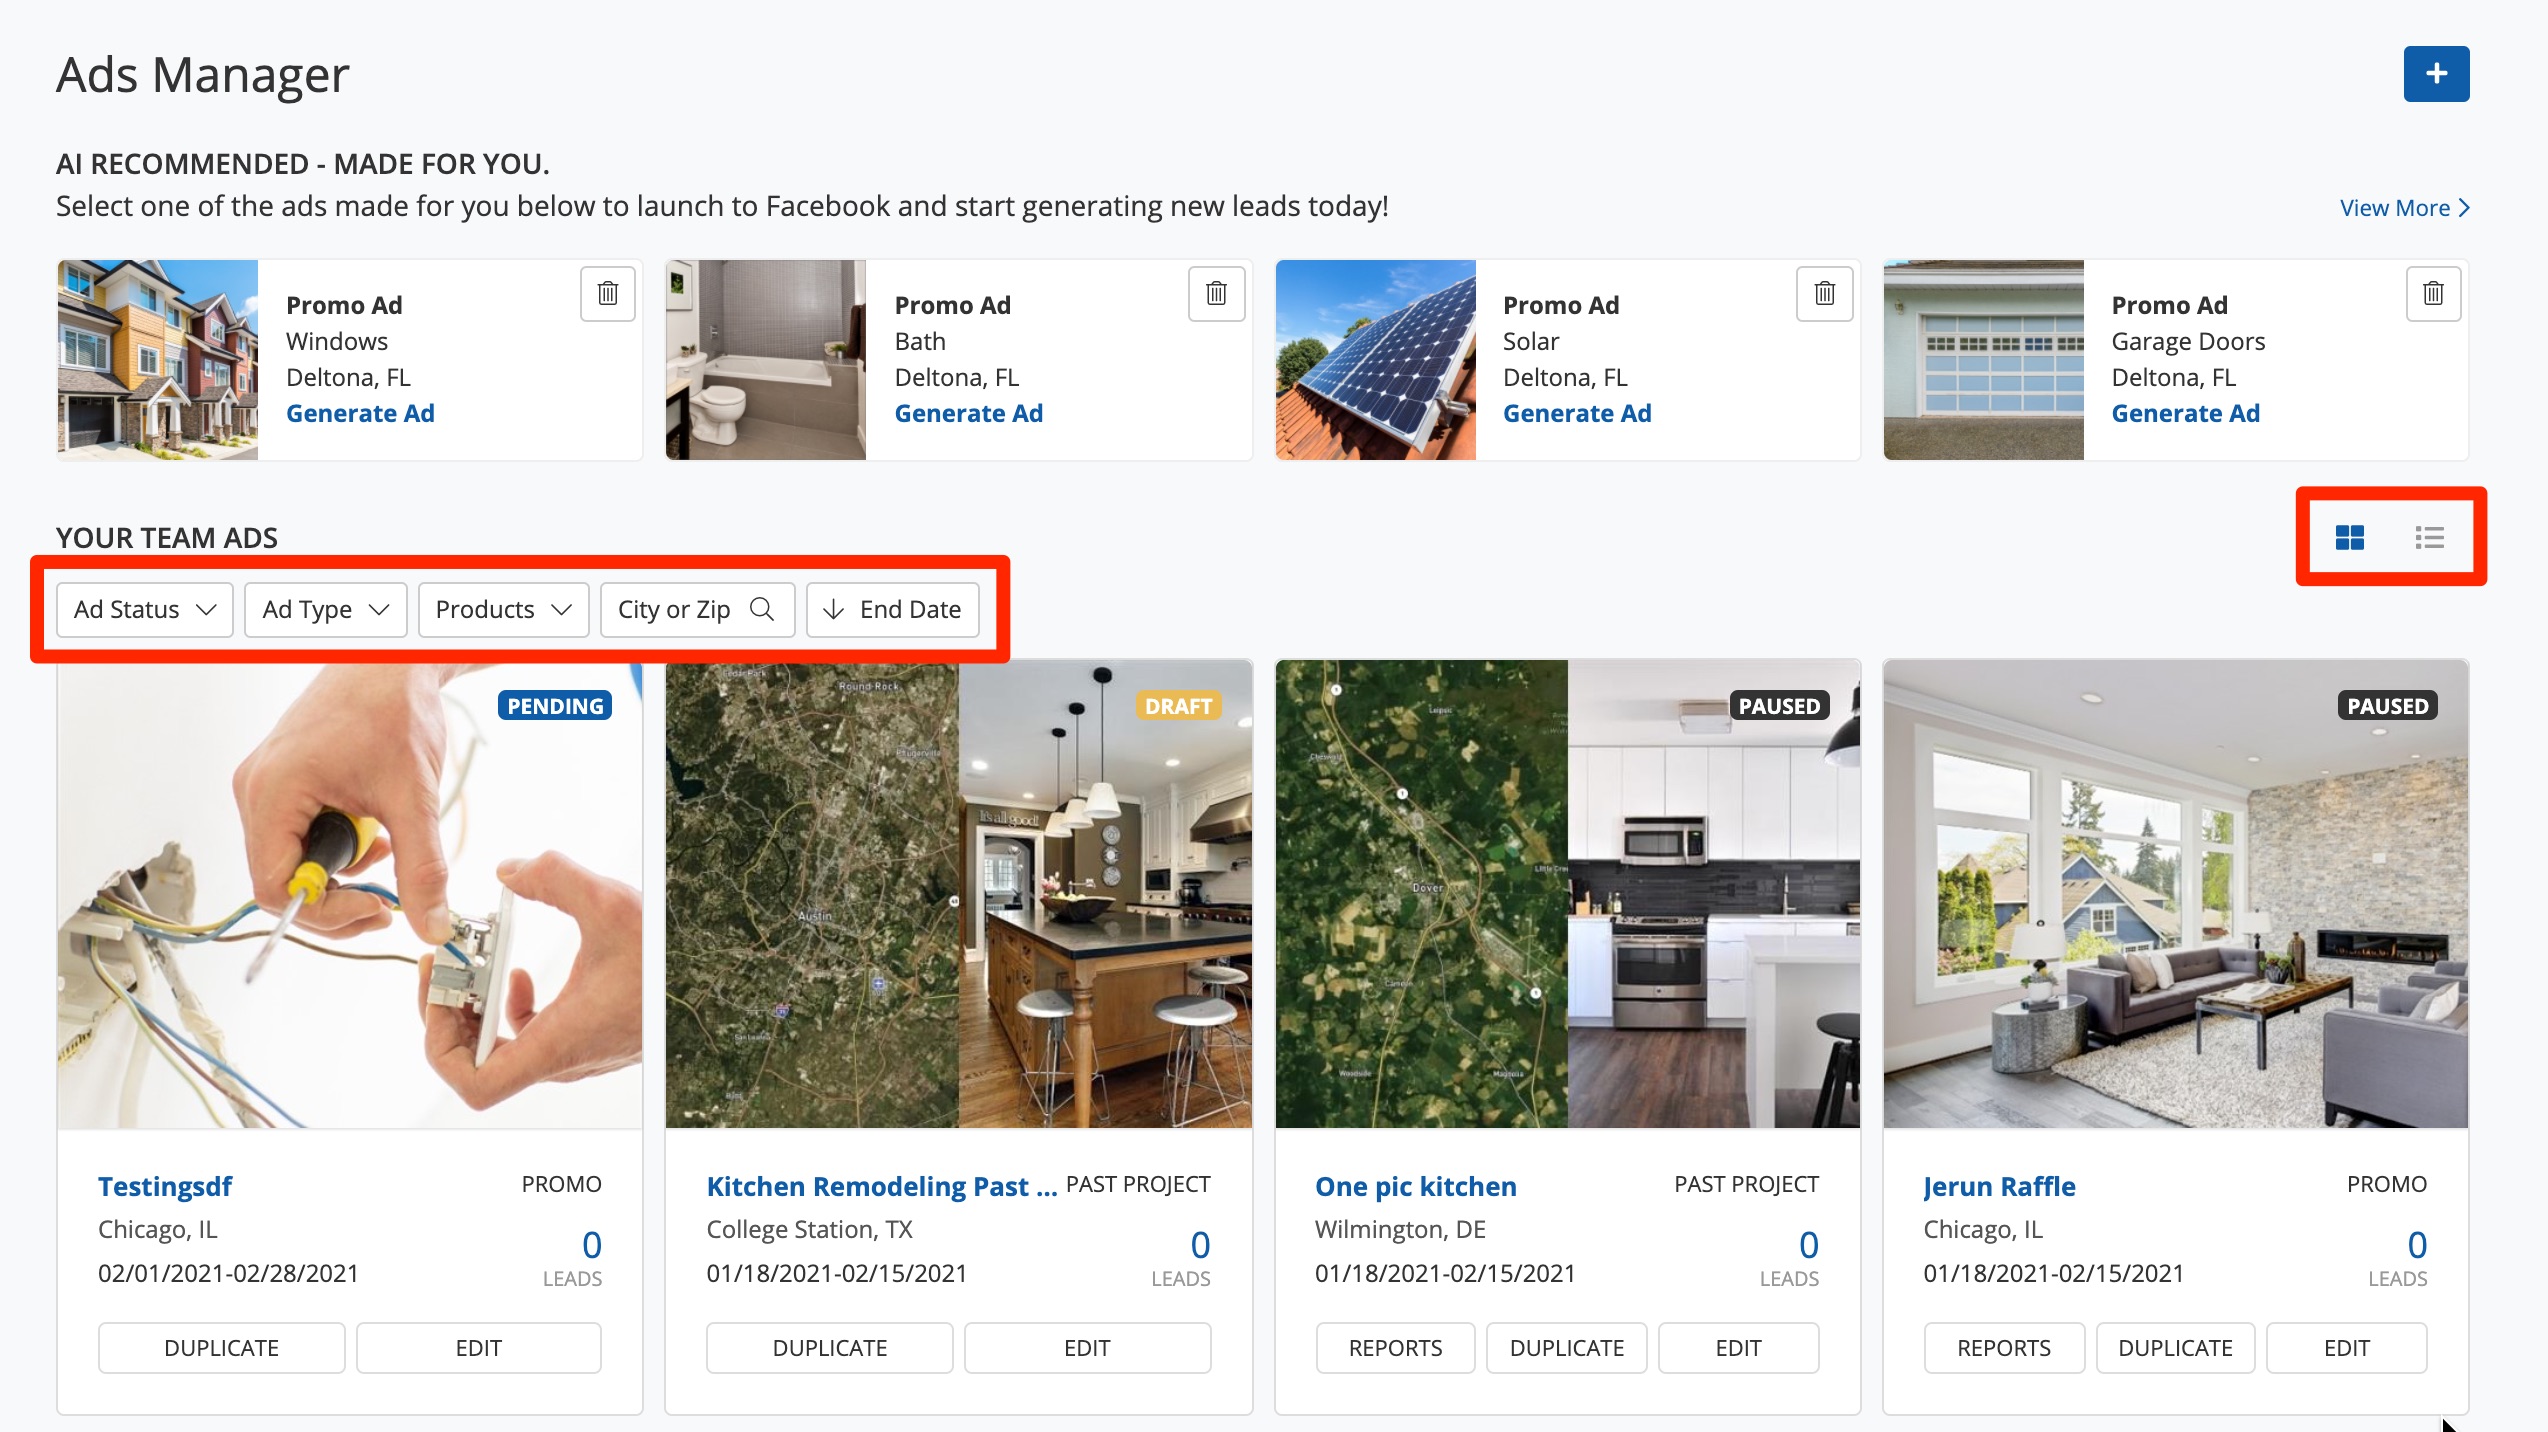
4. Shared Dashboard of "Your Team Ads"
All of your company's previous and current ads will be visible from your Ads Manager page under "Your Team Ads."
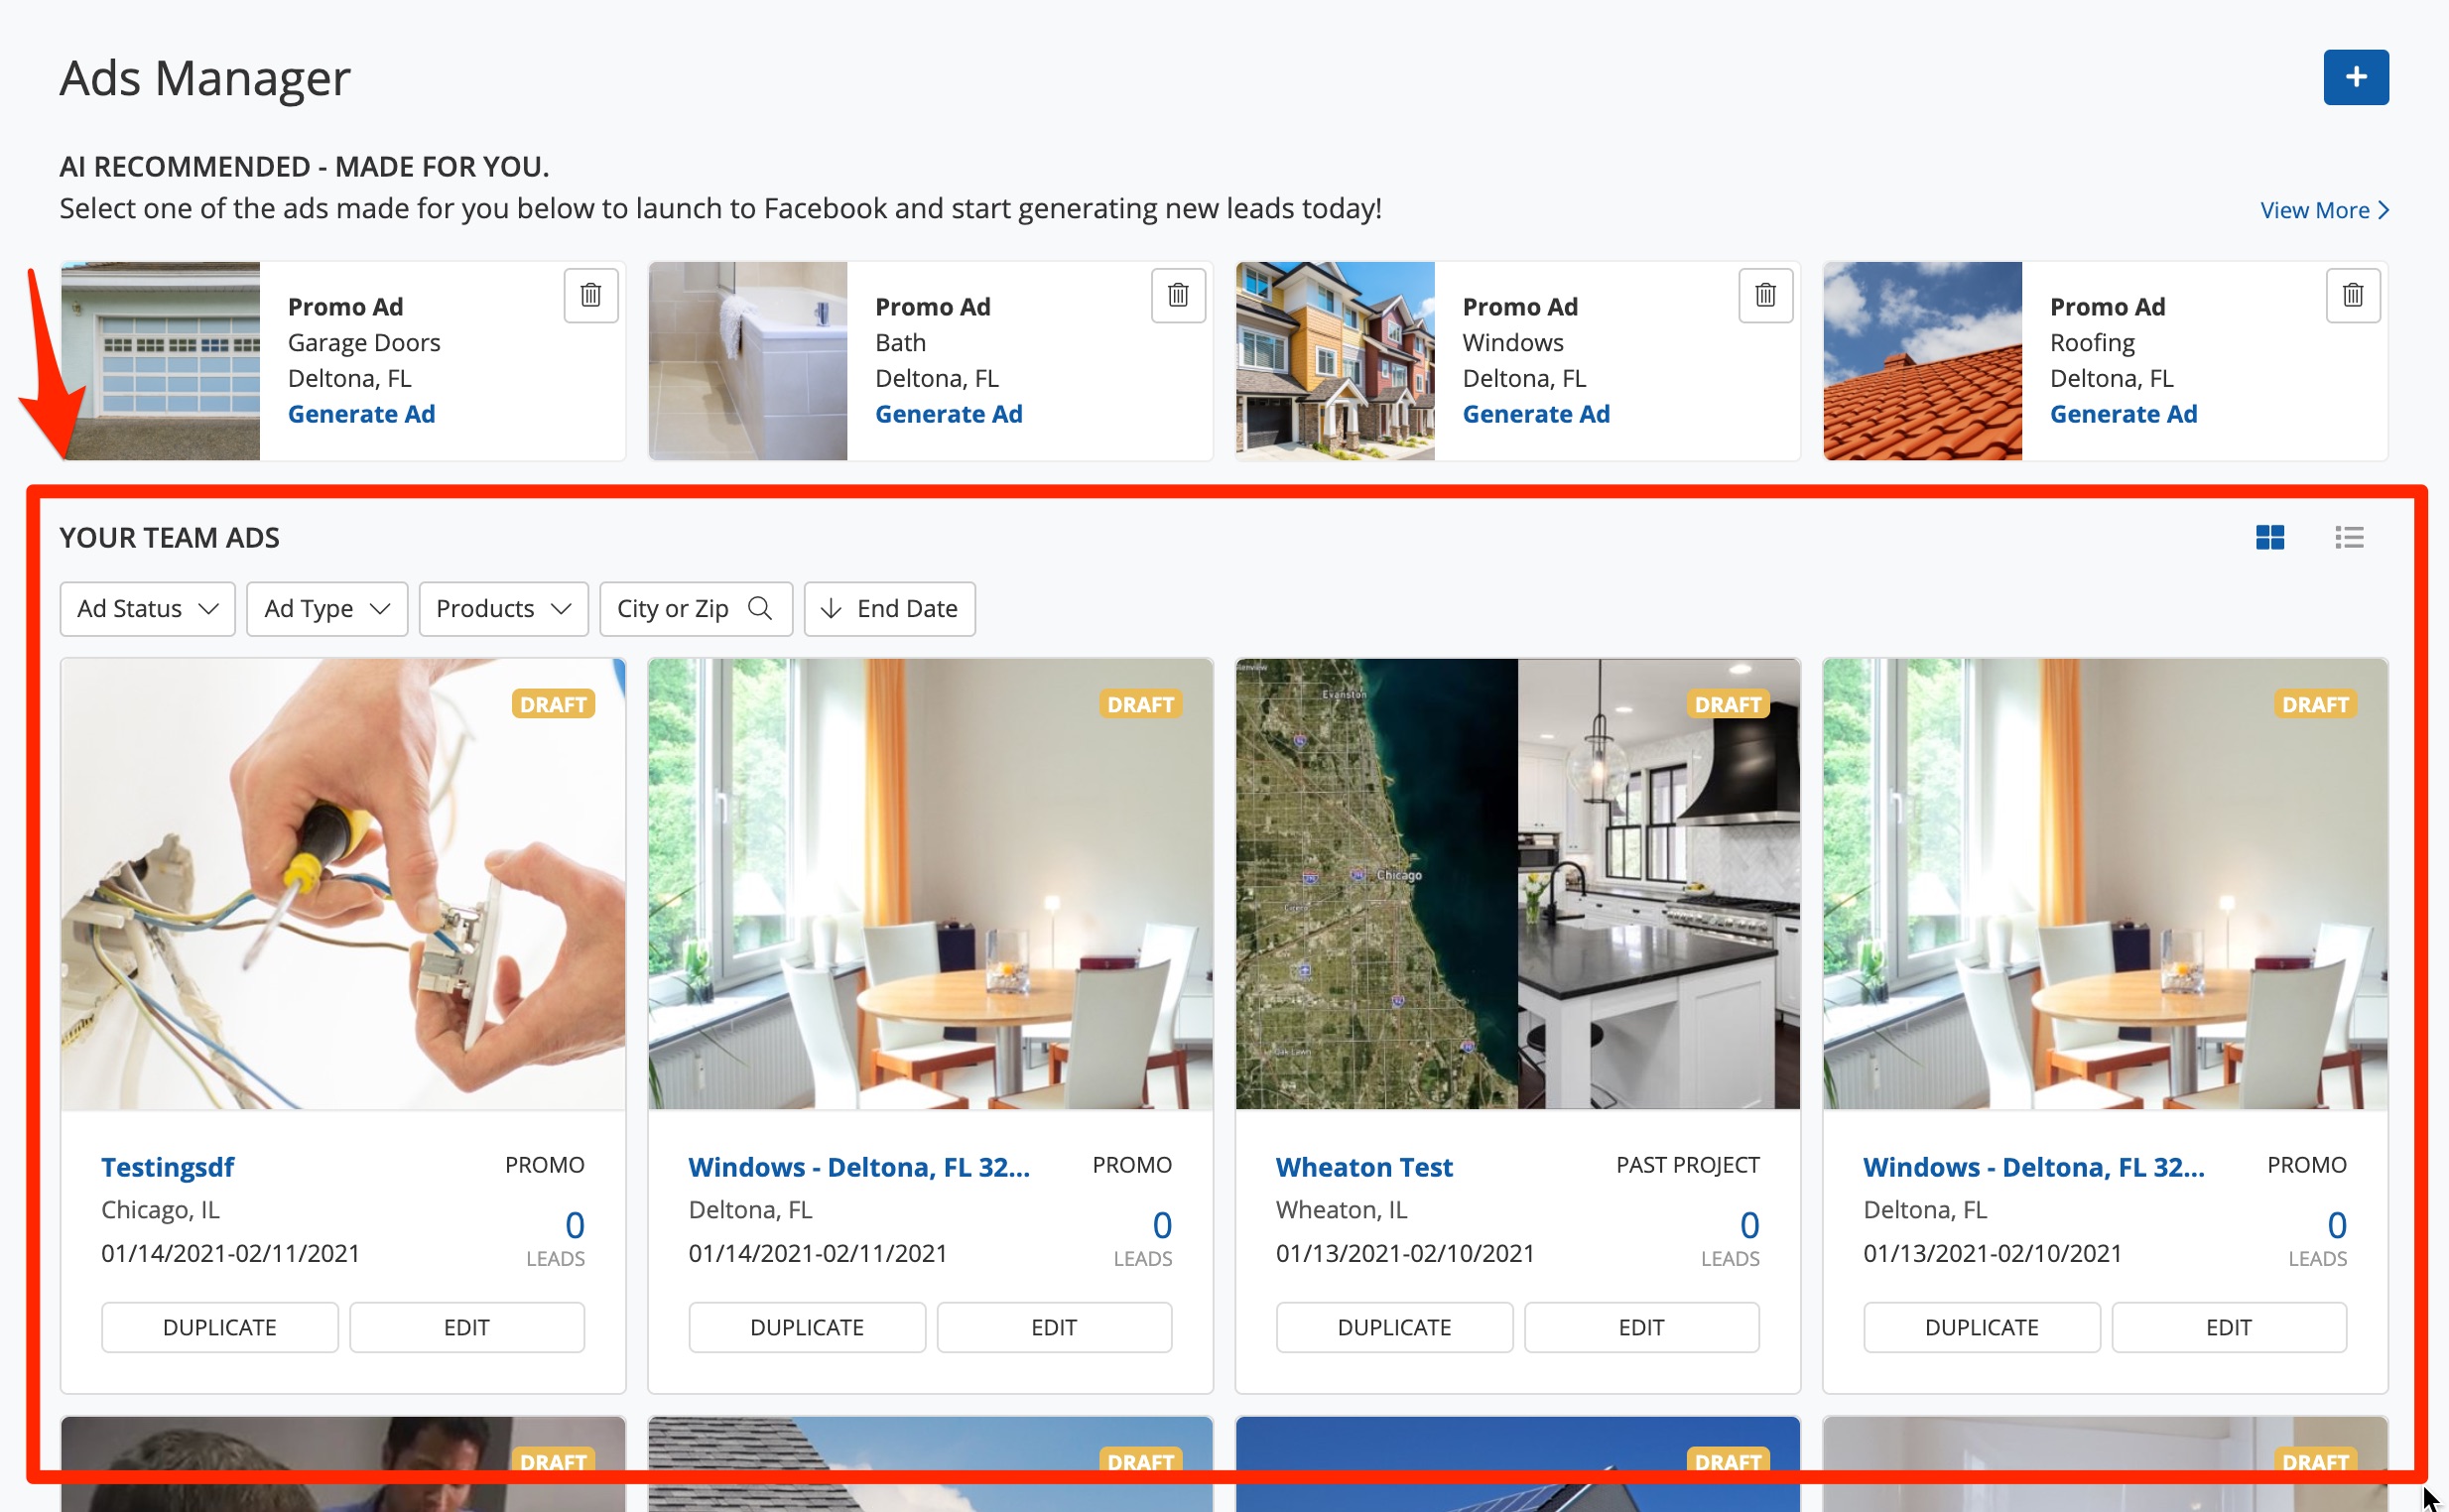
Within this section, there are multiple ways to filter your ads—including by status, type, product, area, or run date. You can also toggle between the card view and the list view by clicking the view options at the upper right corner, shown below.
Learn more about your Ads Manager dashboard and how to filter/search leads here.
5. Different Ways to Create an Ad
Ads Manager offers you tons of customizations, including how you'd like to start creating your ads. You can make a new ad by:
- Choosing an AI Recommended ad
- Creating a new ad, either from a template or completely from scratch
- Duplicating an existing ad
No matter which method you choose to start with, you'll be able to completely customize your ad's text, imagery, and more.
6. Draft Ads
Whenever you create a new ad, you don't have to complete the process all at once. You can start an ad and save it as a draft to post later, or you can save it as a draft with no intention to actually launch it on Facebook at all.
You can easily tell which ads are drafts by checking for the yellow "draft" tag visually or by filtering your ads by Ad Status. Learn how to edit a draft ad here.

Draft ads are a great way to experiment with different ad types and give your team hands-on training without ever committing to actually launching a Facebook ad campaign.
In addition to saving ads as drafts, you can also schedule ads for a future date. Learn how to schedule an ad here.
7. Image Bank
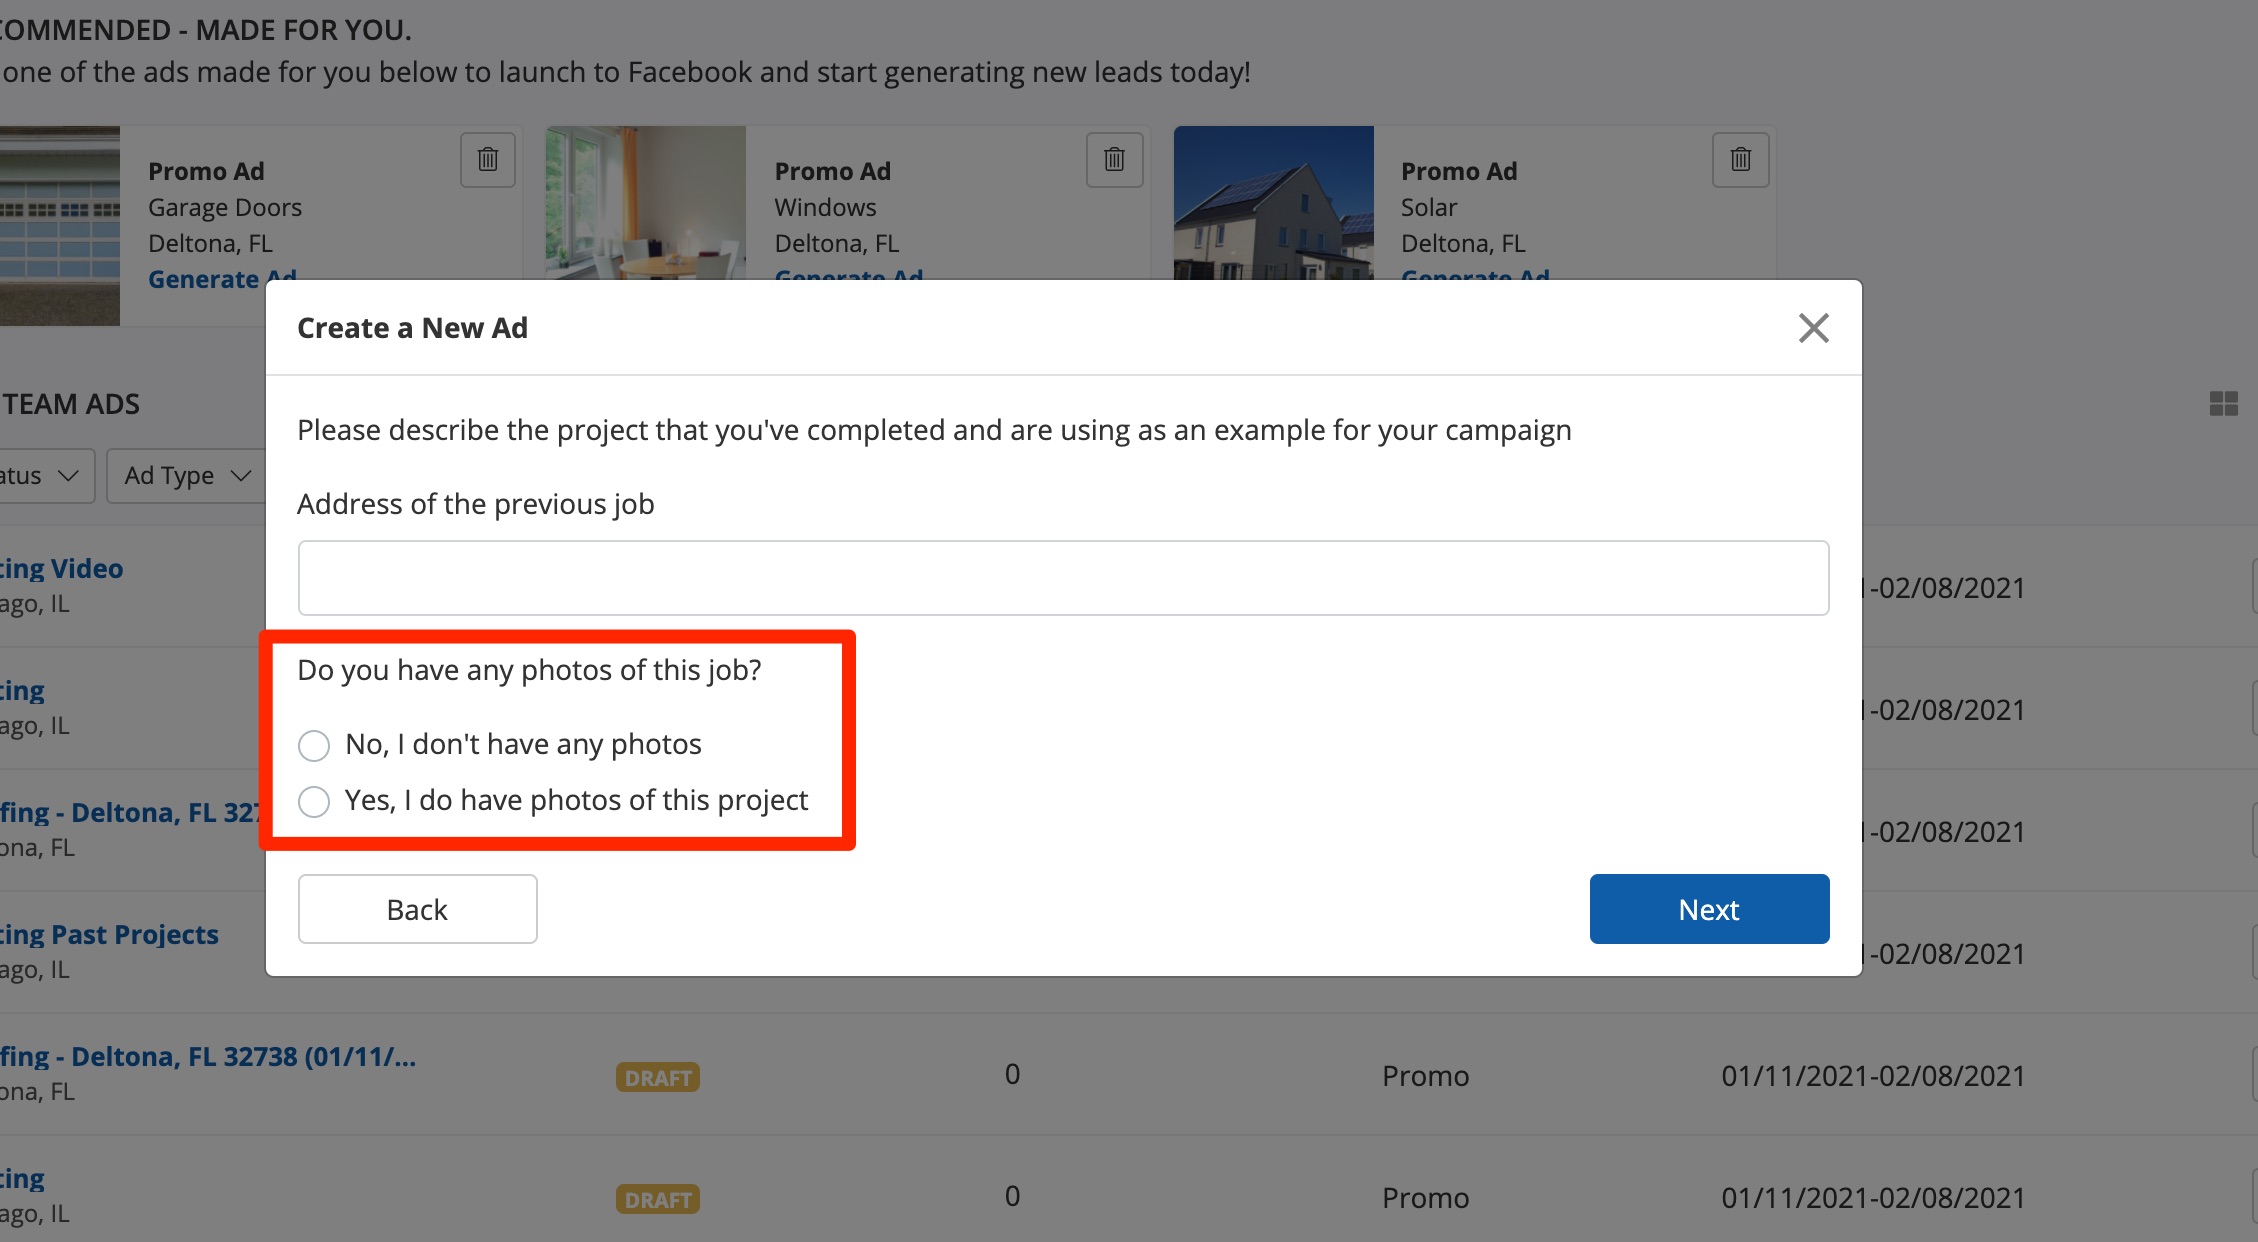
Relevant, high-quality images are one of the most important components to a successful ad on Facebook.
If you don't have these images yourself, that's okay! For most ads, you can choose to upload your own image, or we can auto-populate one from our bank of engaging photos.
If you choose to make edits to your ads directly in Facebook, the information on the campaign may no longer be accurate from the PSAI side.
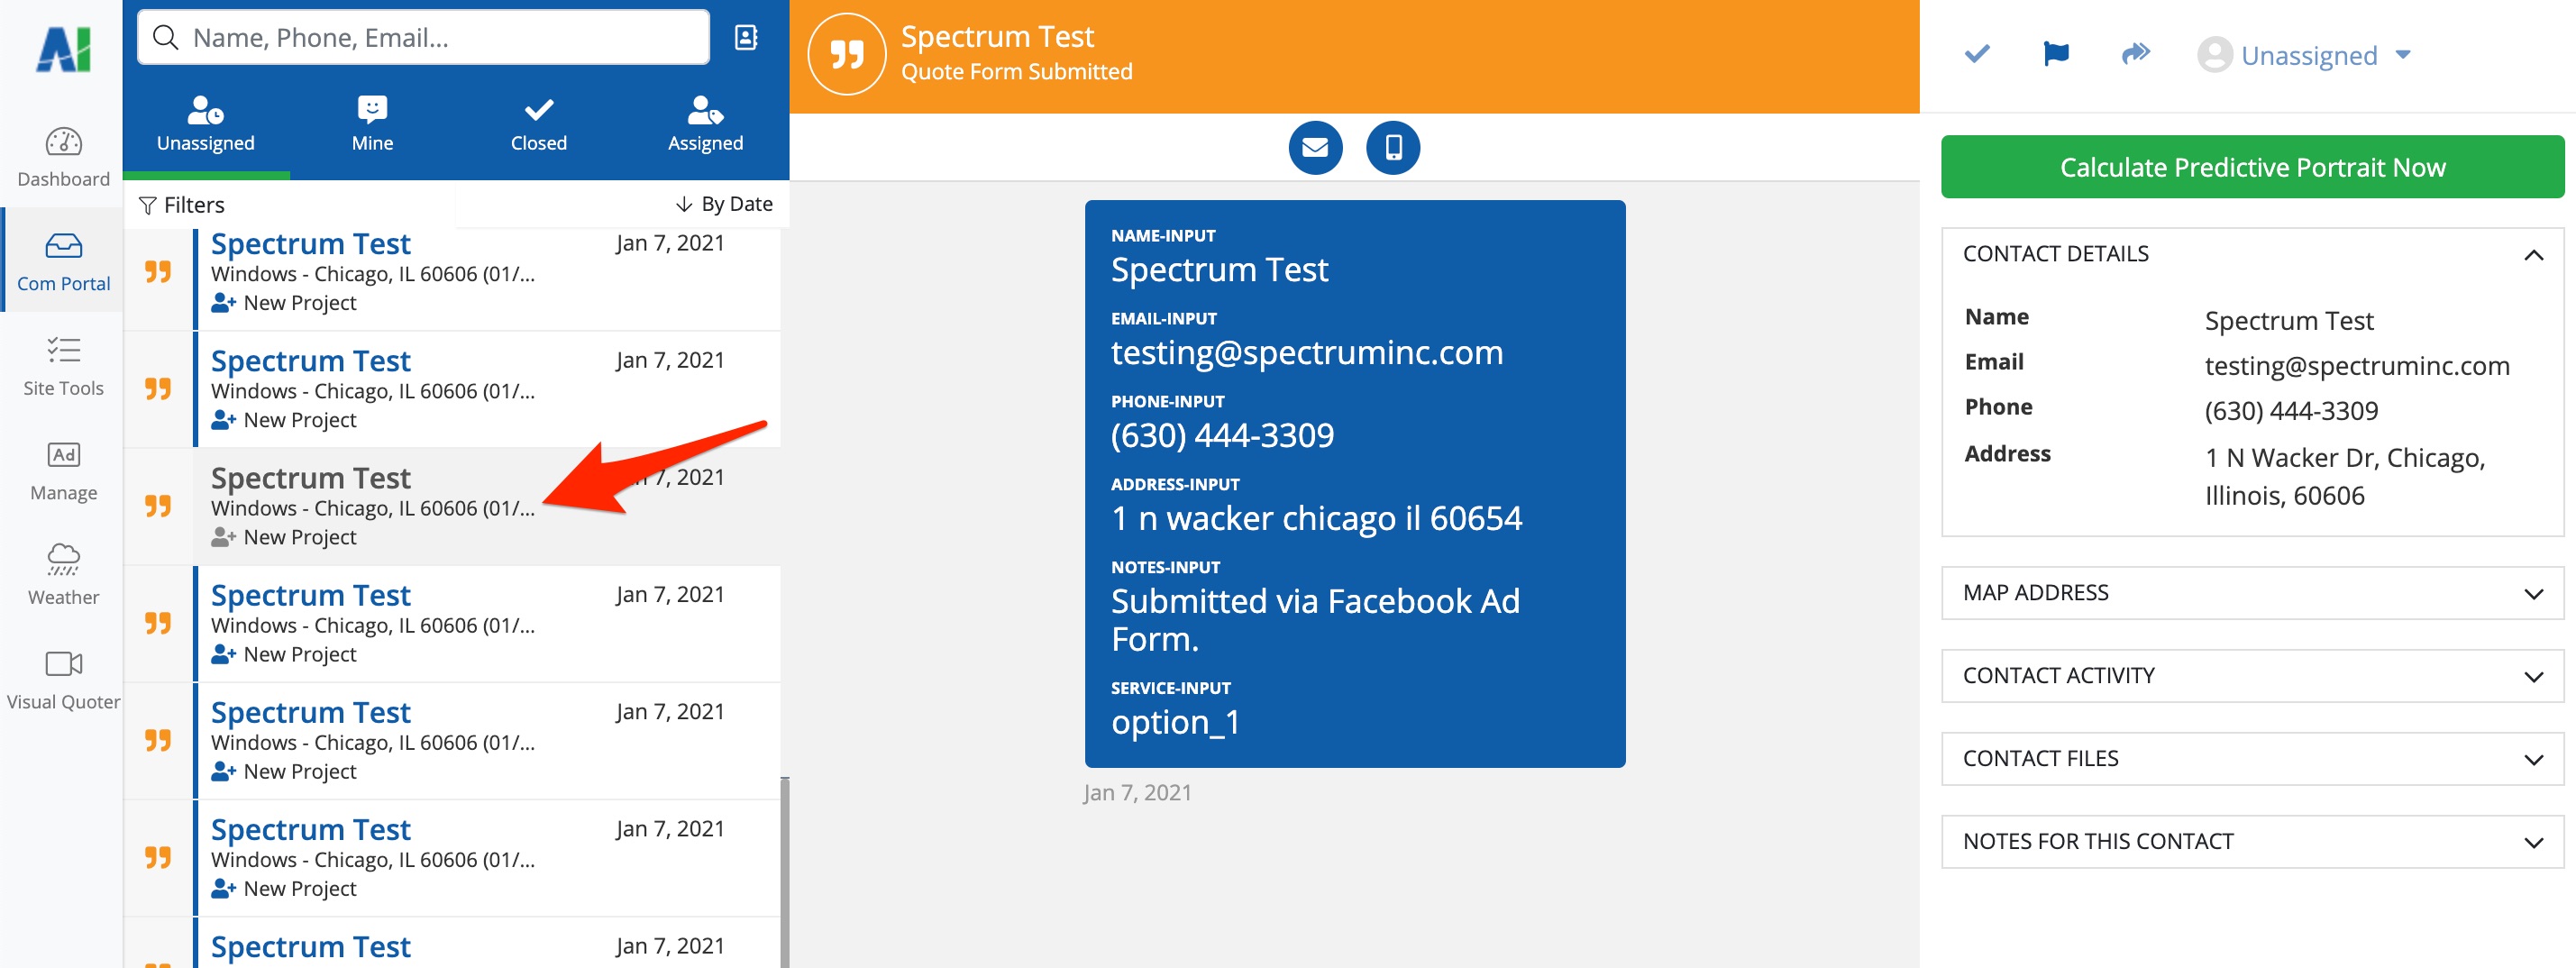
10. Com Portal
One of the best reasons to use Ads Manager is the fact that all of your Facebook ad leads will flow directly into your Com Portal. You'll be able to communicate with leads by SMS and email, assign leads to specific sales reps, keep internal notes for your team to share, and nurture your leads toward taking the next step.
All leads will be marked in the Com Portal with the name of their ad campaign.
Dive deeper into everything you can do in the Com Portal by checking out these helpful resources:
- Beginners' Guide to the Com Portal
- Com Portal Reference: Where Do I Find...?
- Sending and Receiving Text Messages in the Com Portal
Don't forget that we're here to help! The quickest way to get assistance with any question is to submit a Support ticket. Fill out a ticket at this link, or open the Help widget in the bottom right corner of the screen.